


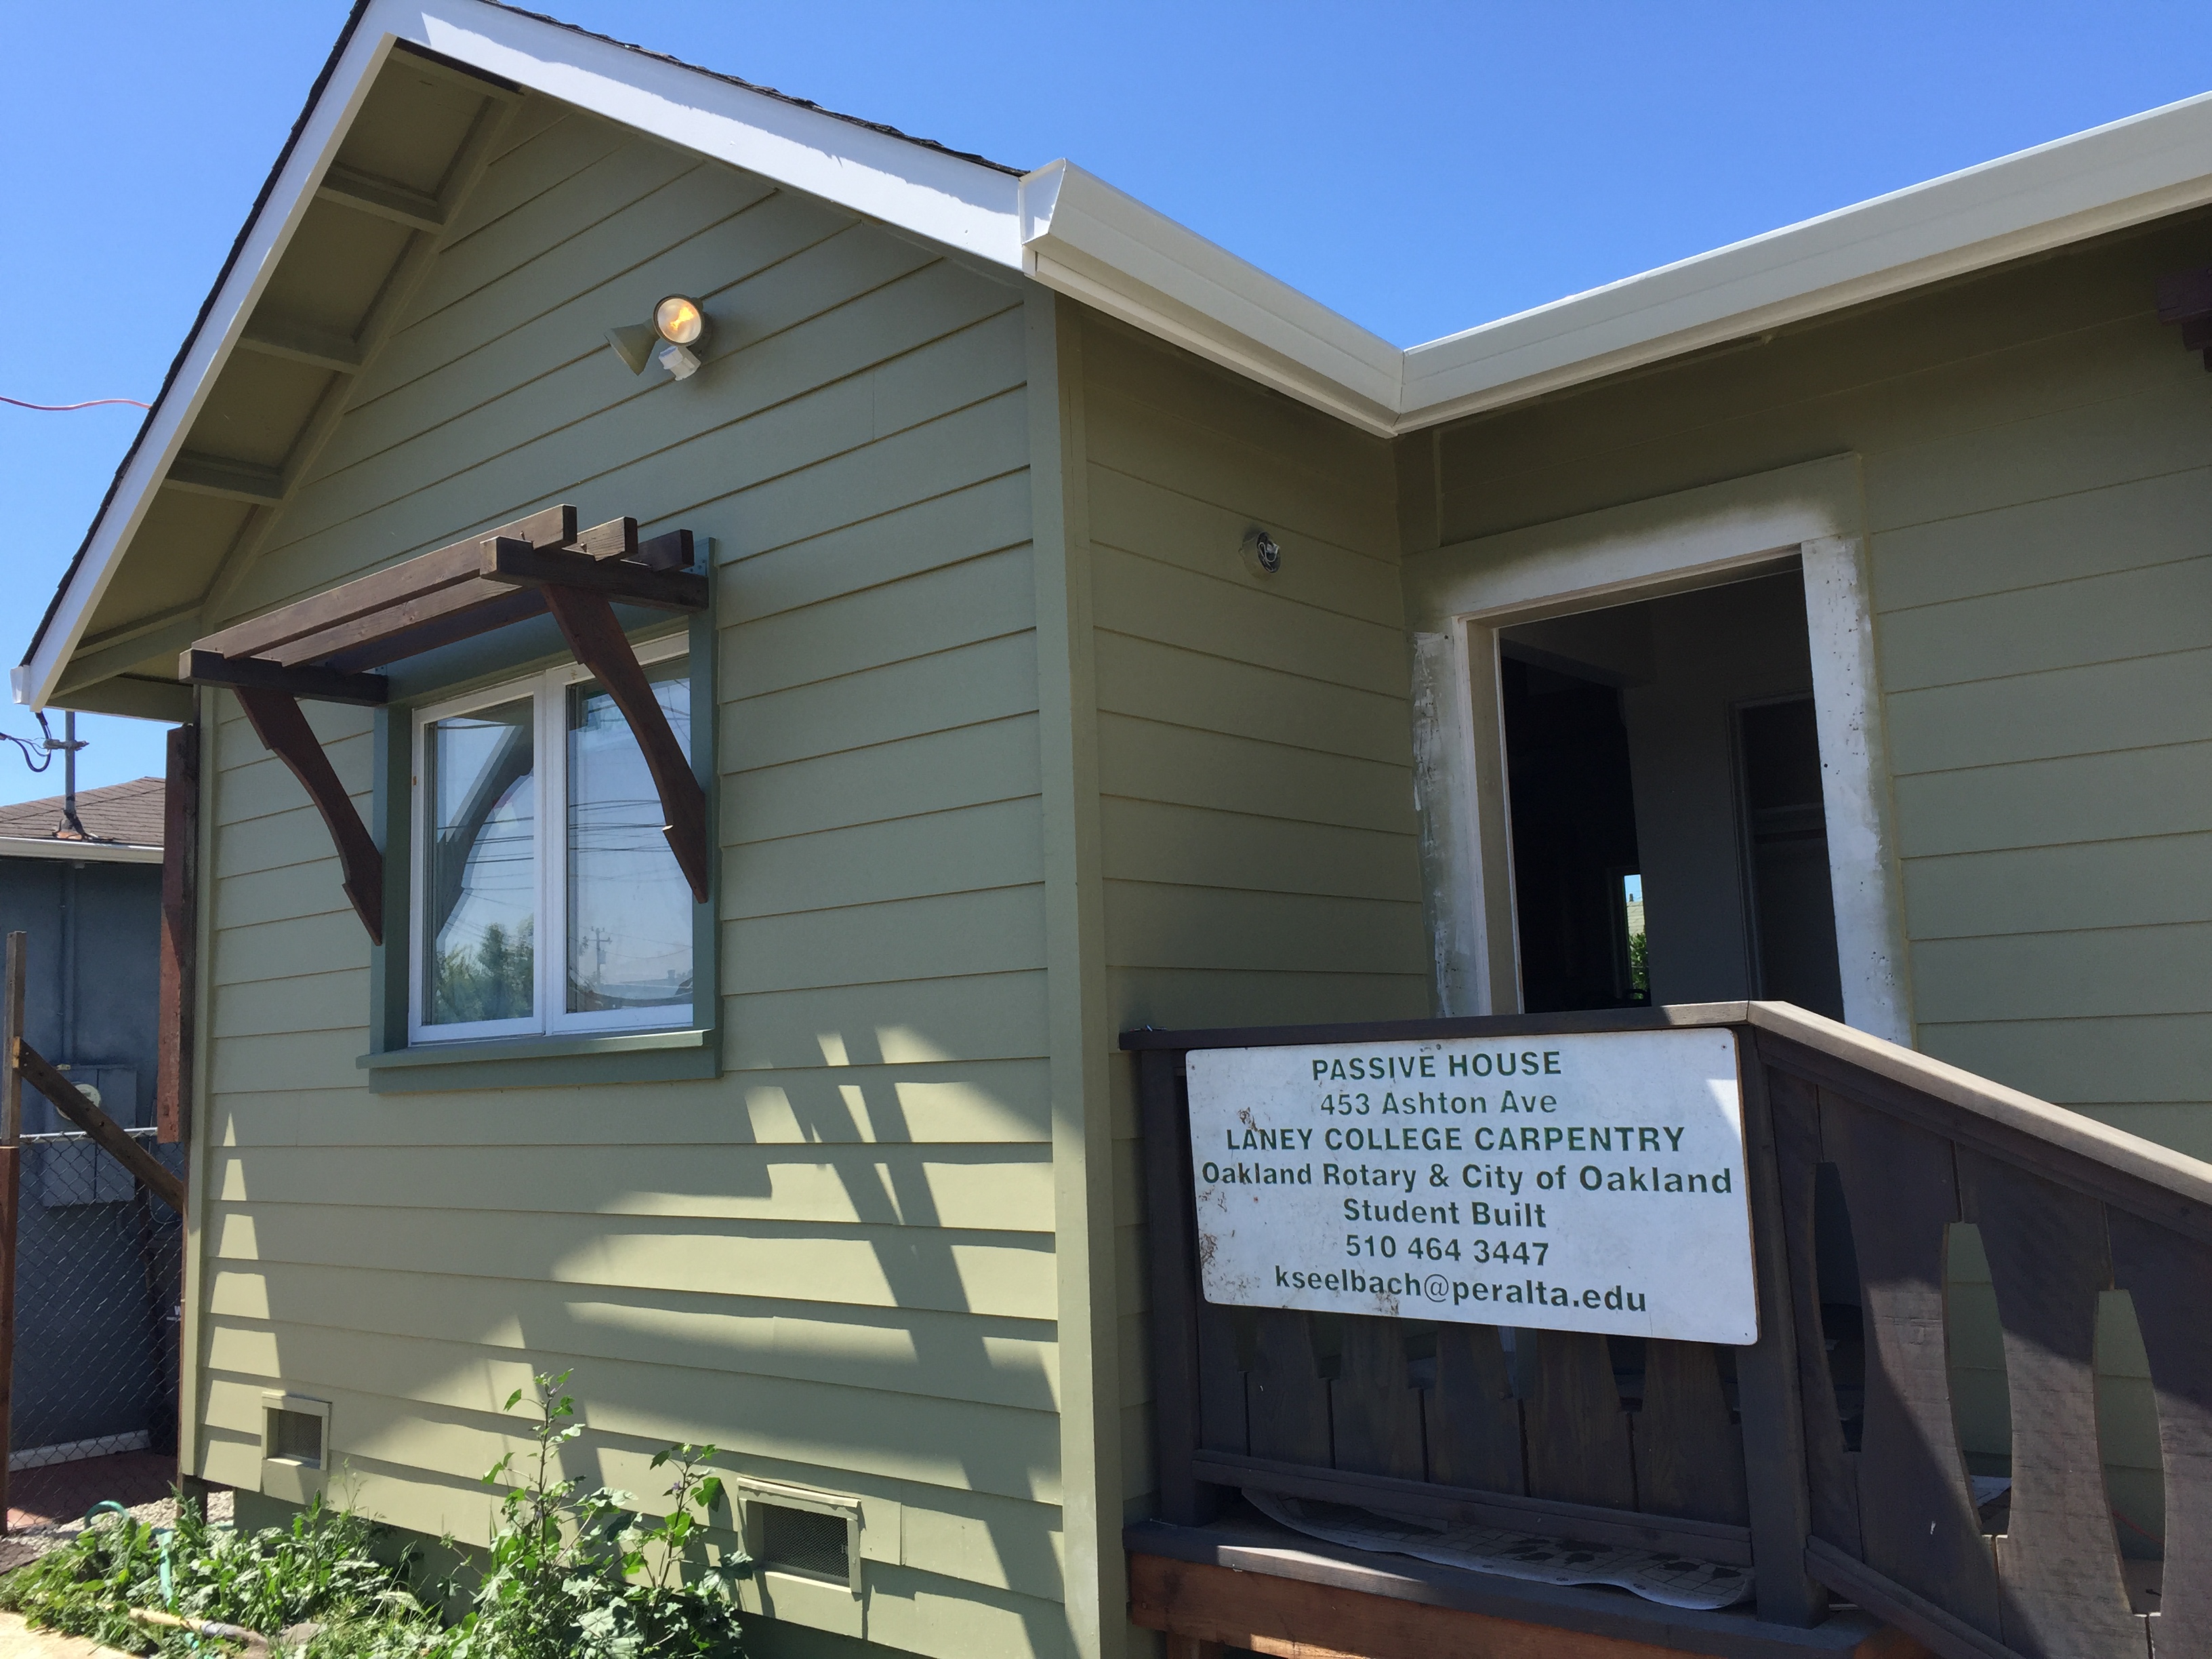
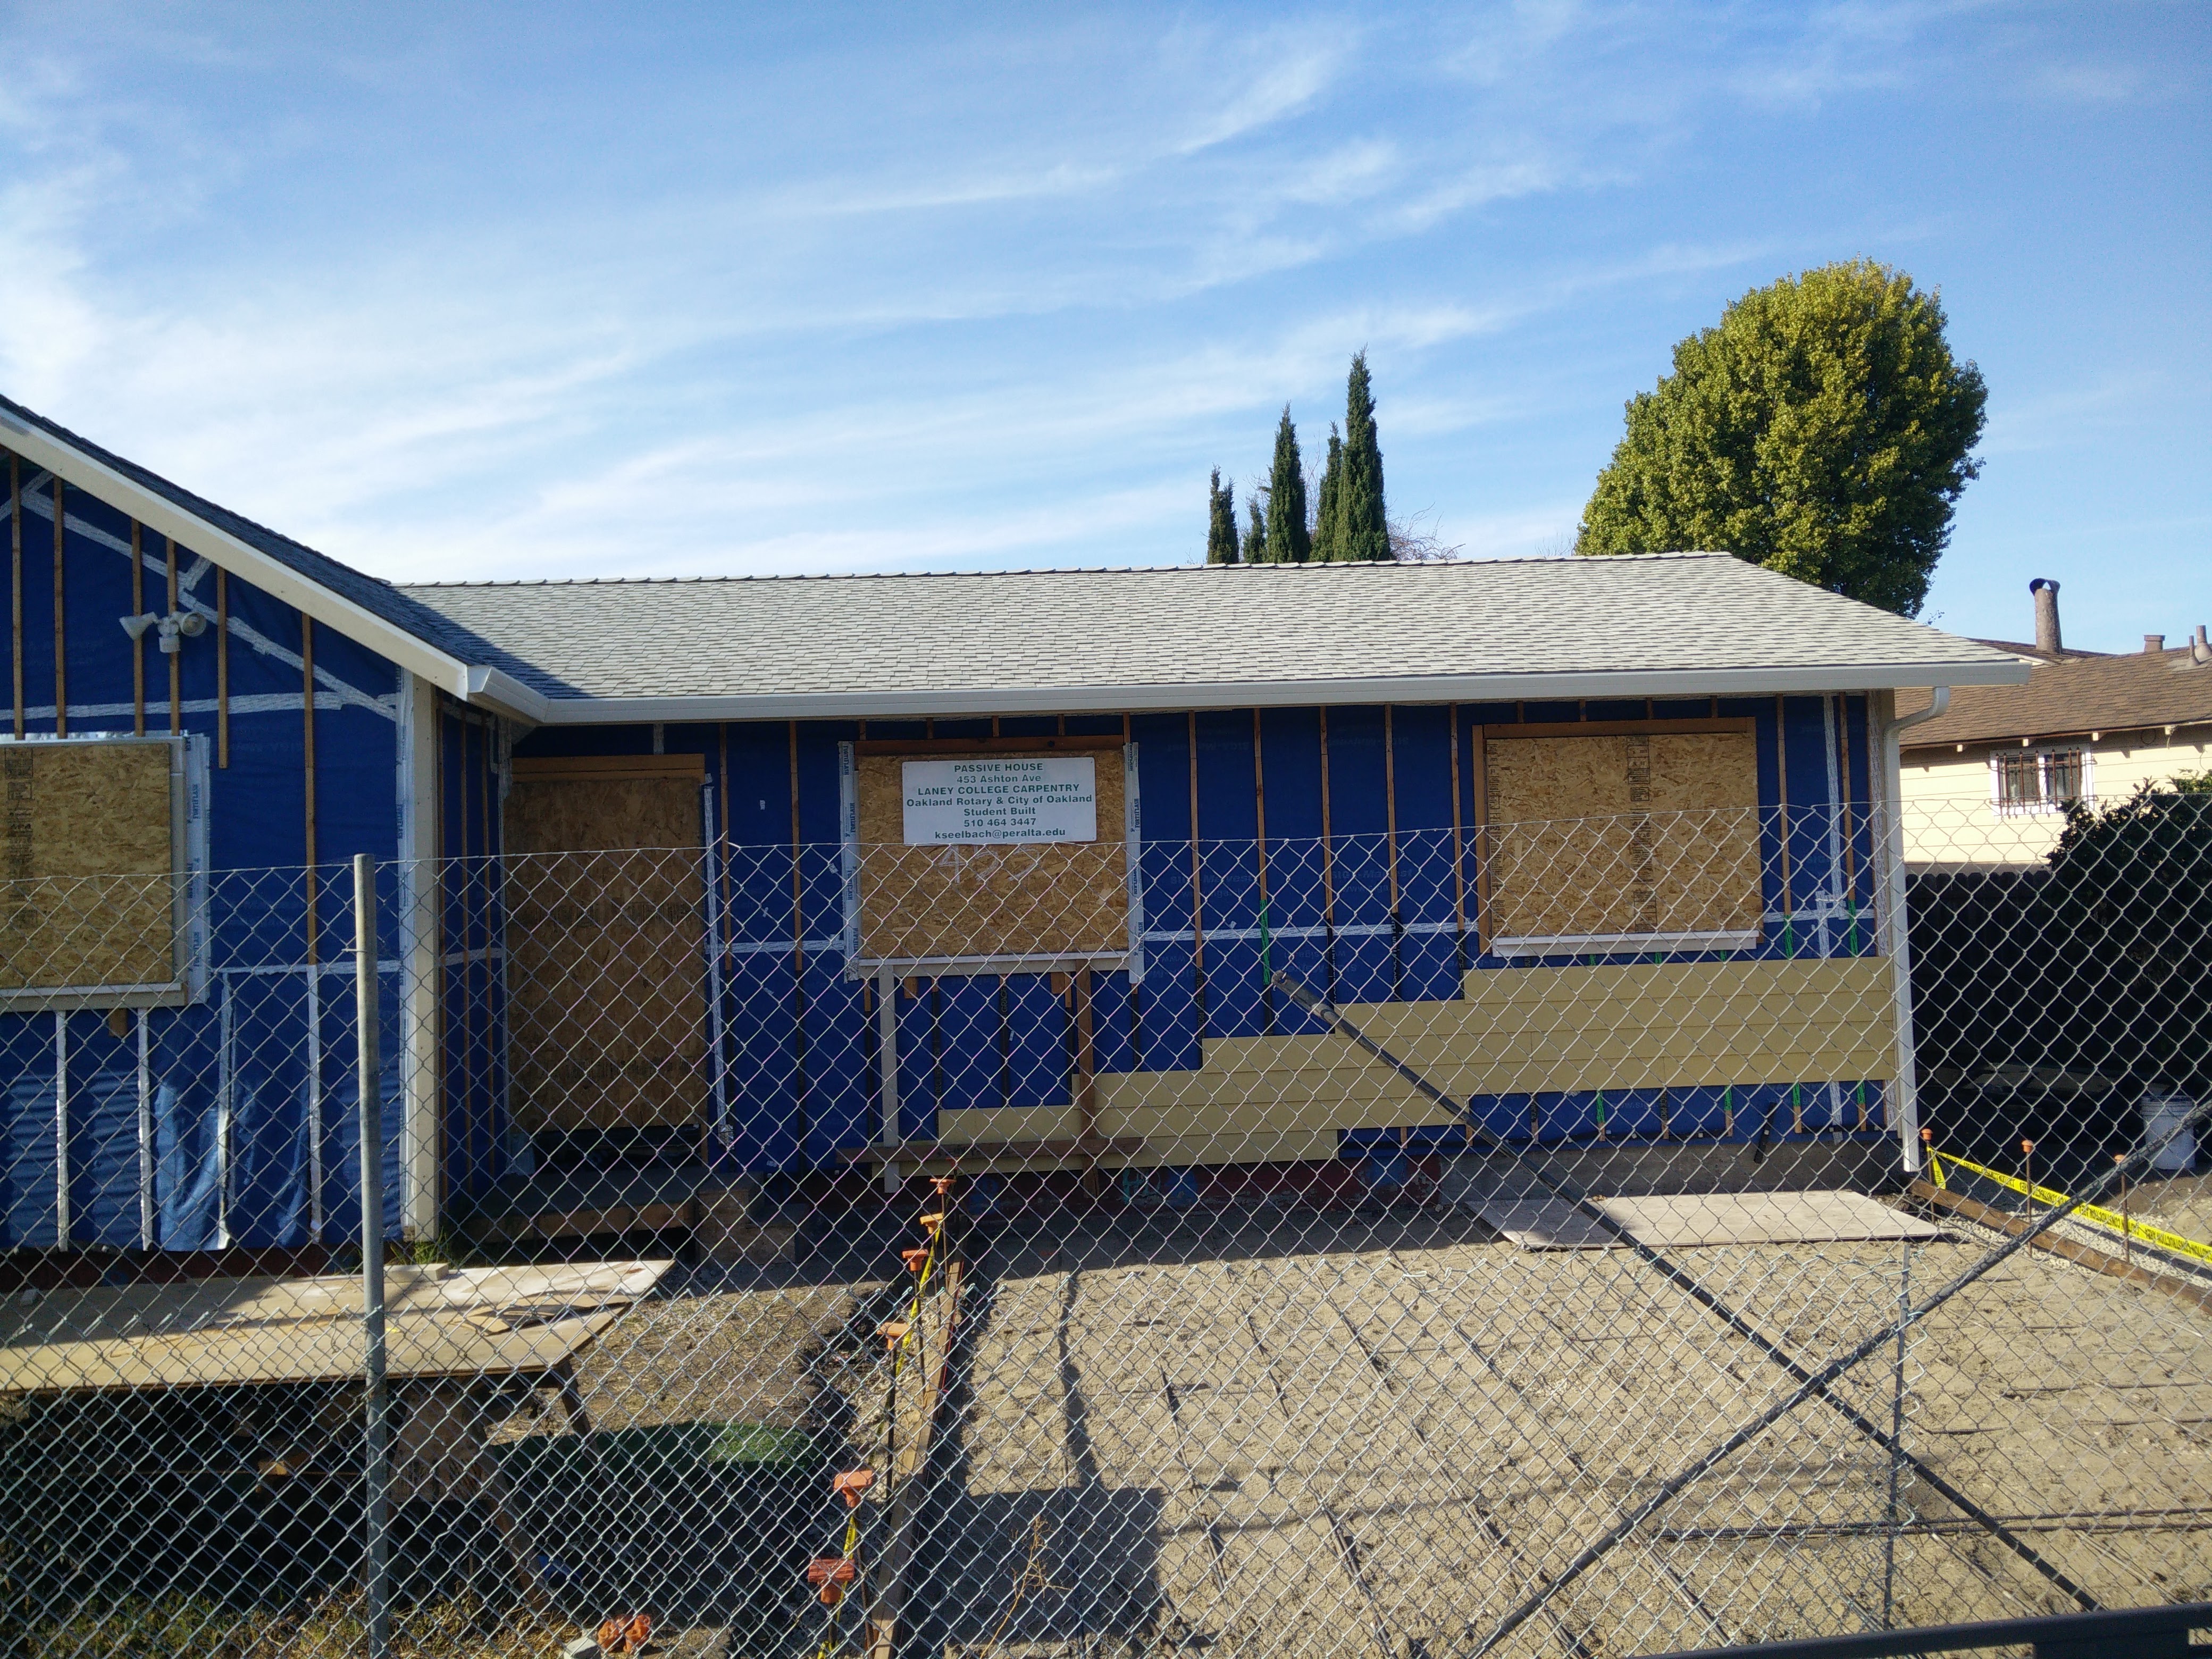
The Laney College Carpentry Department collaborated with the City of Oakland, Oakland Rotary and California Passive House on a unique project. We built a extremely energy efficient house incorporating sustainable concepts, comfort and the ultimate in indoor air quality. The students built and finished everything – except for plumbing, electrical, roofing and mechanical system installations.
Our goal is to certify the house to International Passive House standards; performance based criteria must be met with regards to air tightness, insulation, heat recovery ventilation and energy usage. This means it will be one of the first homes certified in Oakland and the Bay area upon completion. Based on the high performance mandates: we project utility bills for this house to average around $10/month.
The Laney Carpentry Department’s mission is to provide opportunities for all students to develop professionally in the construction field. By offering this special opportunity to attend classes on site and to gain knowledge in cutting edge practices in high performance building, students experience a “real world model” to add to their resume. We have been collaborating with the Oakland Rotary and their mission of providing low cost housing in building homes for over 20 years.
Our work started in late November 2013, but we kicked into gear in February 2014:
Originally a two bedroom one bath approx 860sf house, we turned it into a 3/2 1040sf….
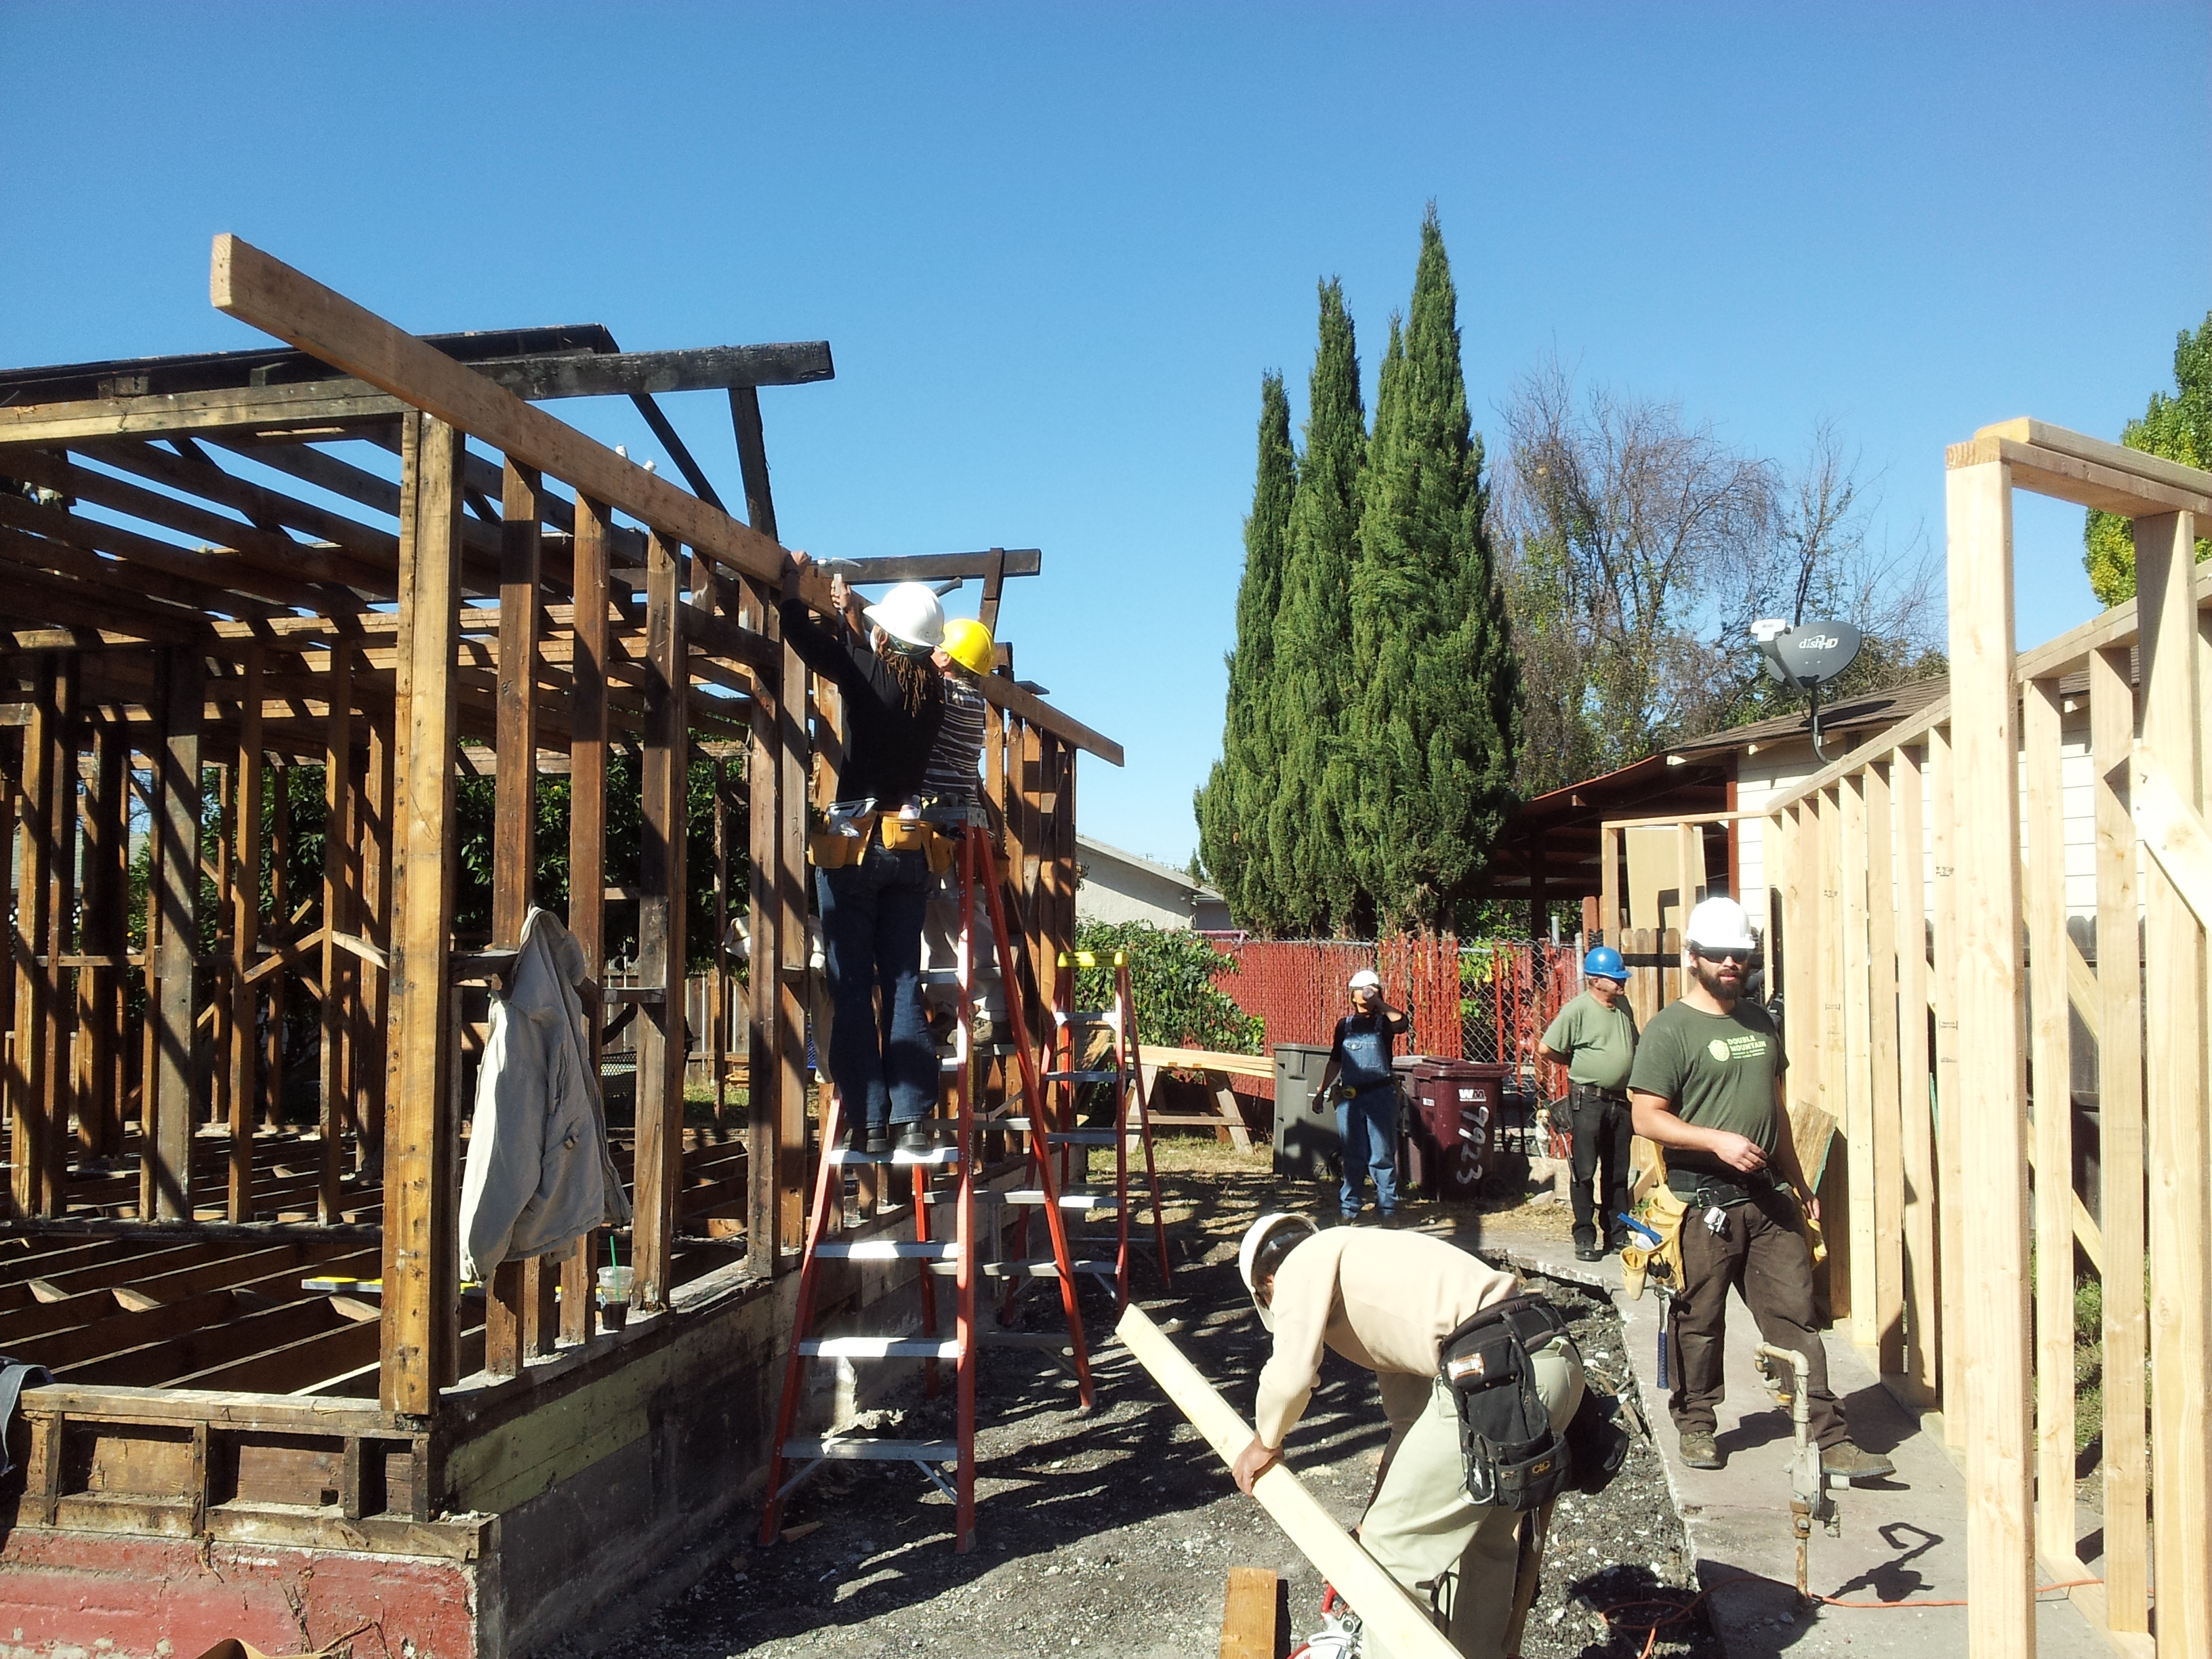
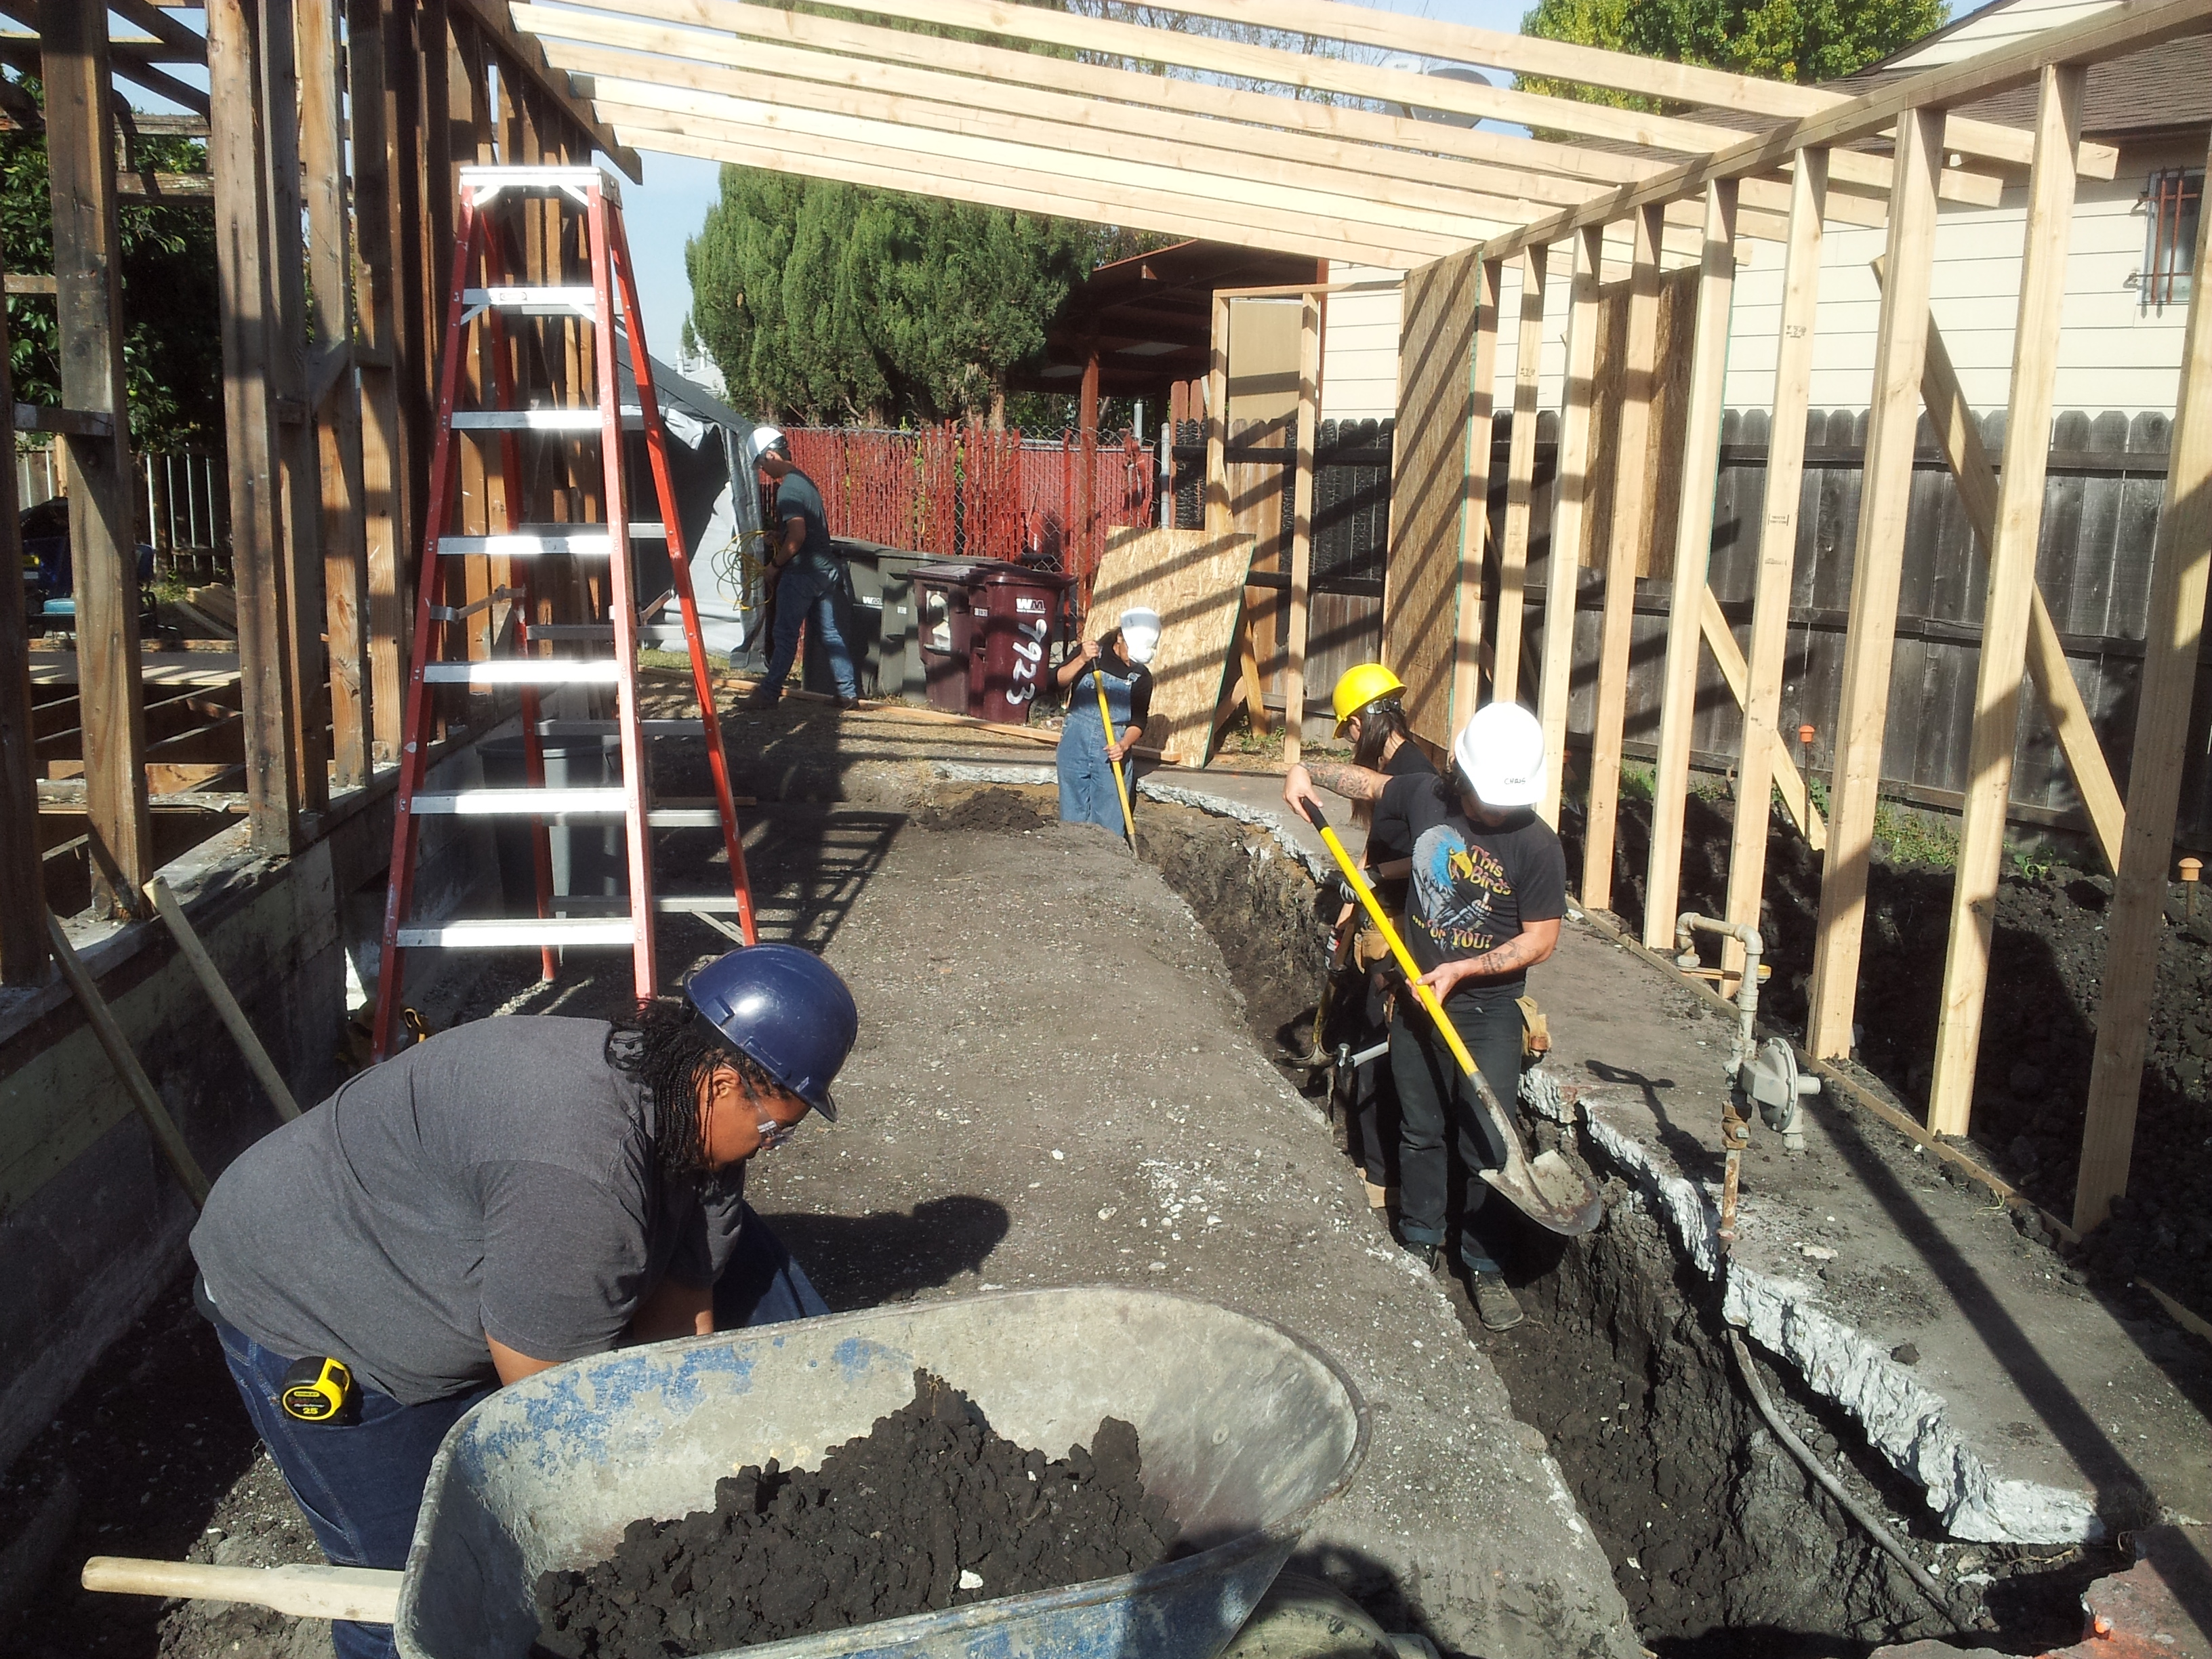
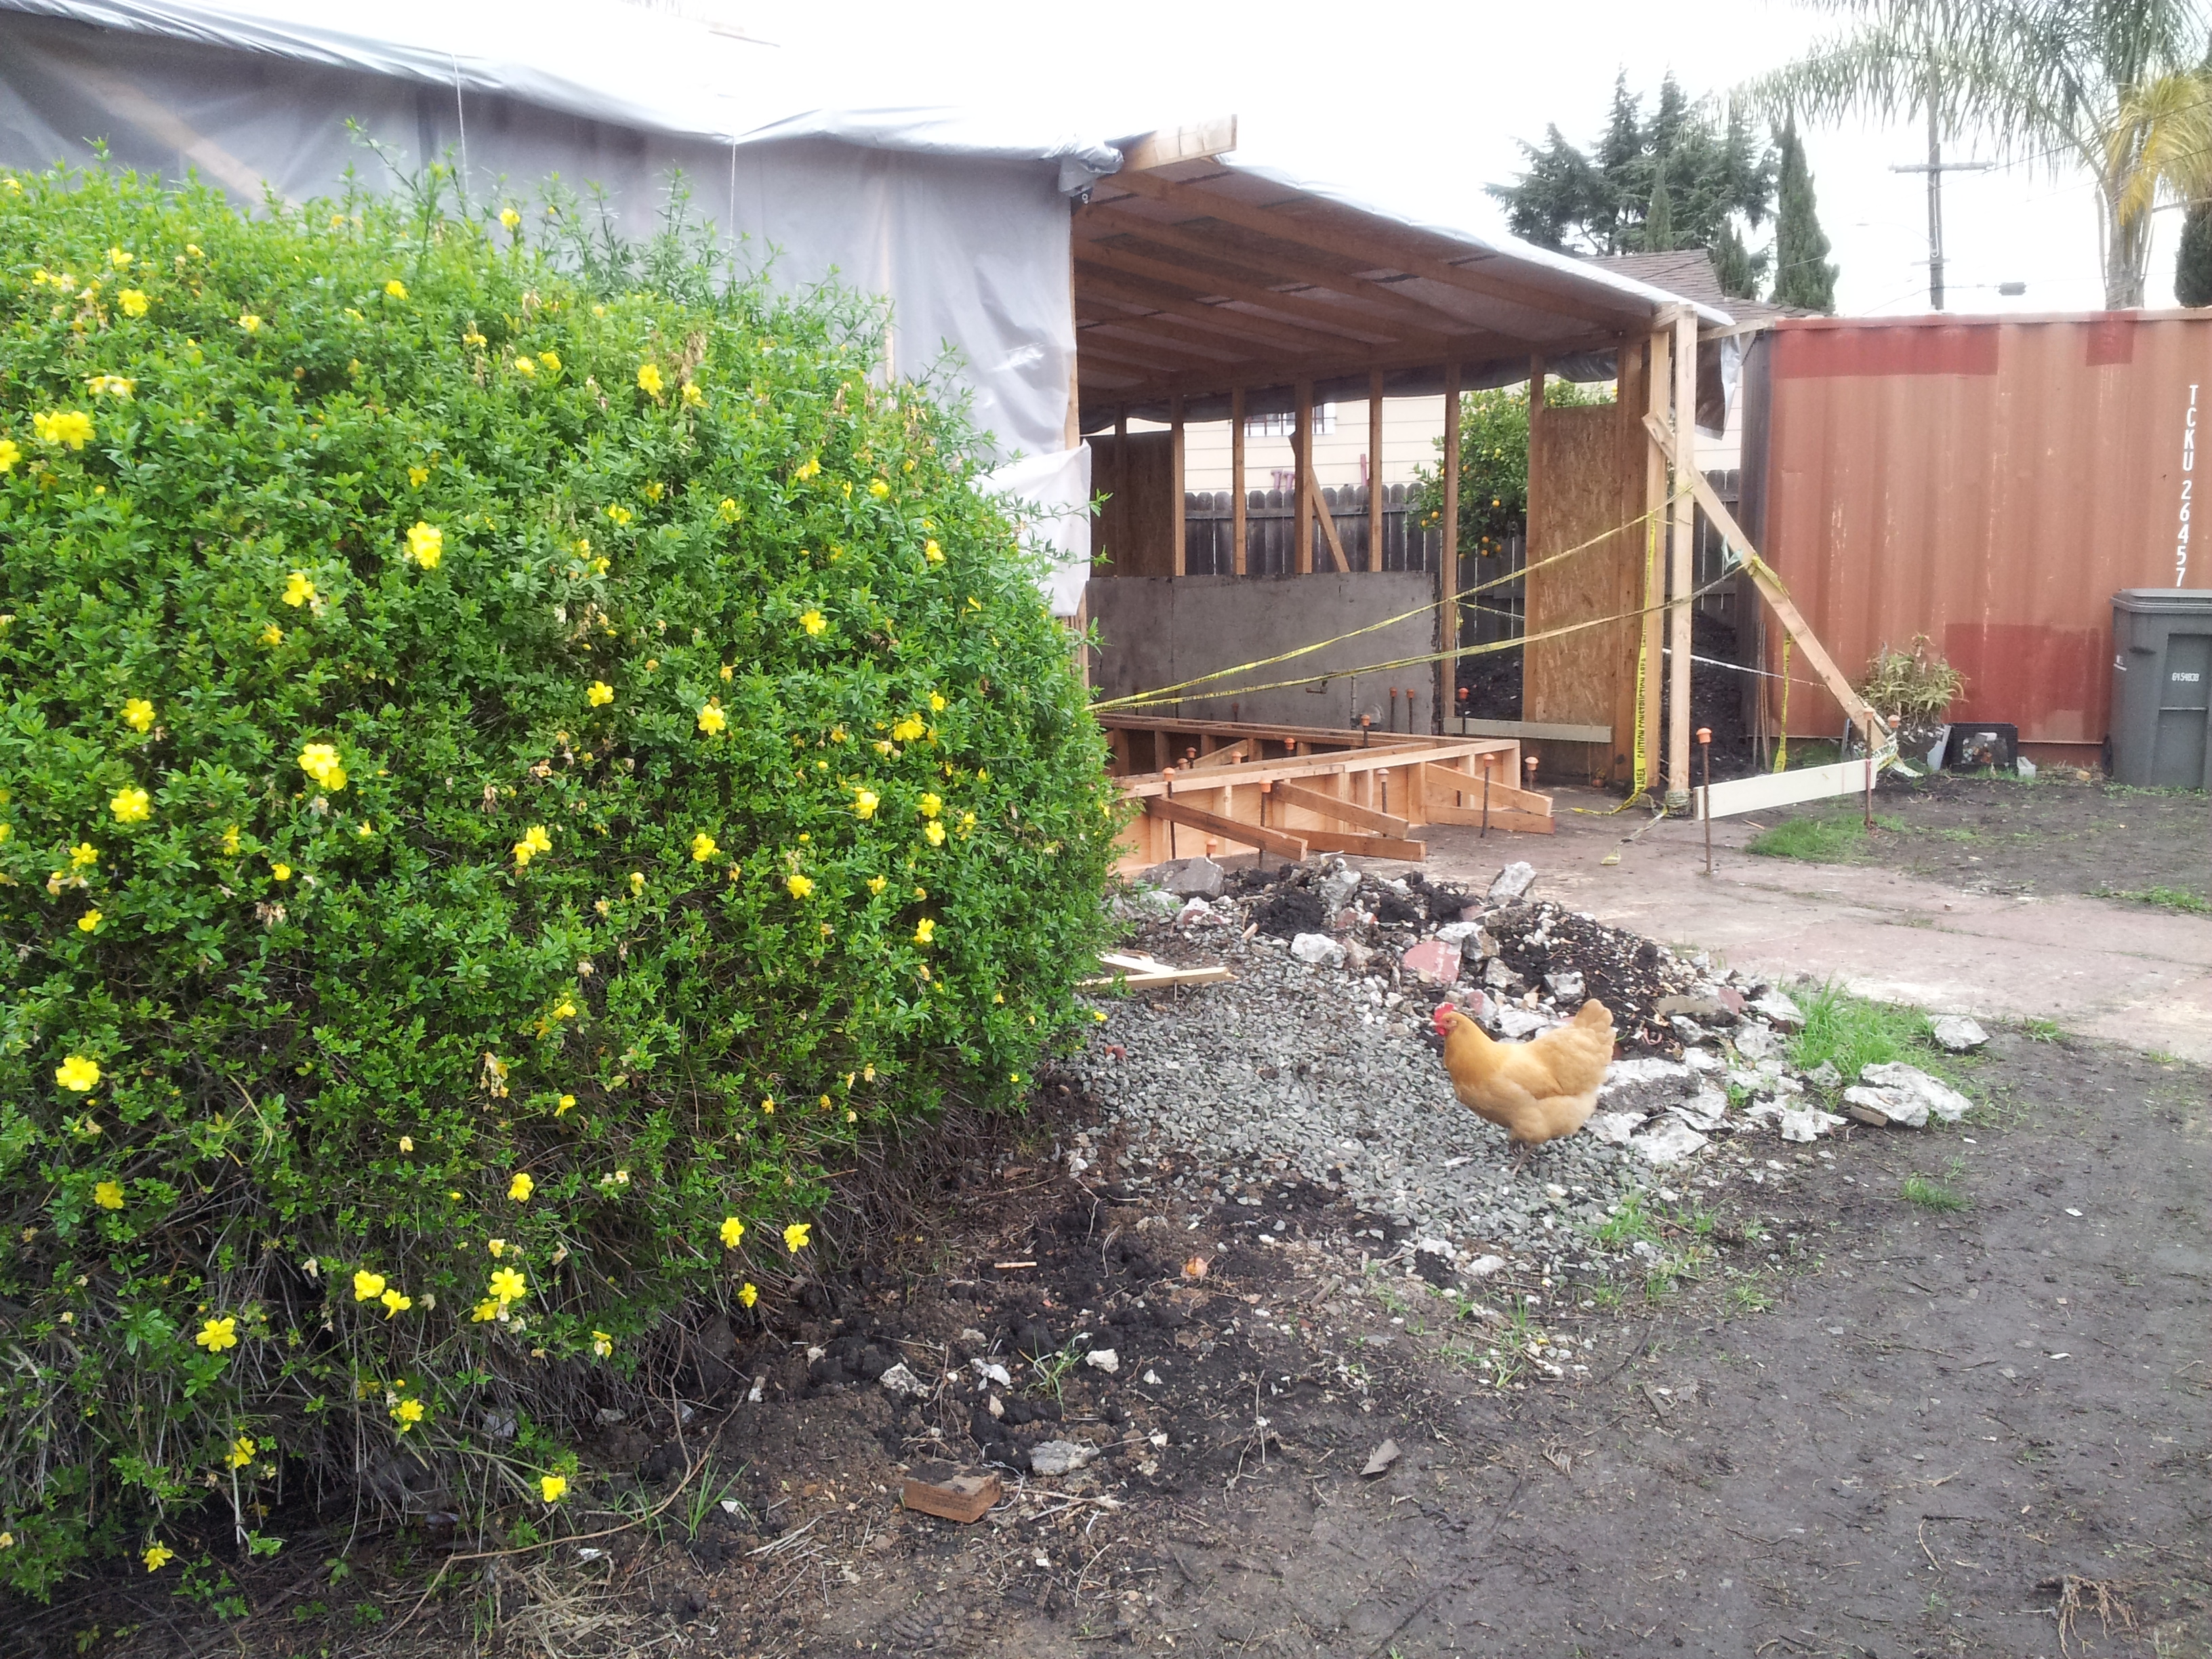
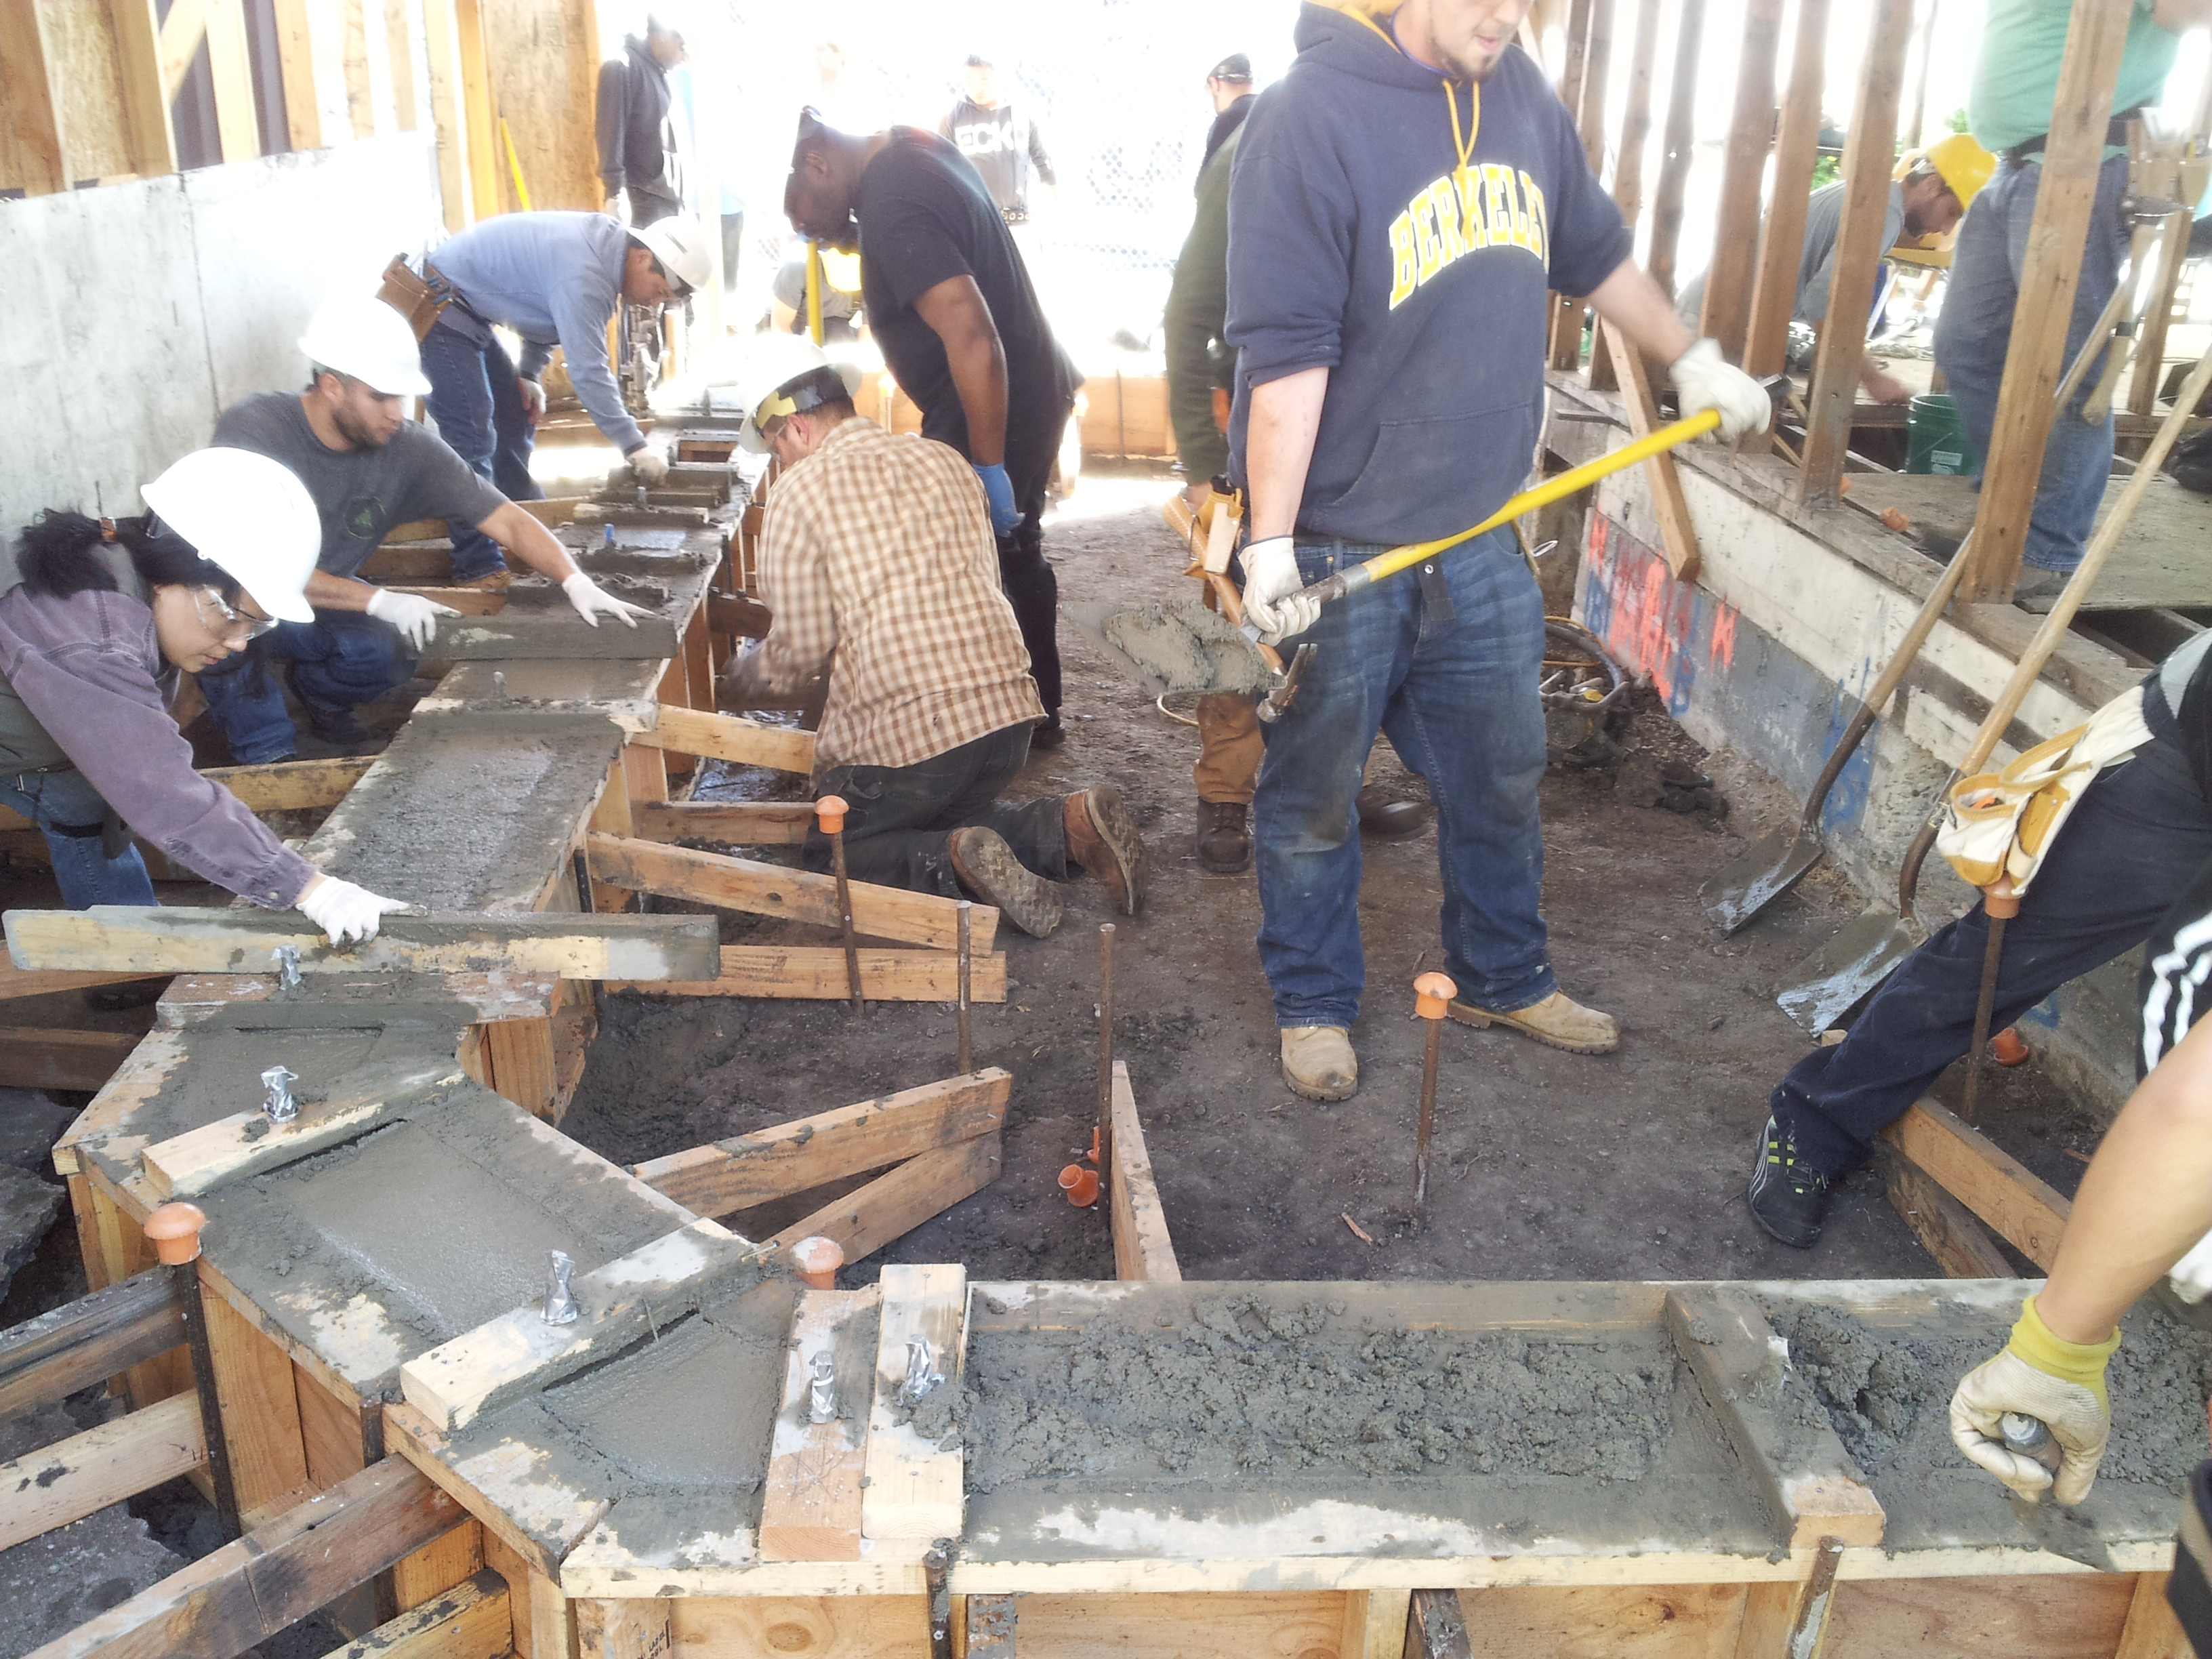
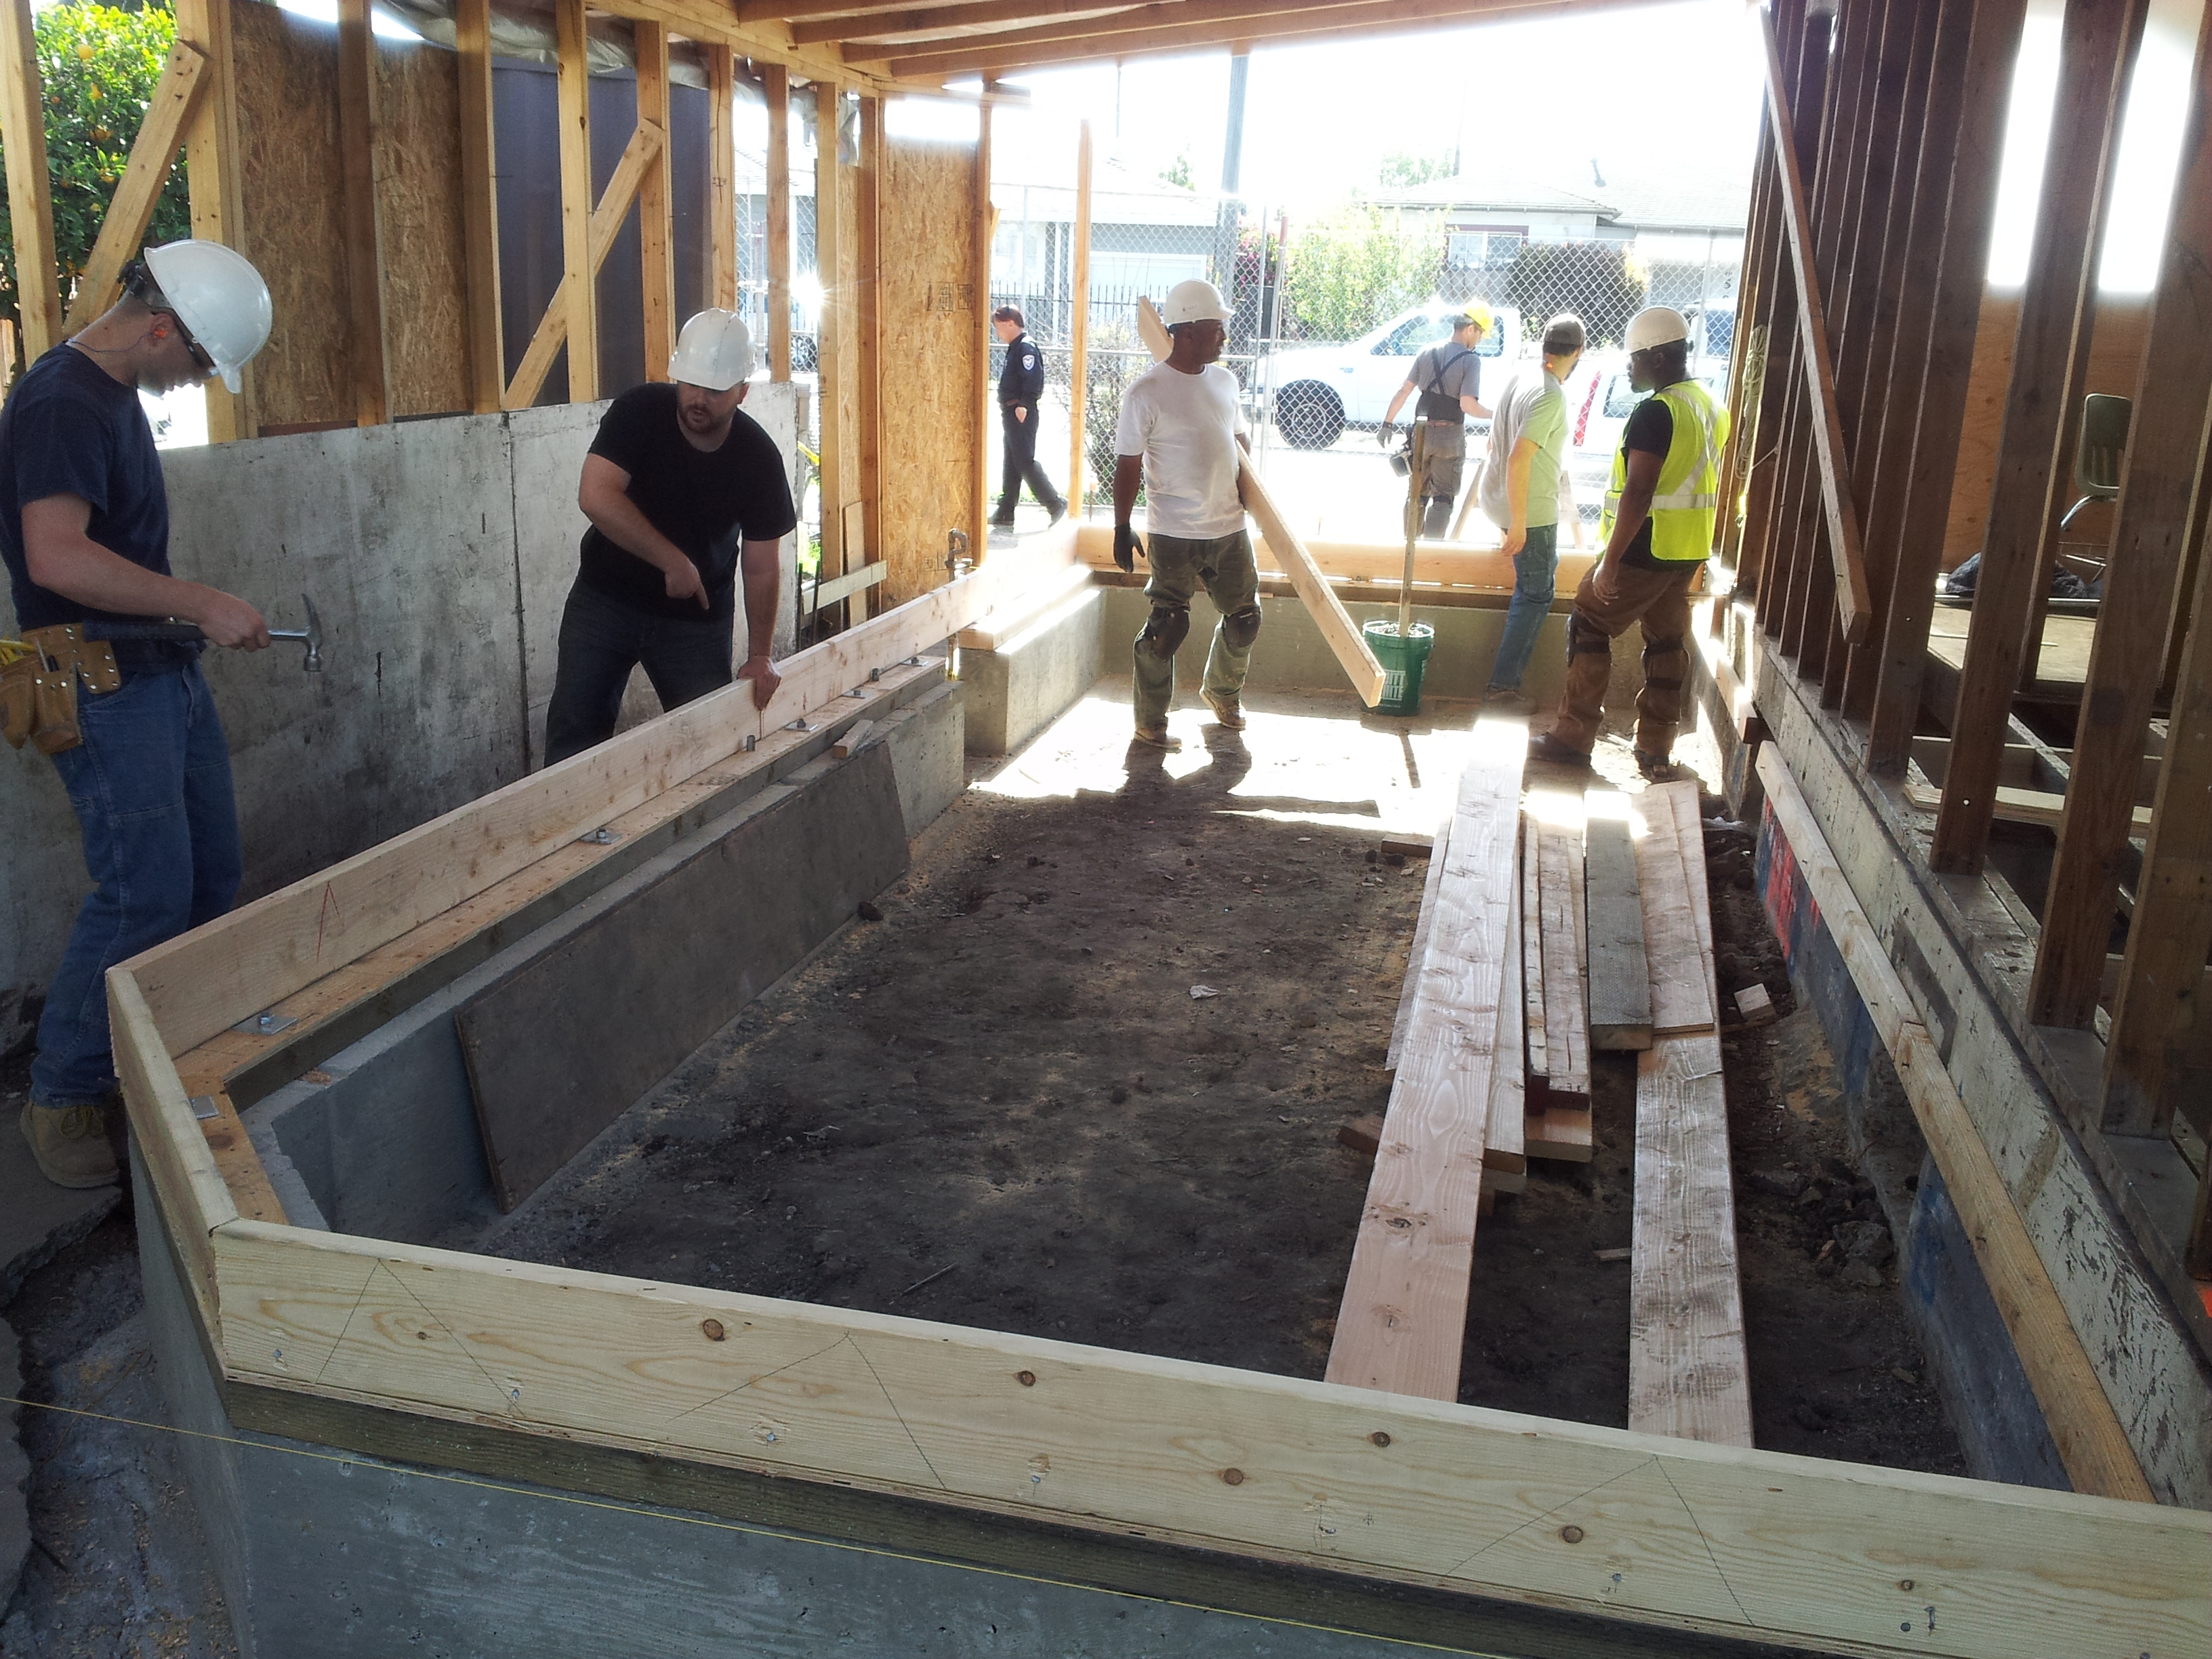
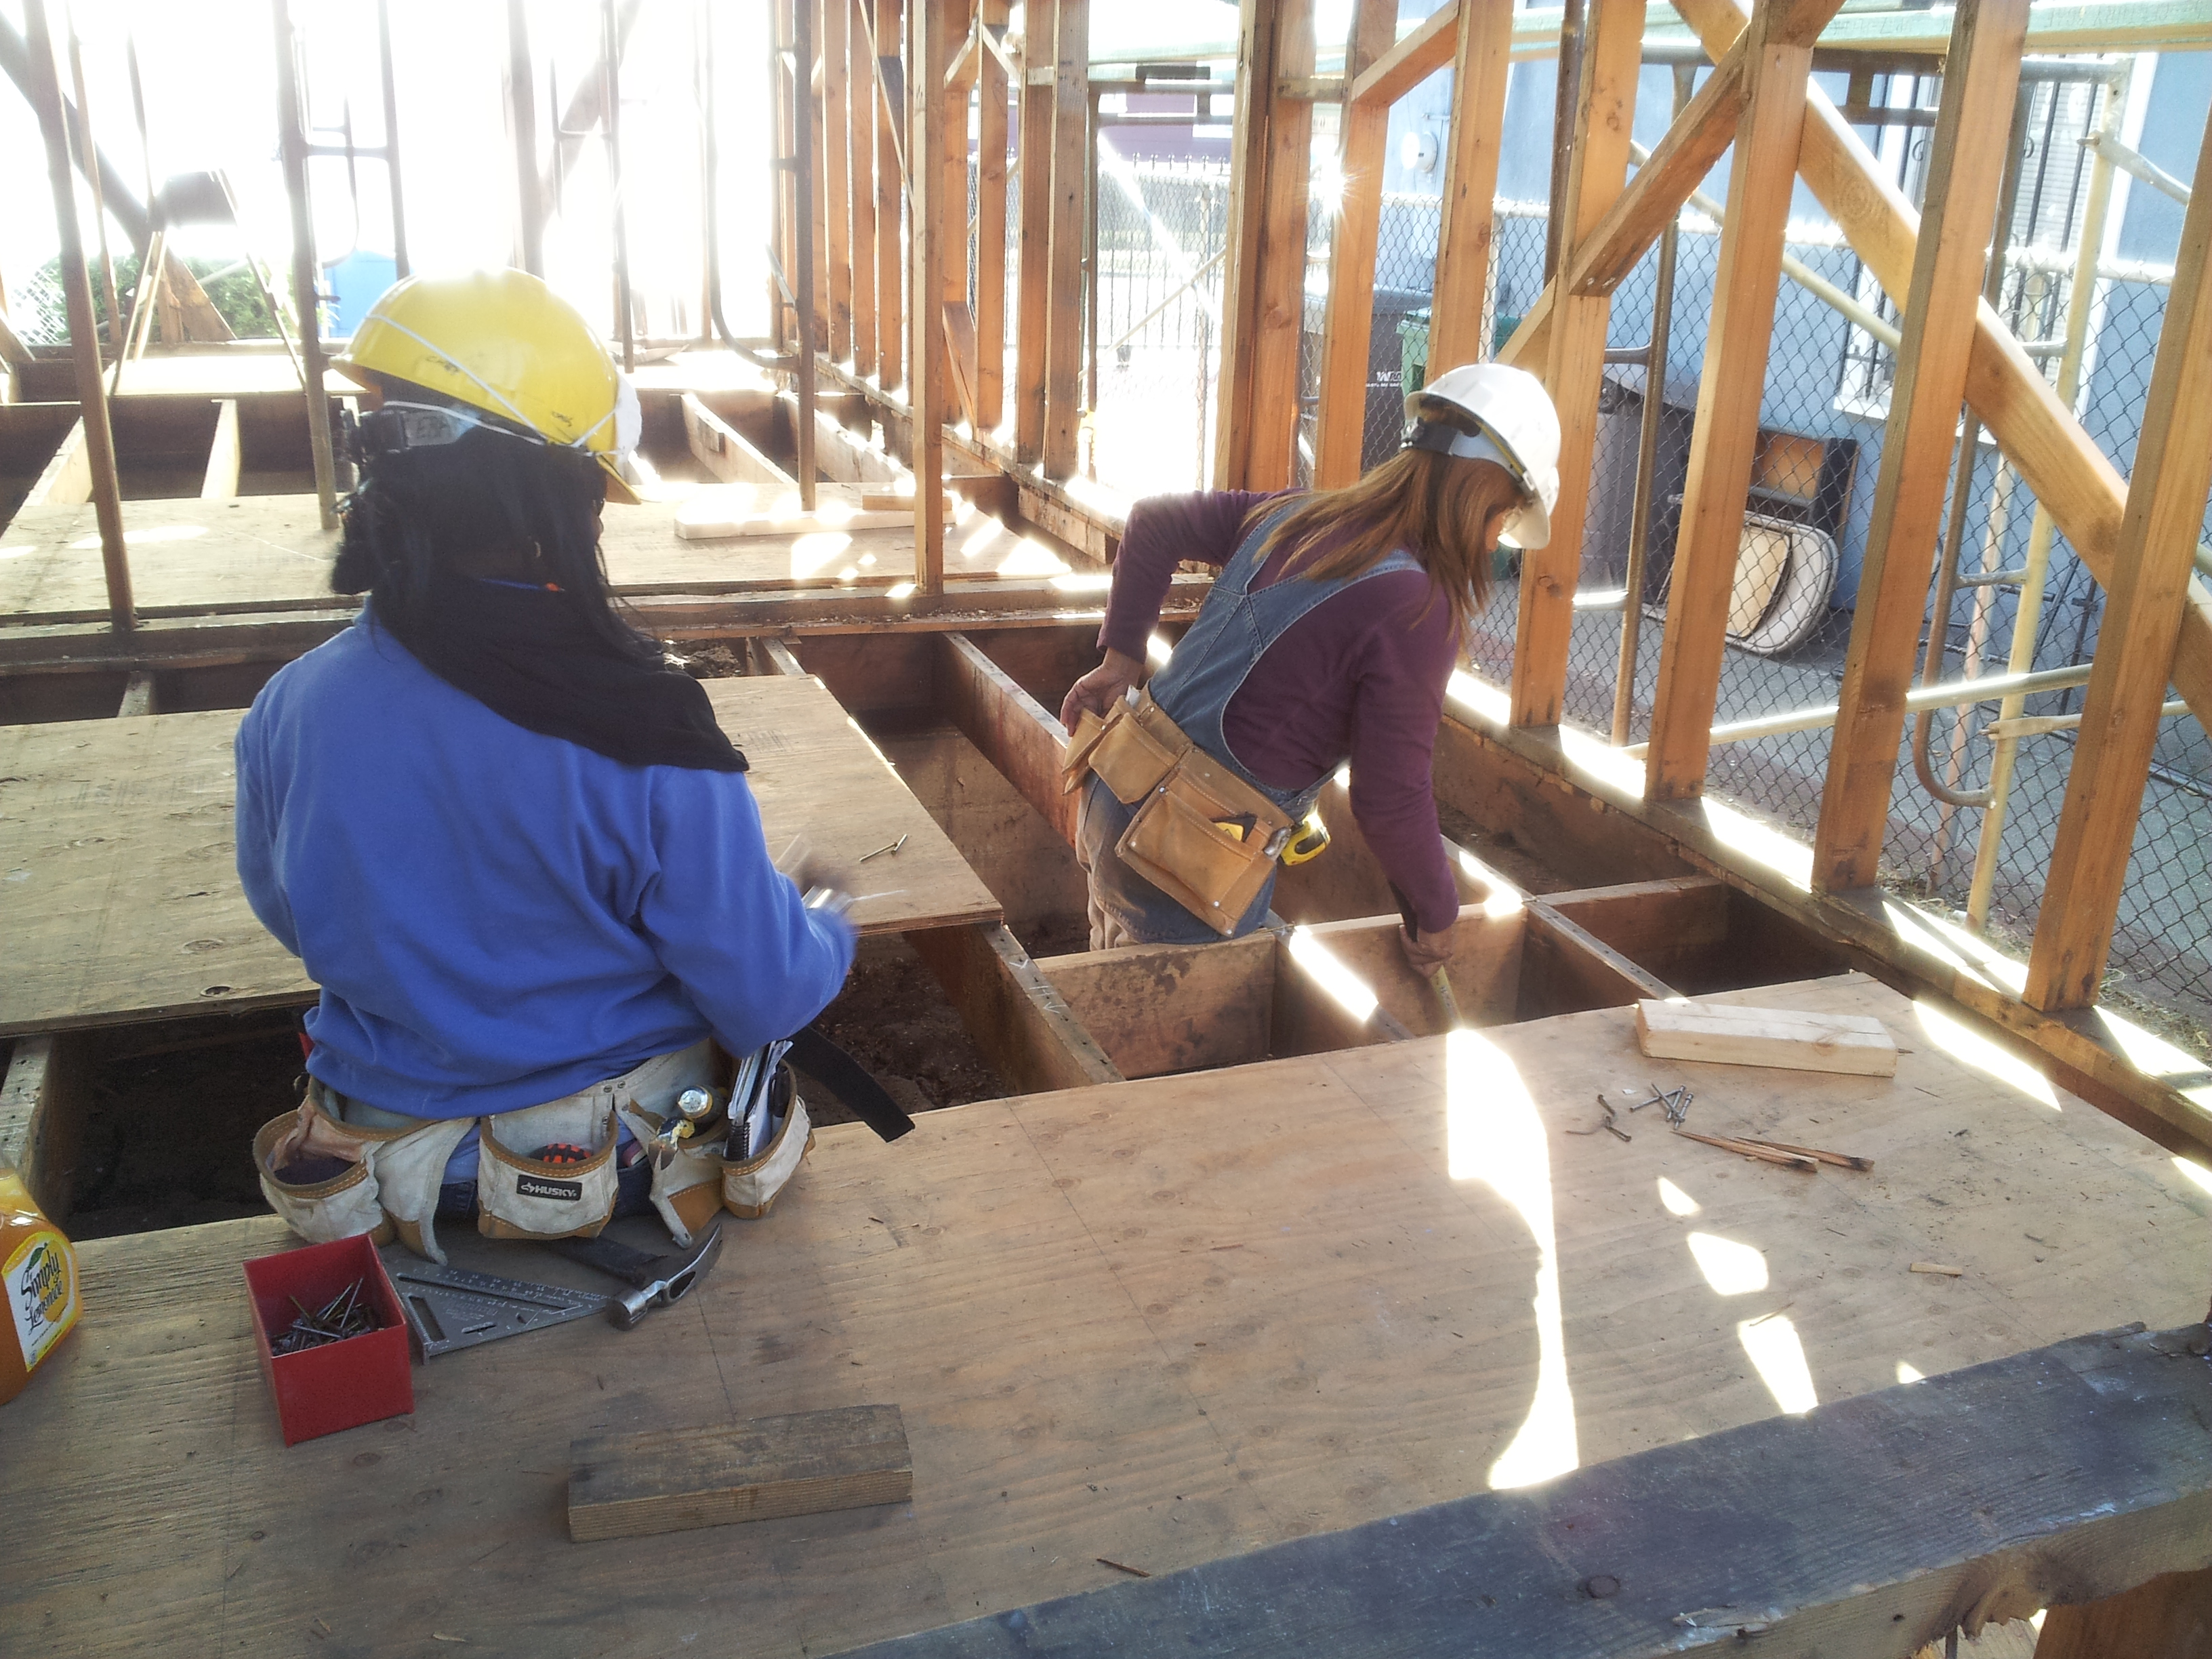
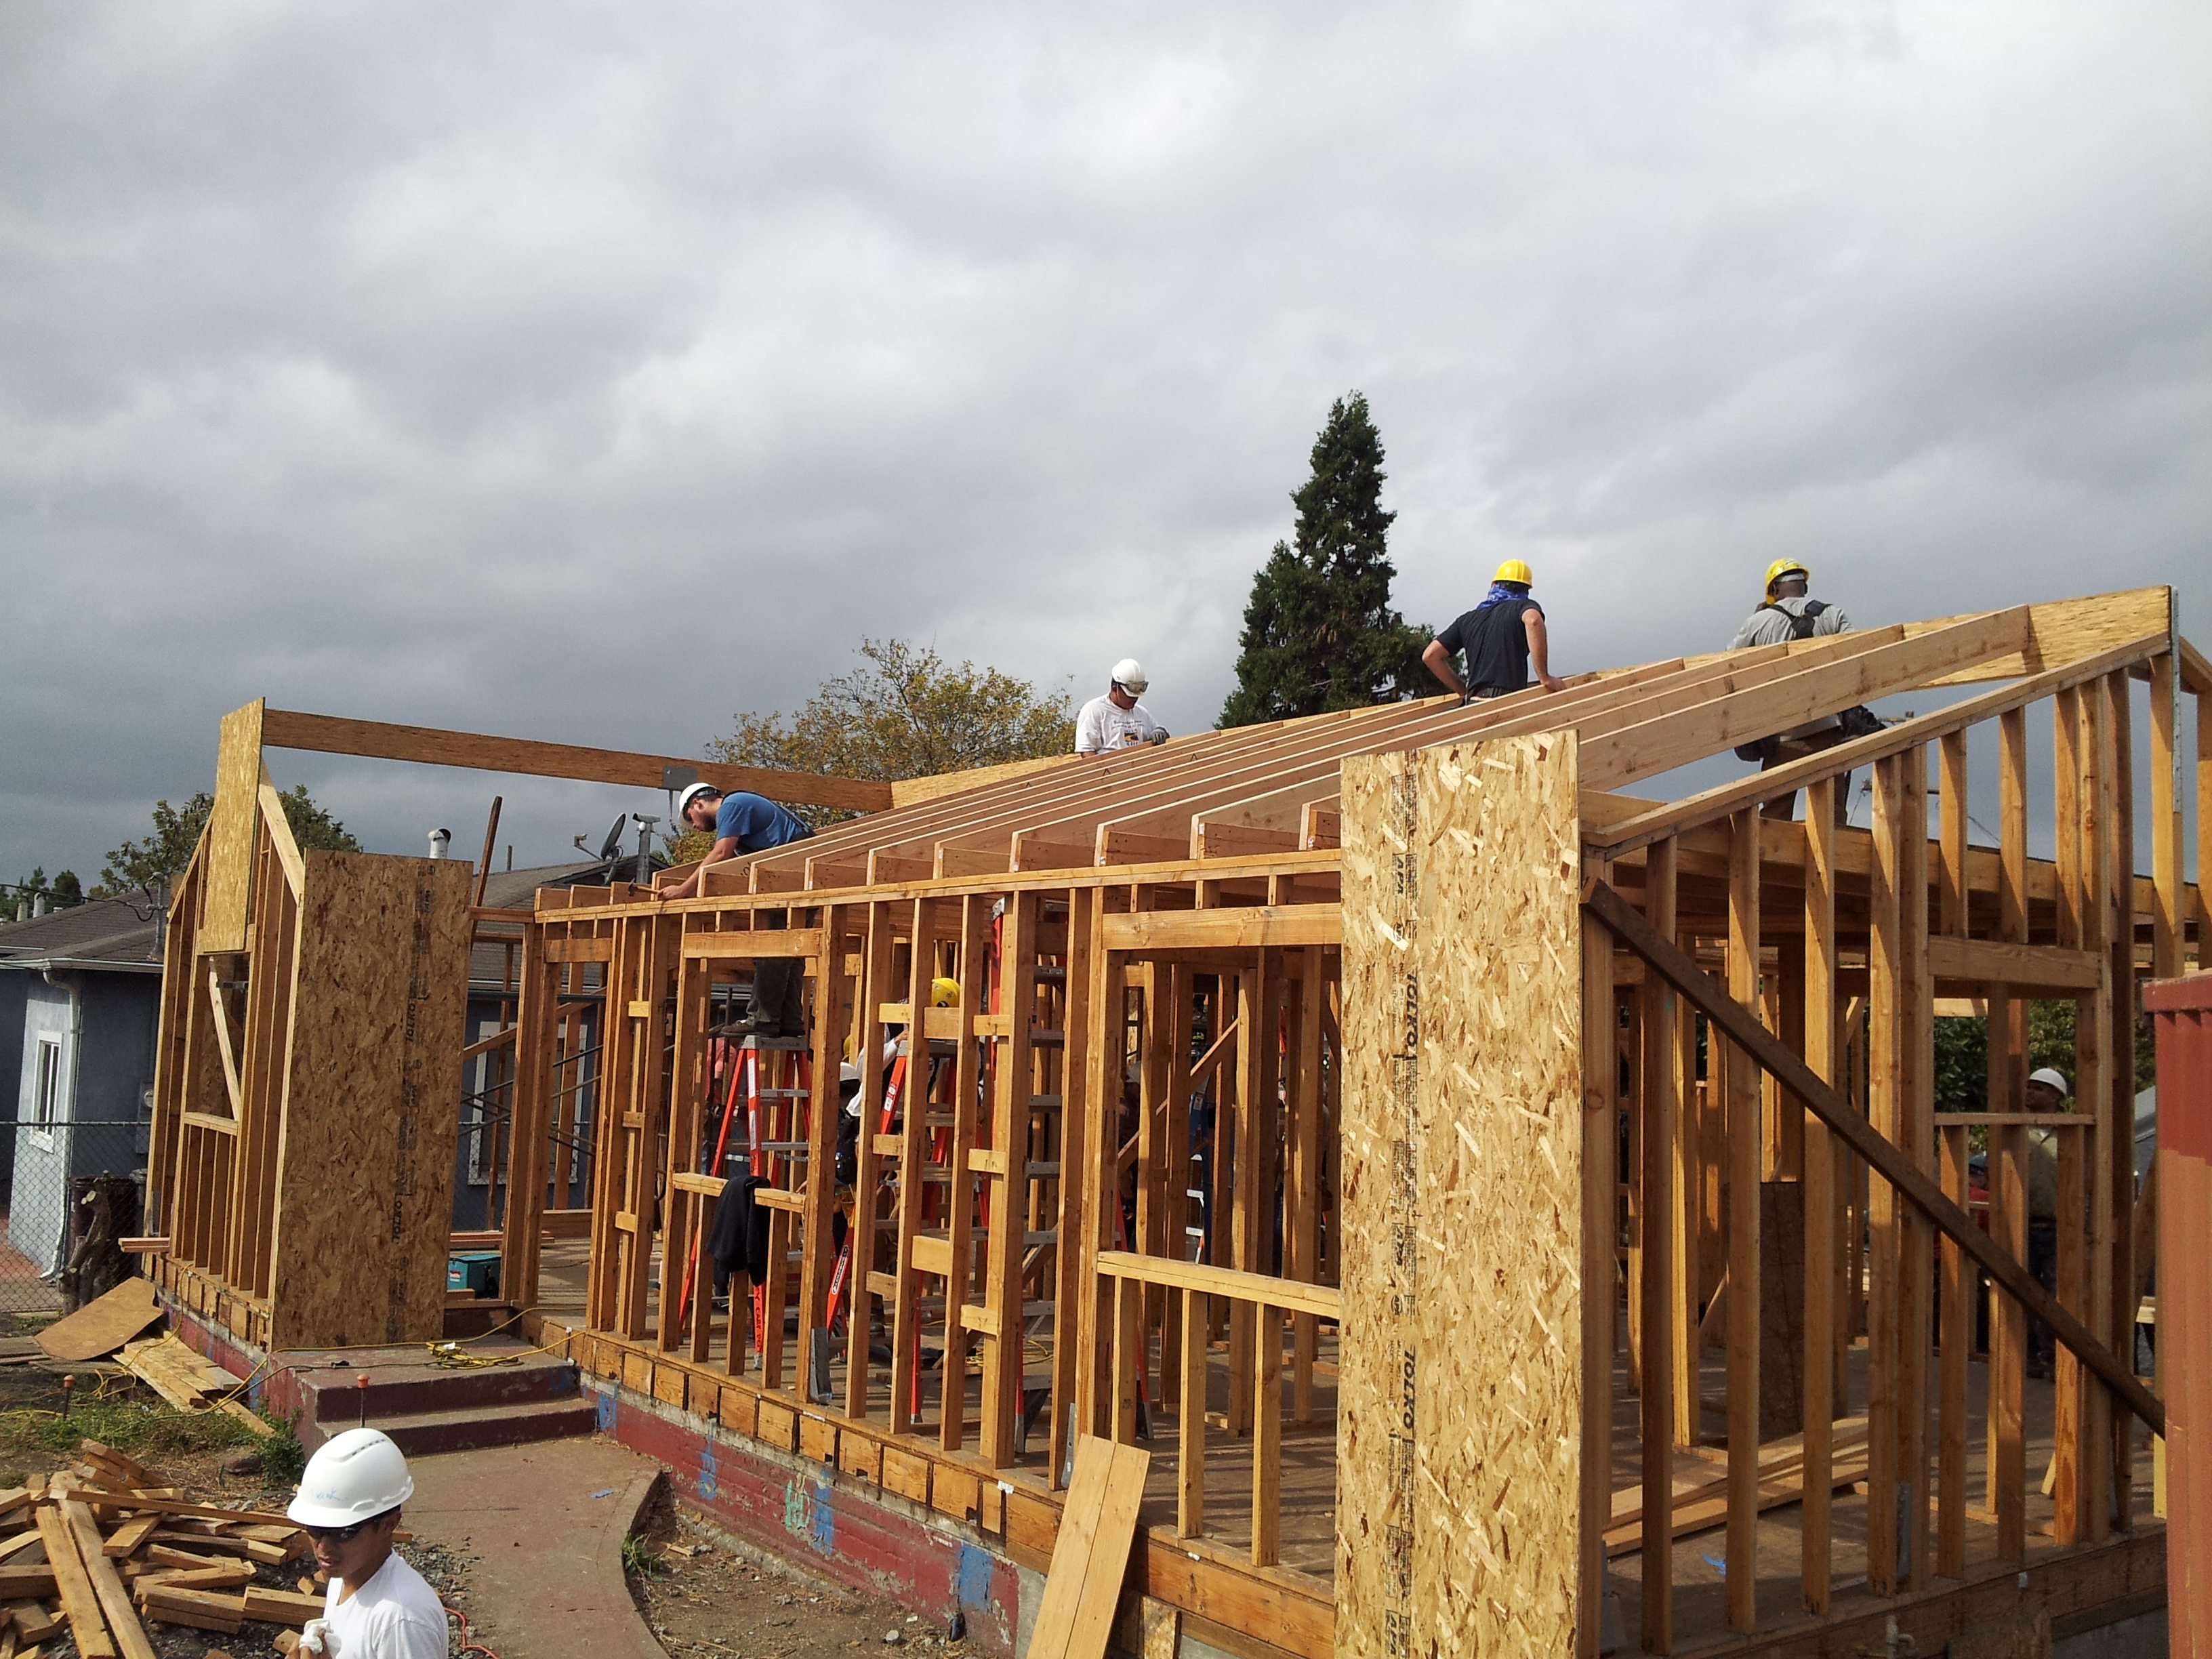
Starting with the foundation addition, which replaced the old slab and attached garage. Here are shots of the temporary shelter we framed to work during the winter months: with occasional visits from the locals…
We placed almost 9 yards of concrete with 15% fly ash. This replaced the slab from the original garage which space allowed us to create a 3 bedroom 2 bath home.
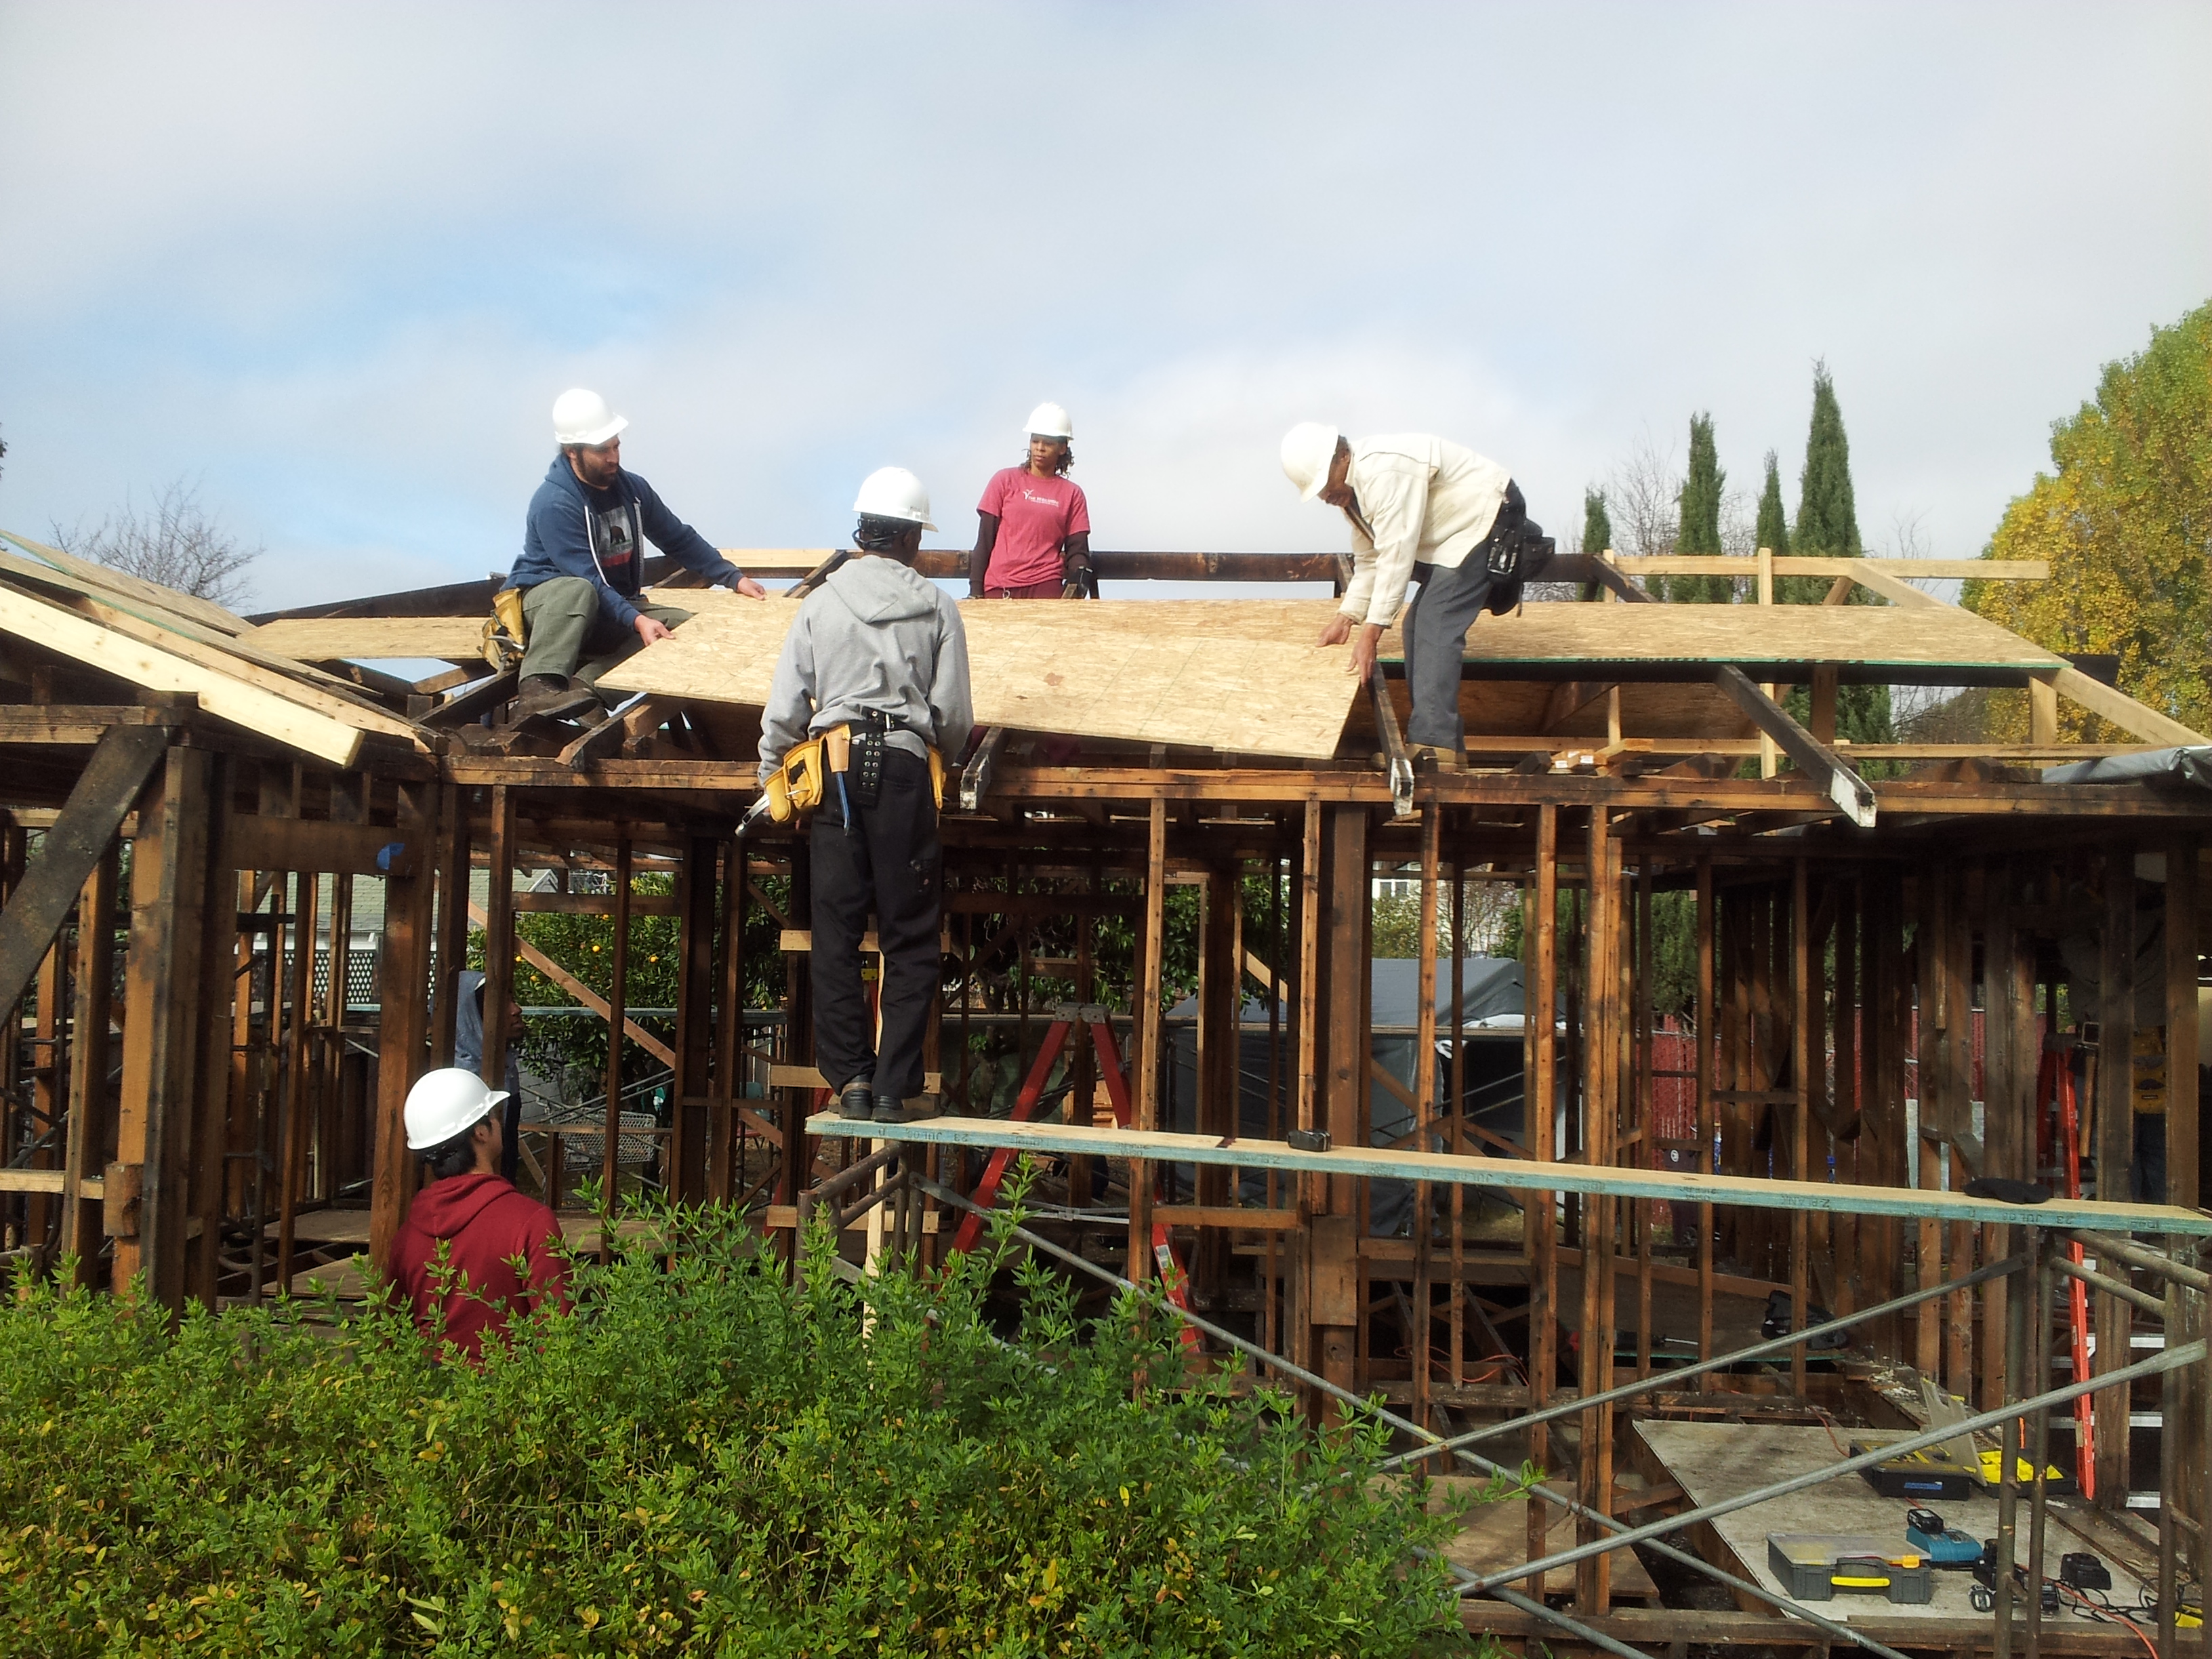
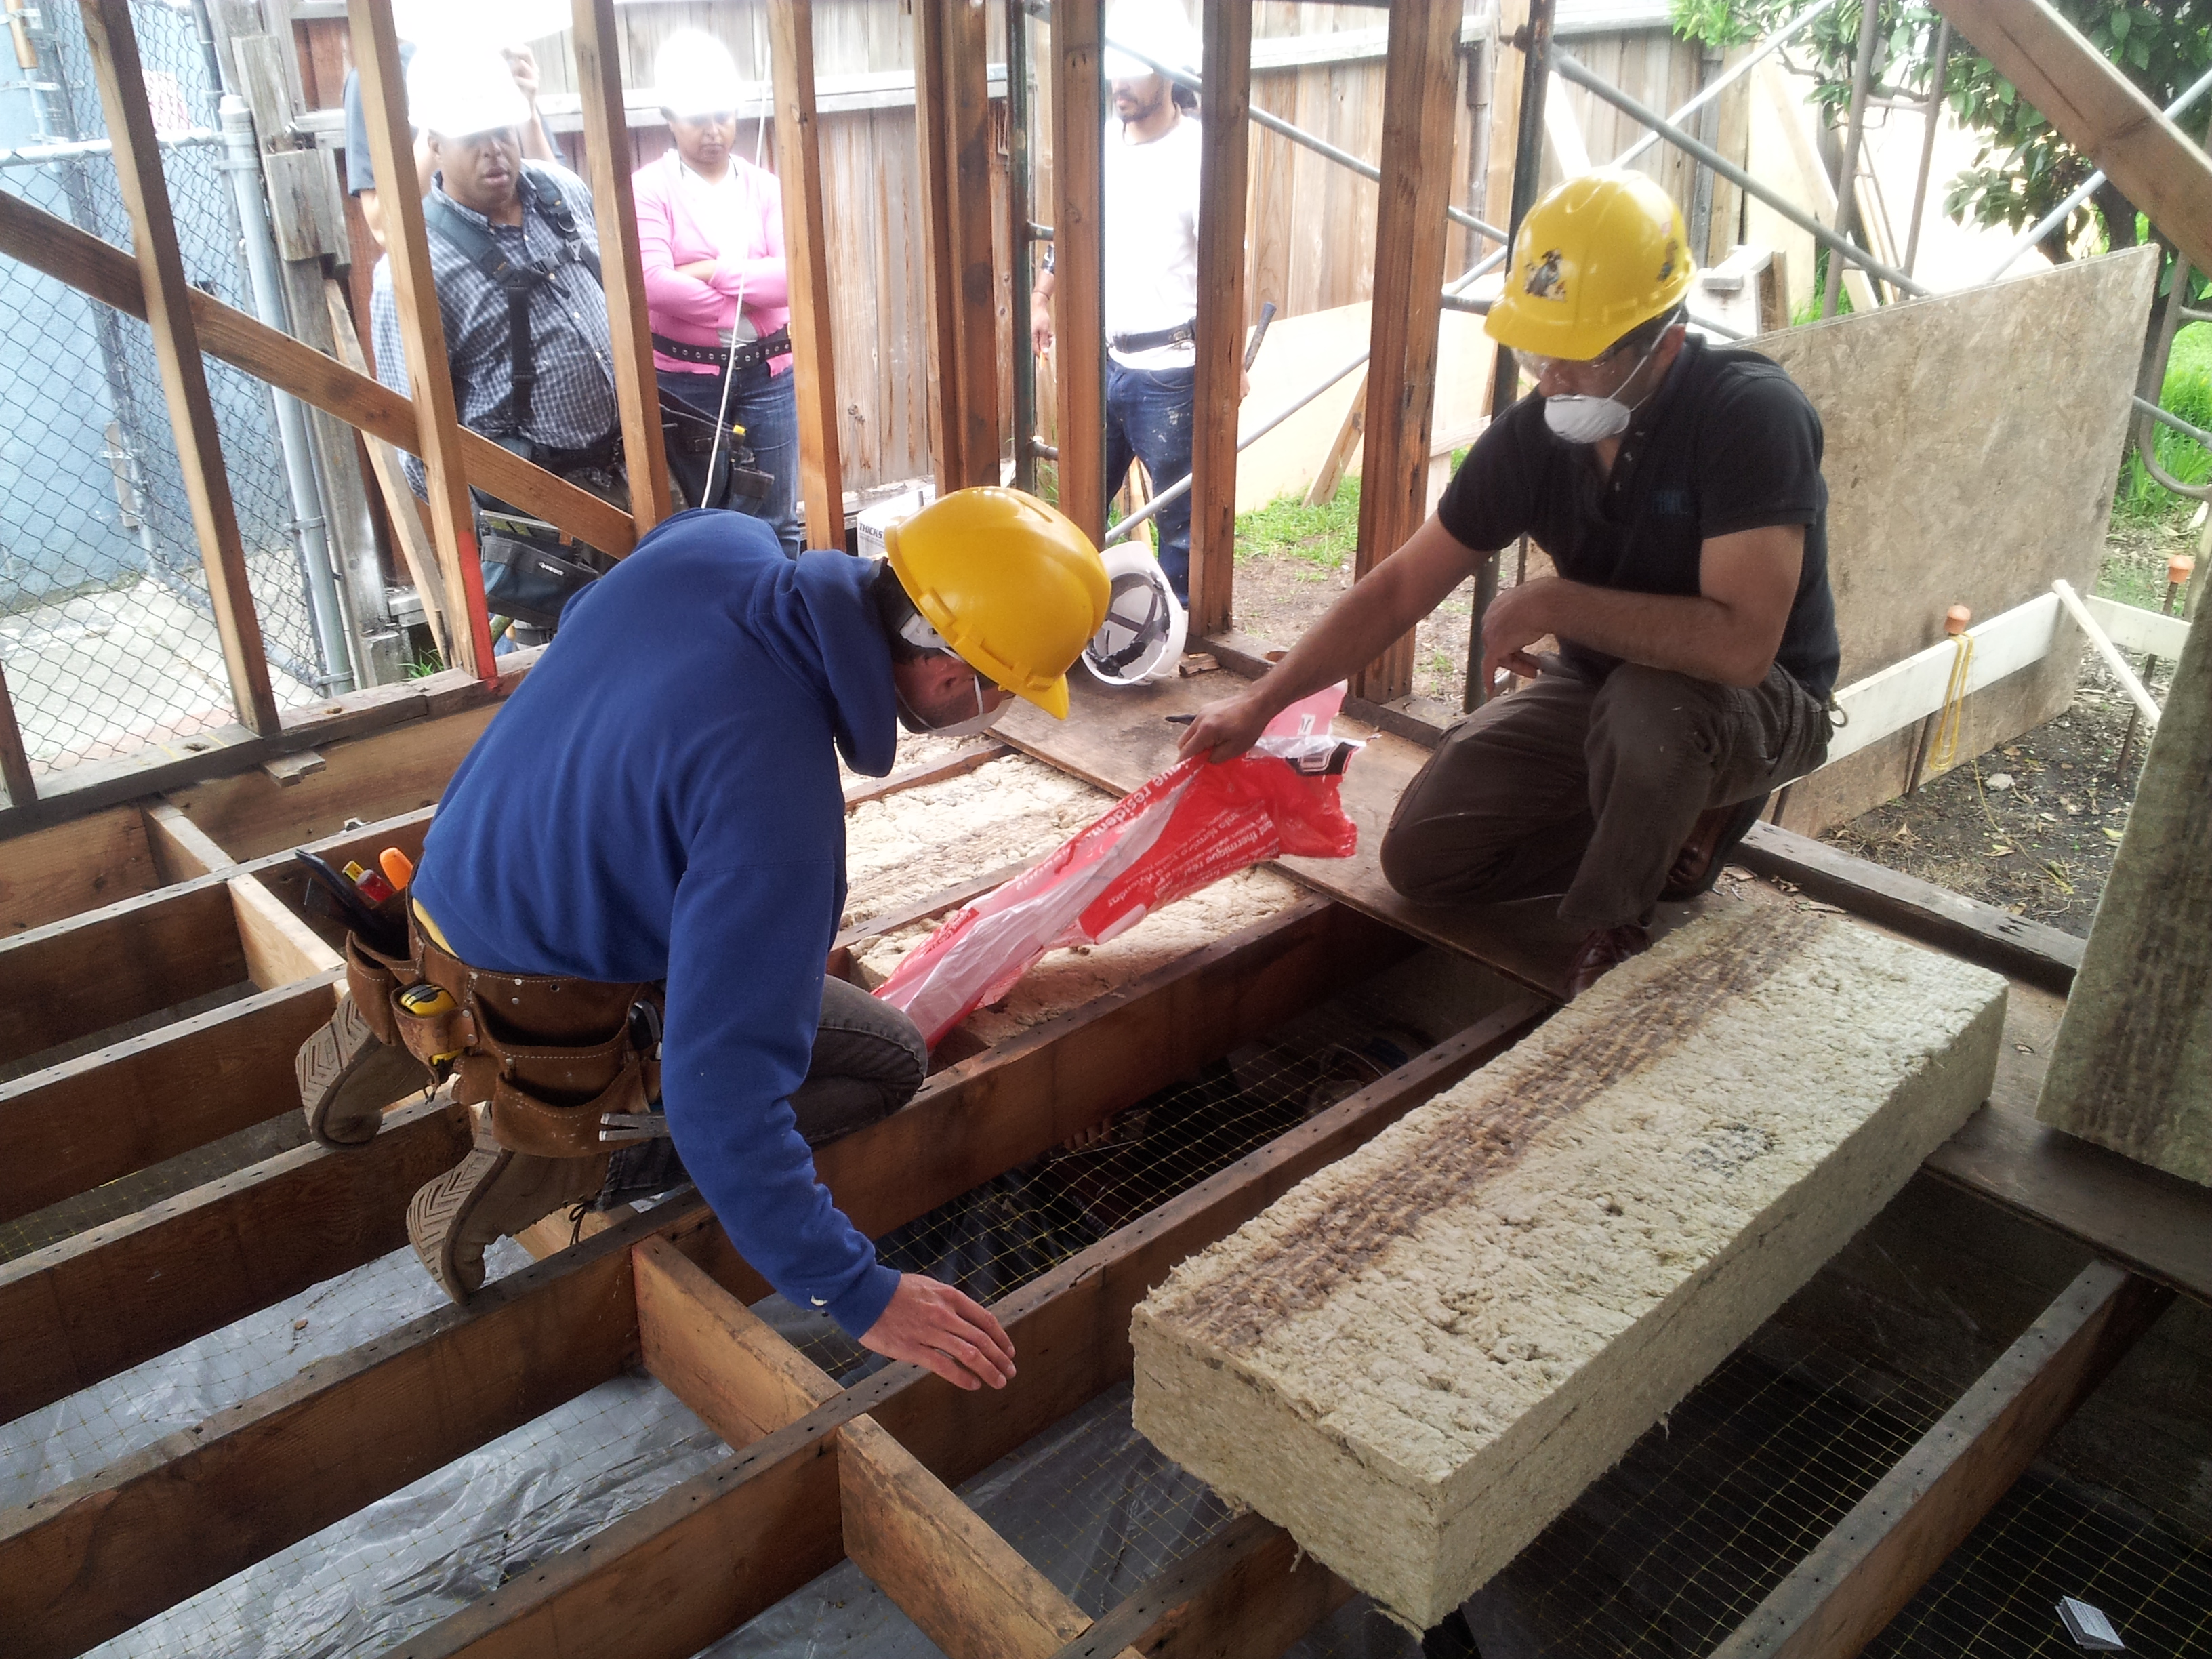
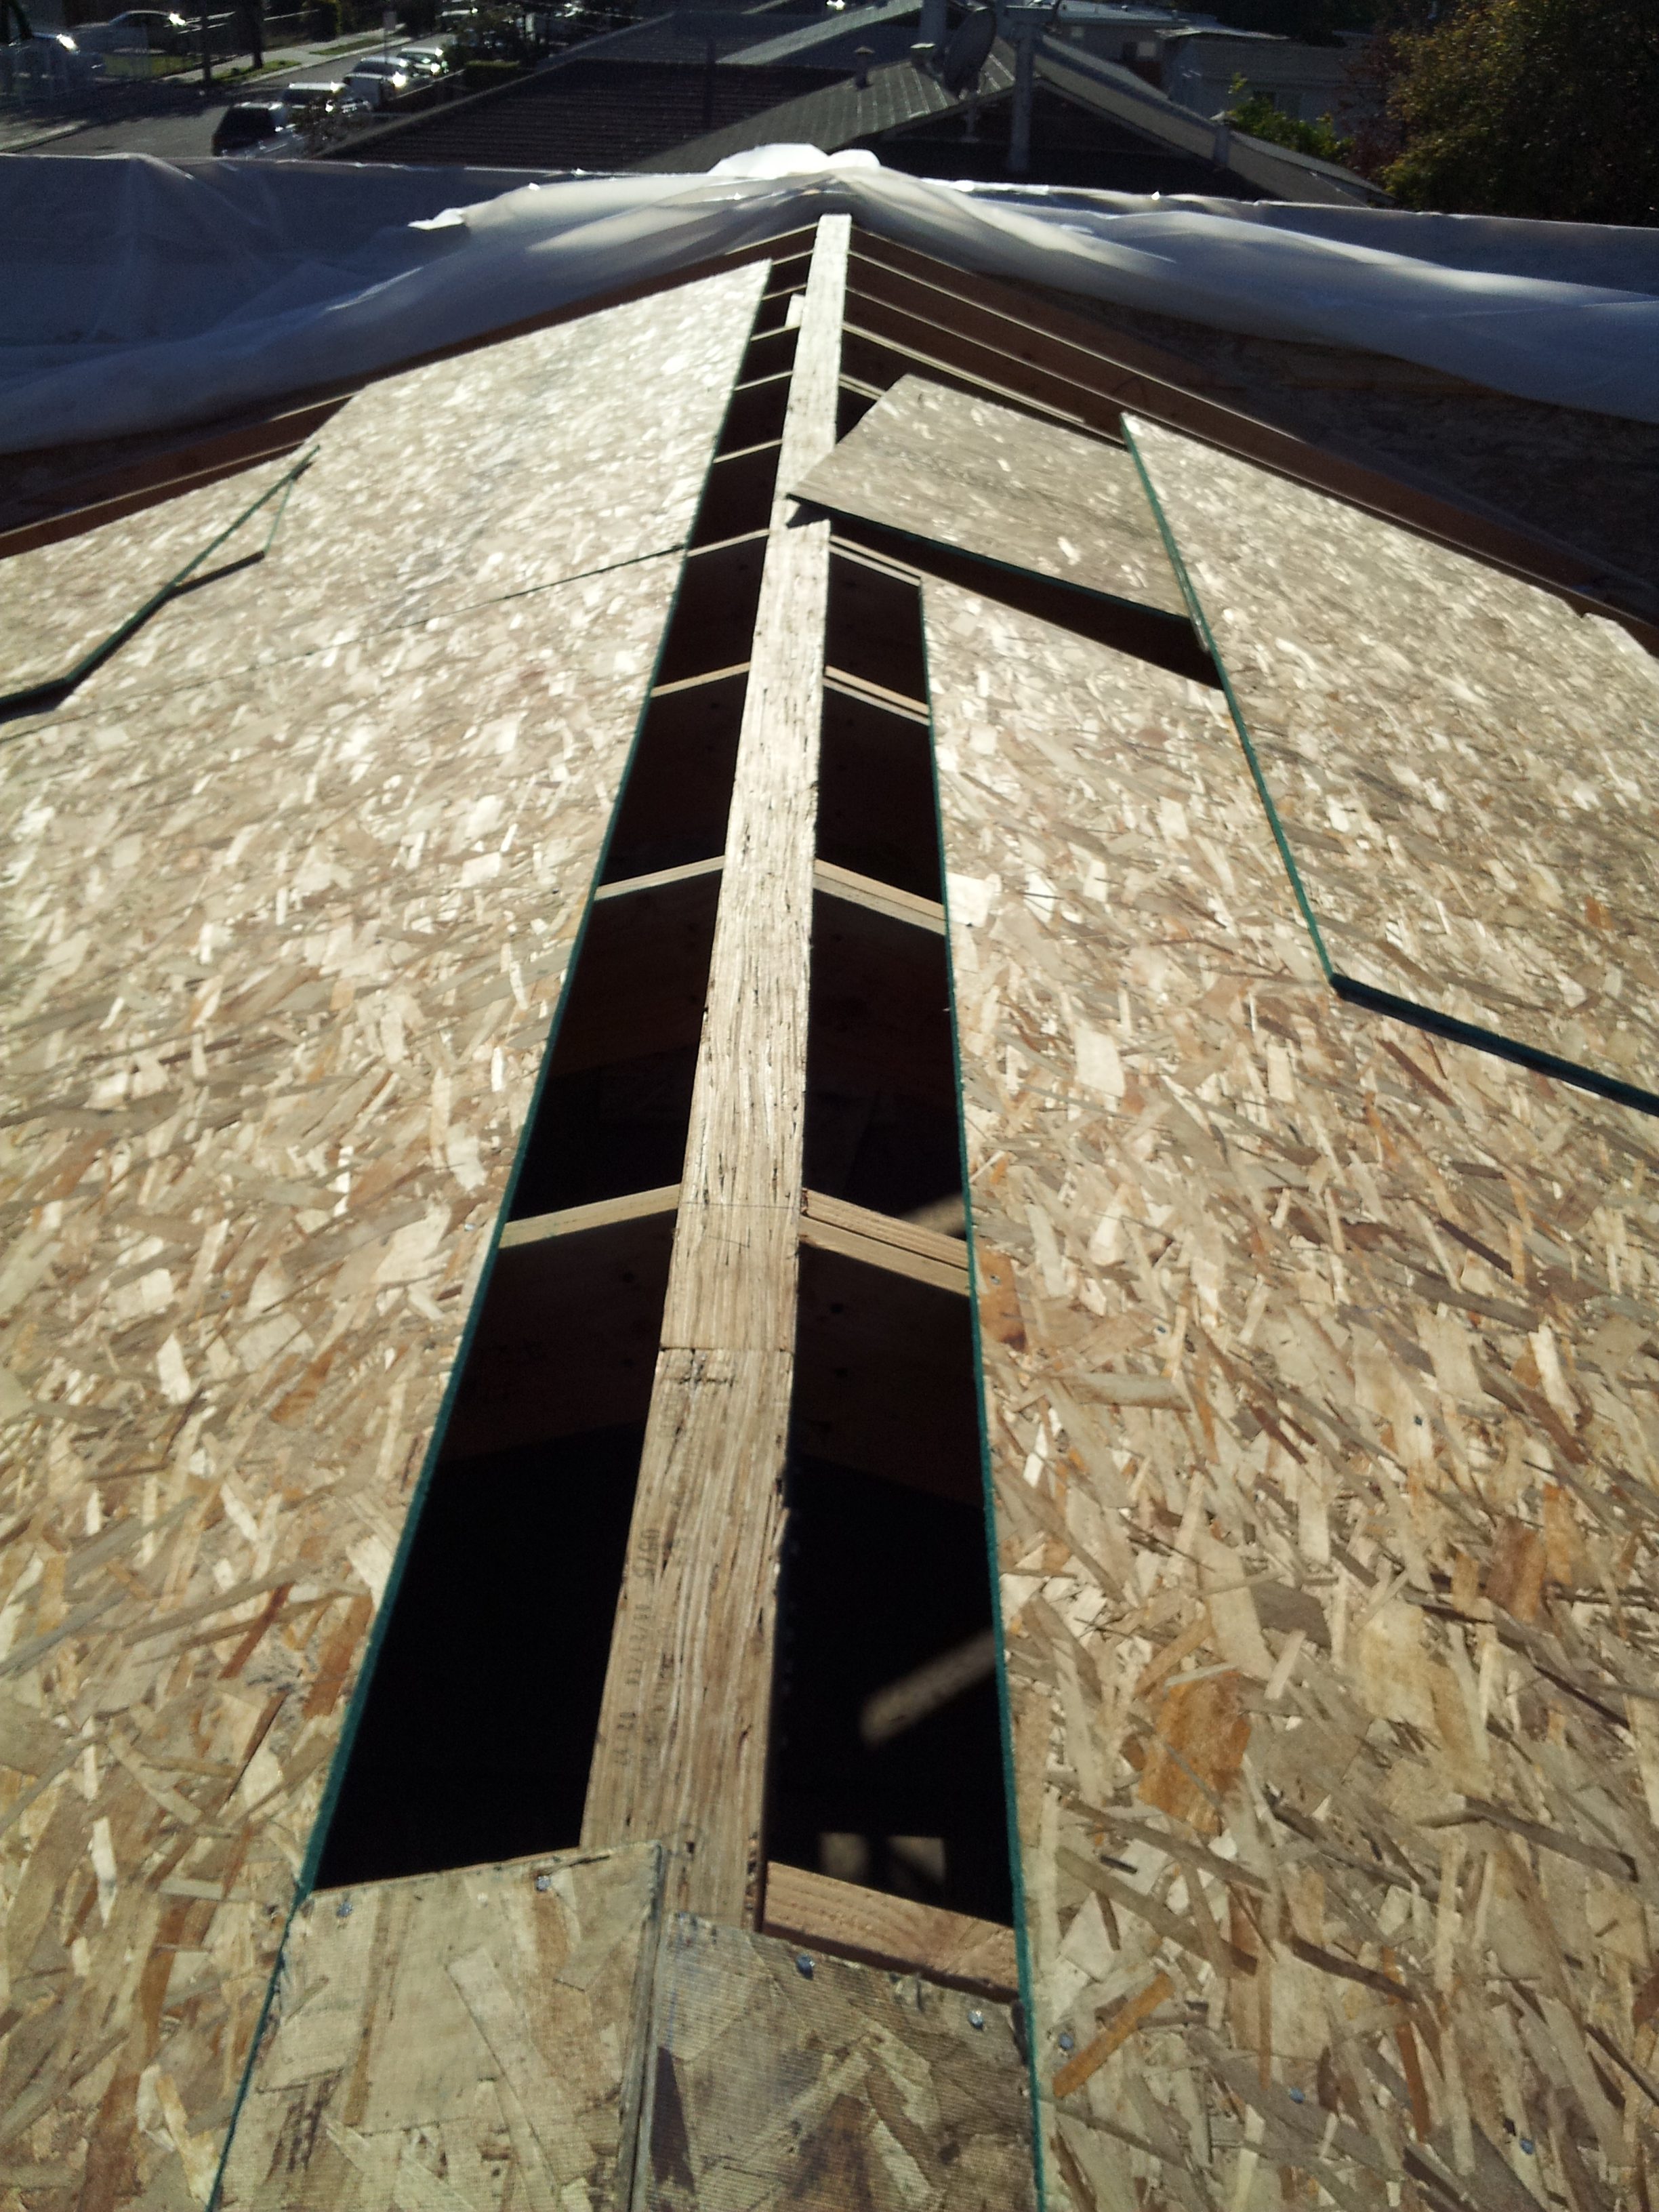
Soon We were framing in the remaining (2×8) joists and insulating the existing floor joists with Roxul batts, (mineral wool R/30). But first we chose to put up temporary roof sheathing to allow us to cover the roof with plastic- protecting us from the elements.
Mineral Wool: cuts like cake: water resistant, fire resistant and much greater sound attenuation than fiberglass…
The upper Ridge (4×14) Parallam connecting the new south/east wall atop the new perimeter foundation…
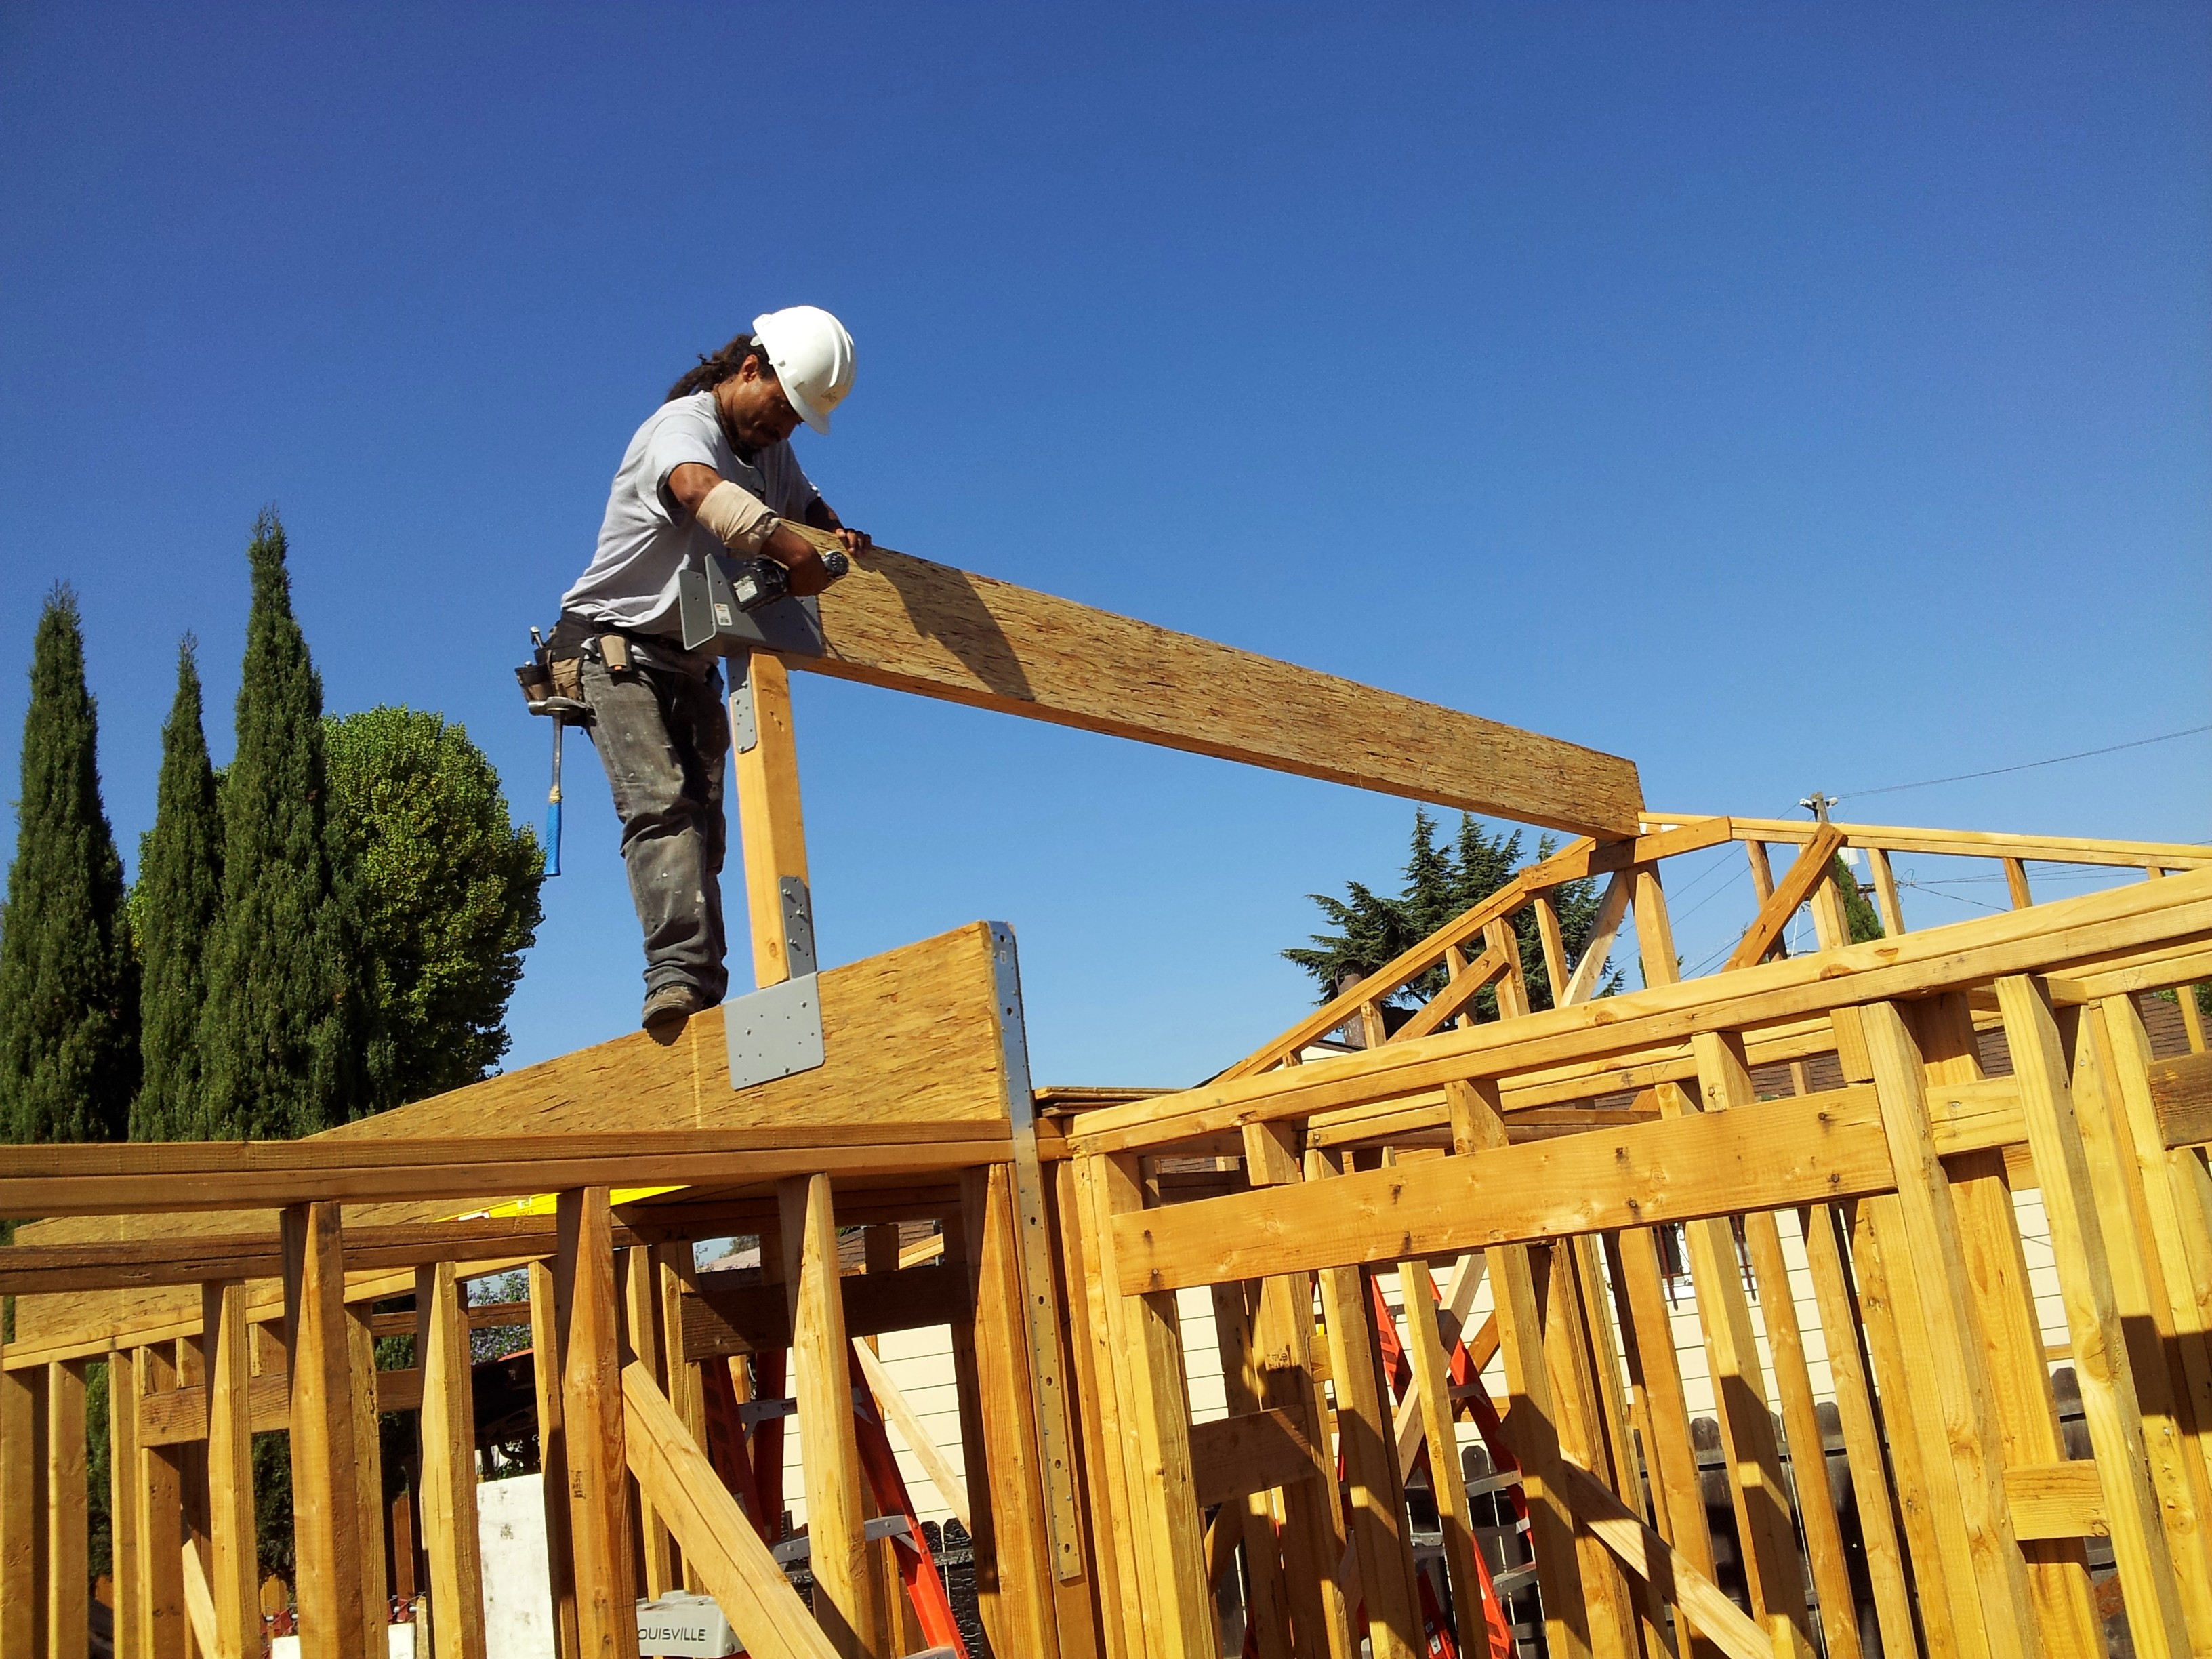
Extending it to the other roof ridge over the “great room” (kitchen/living room)
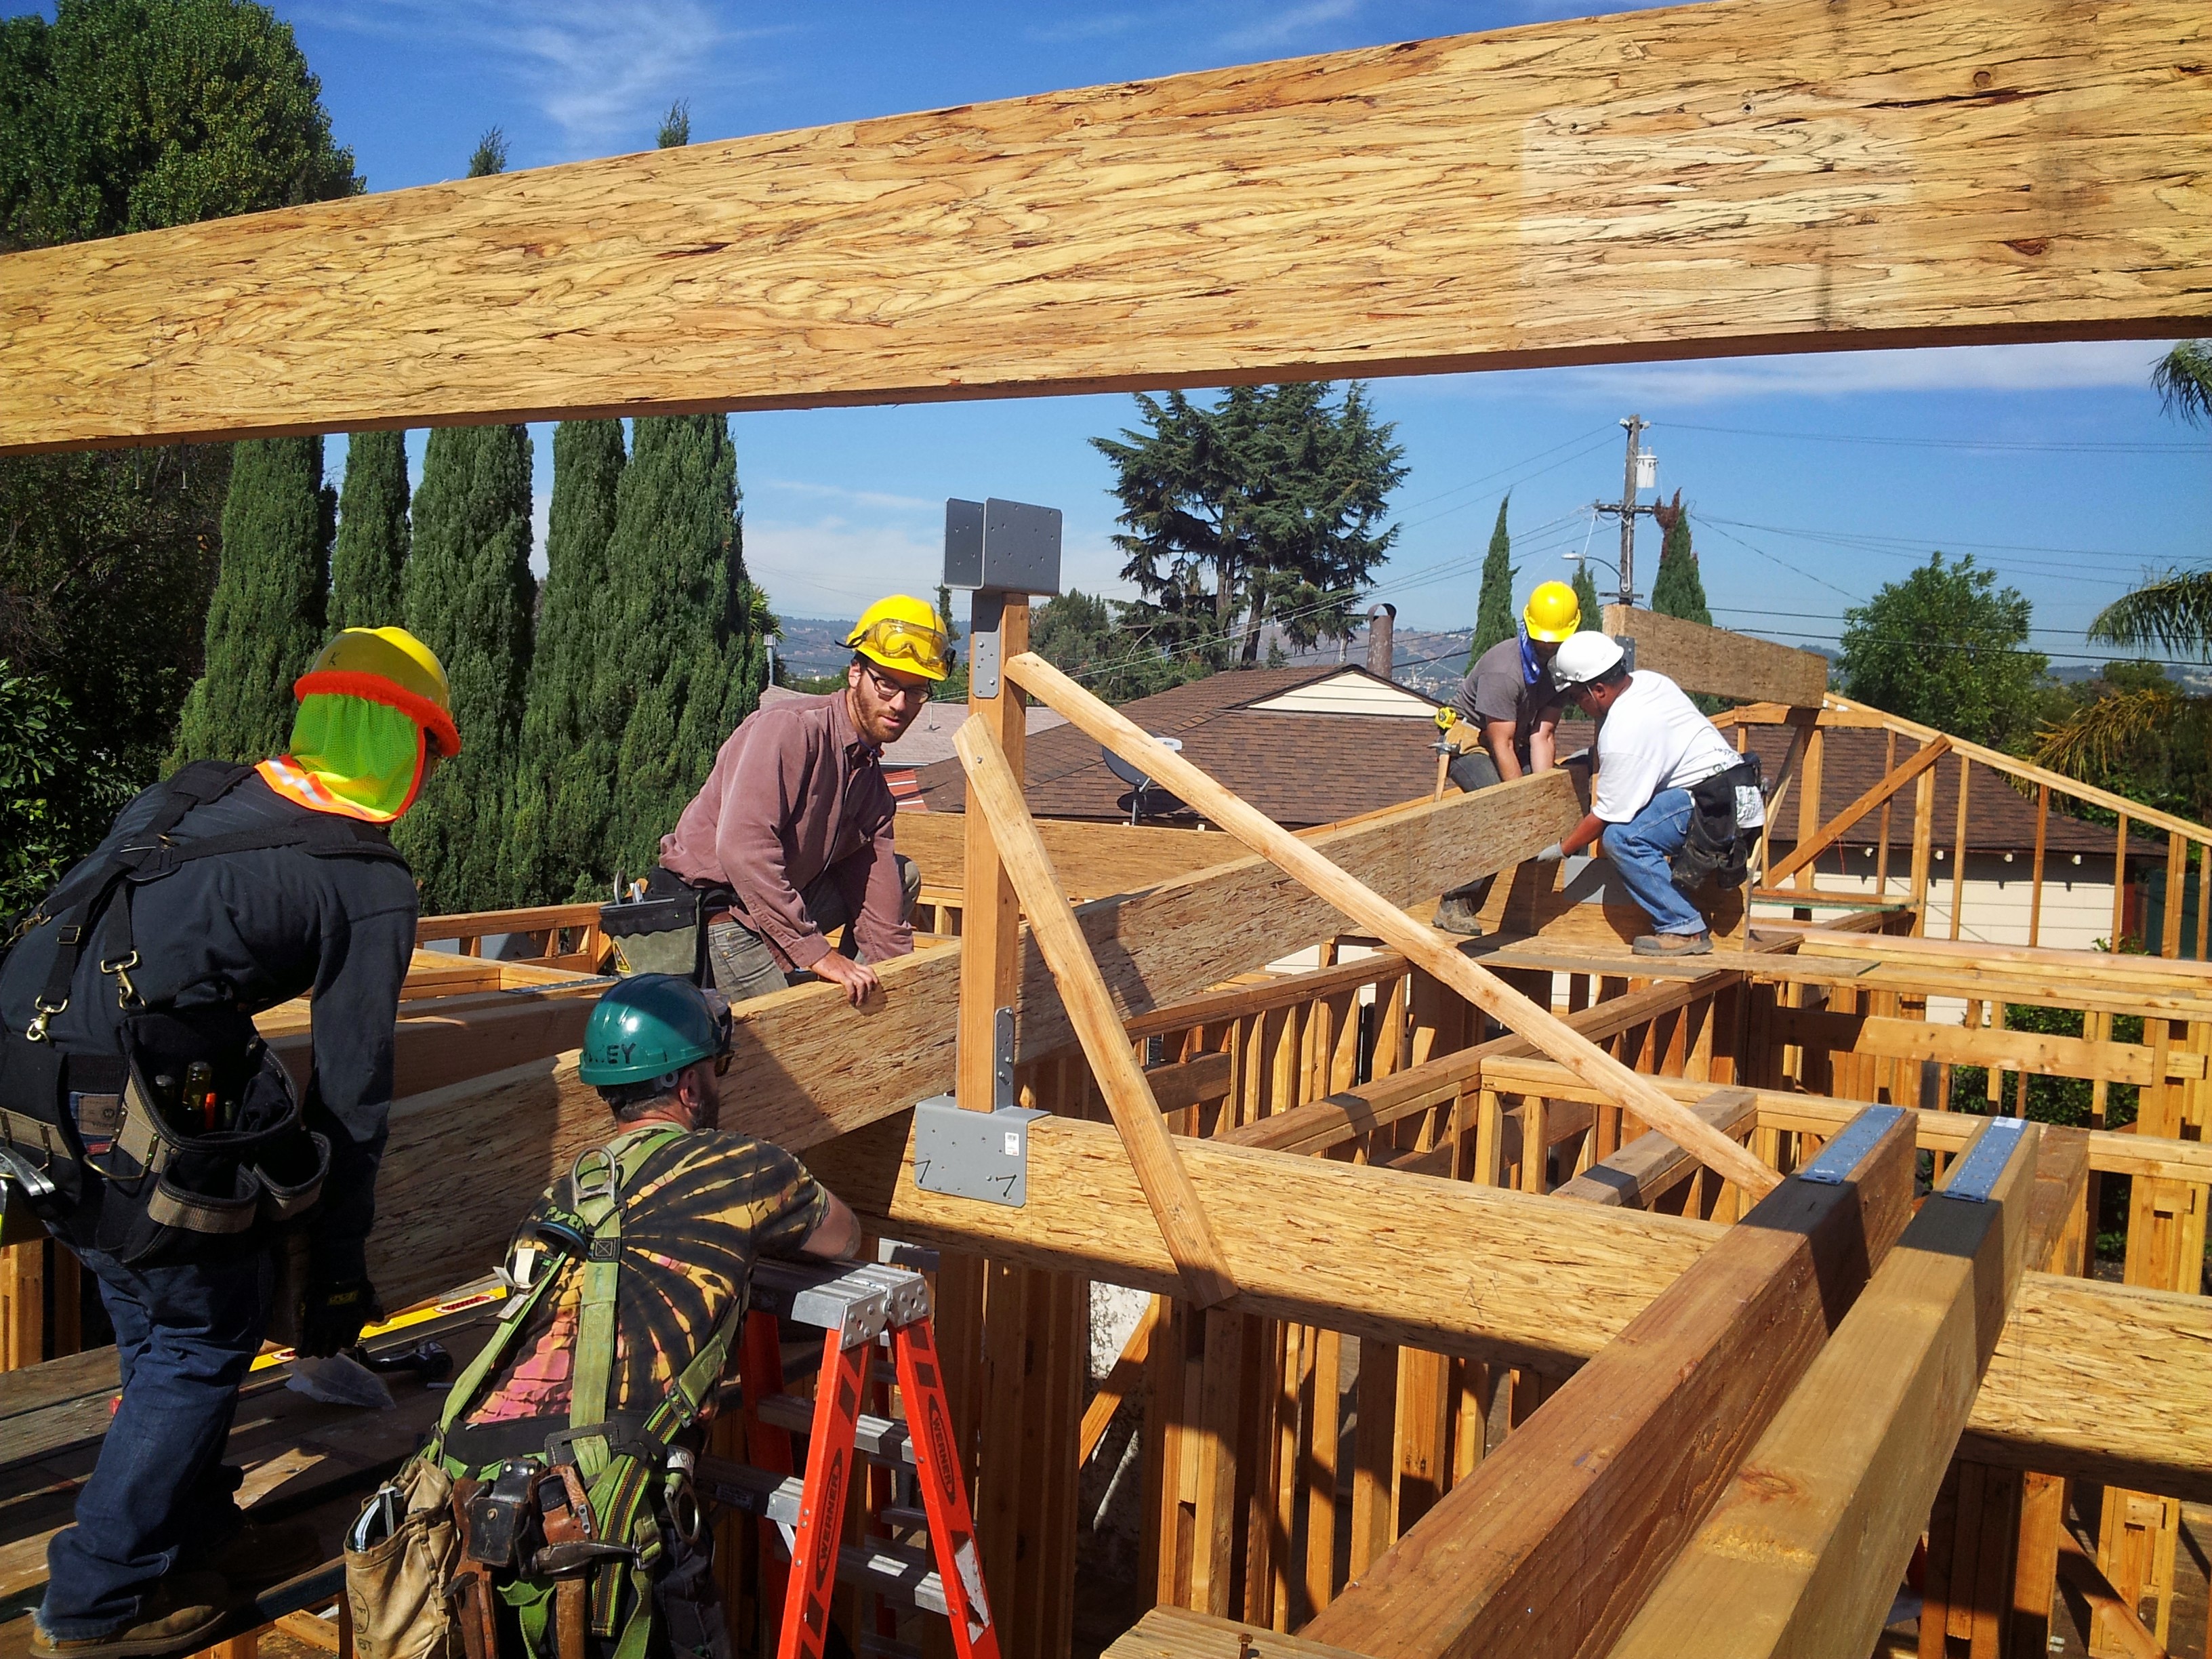
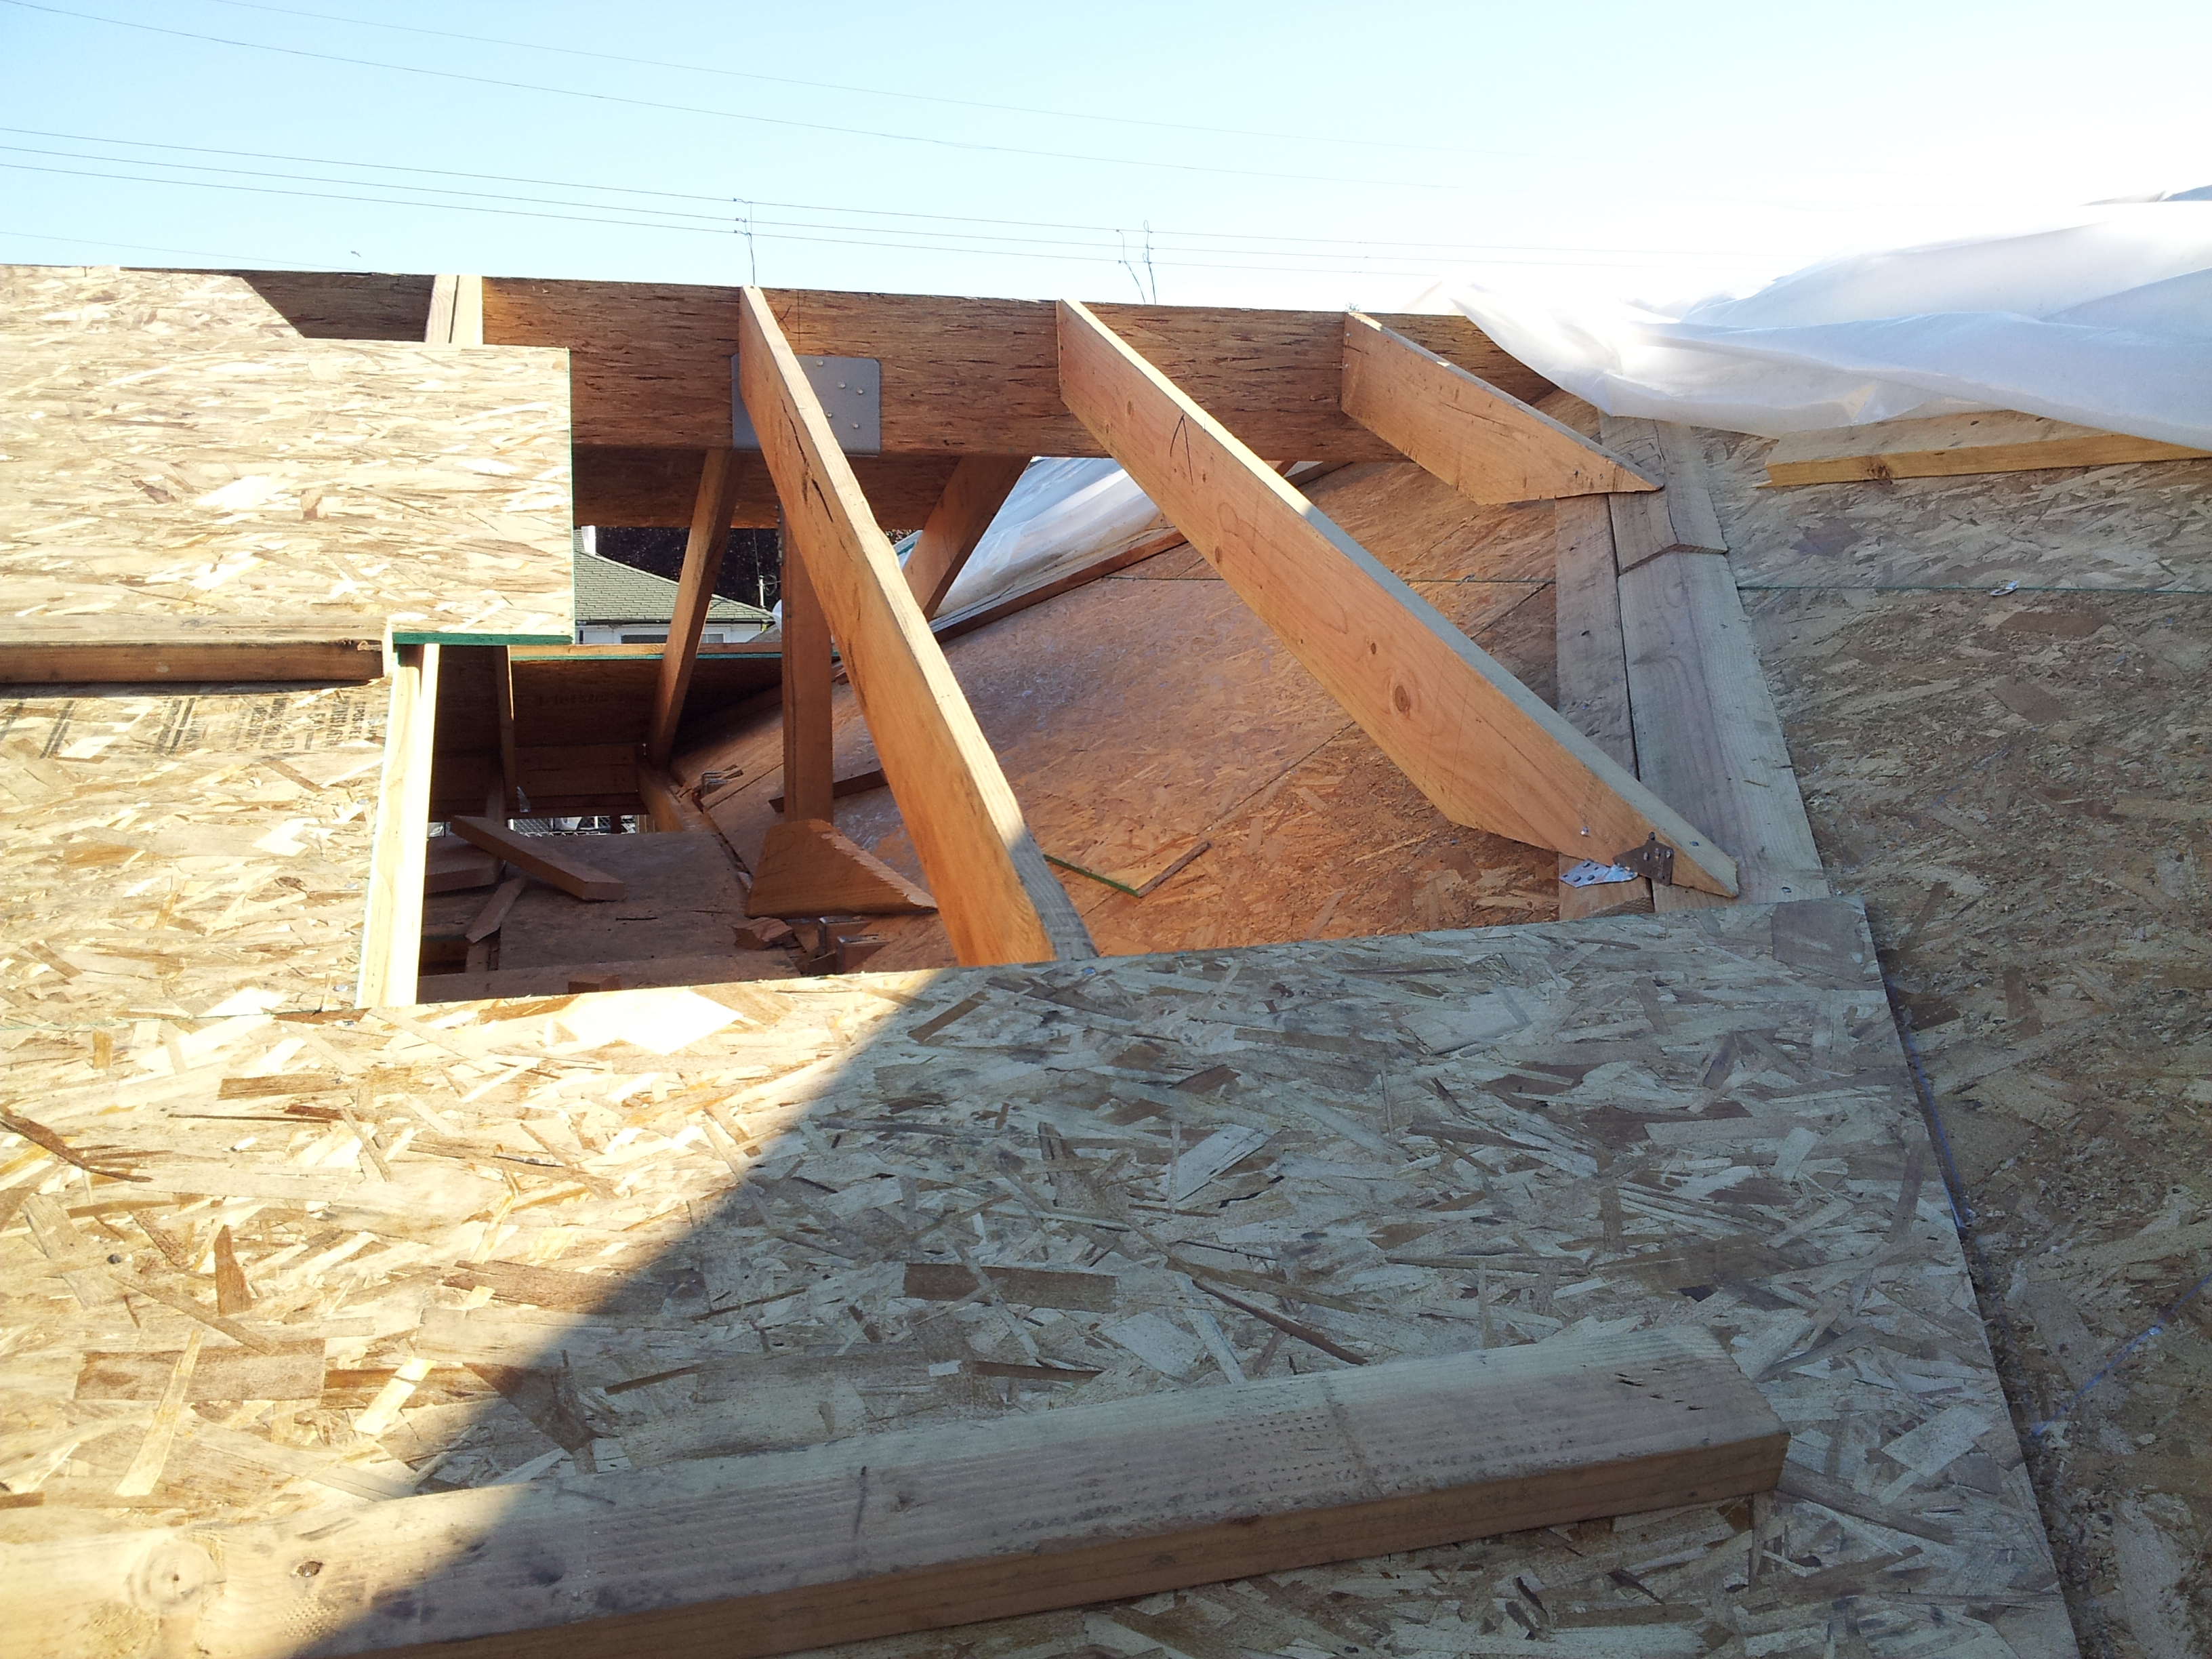
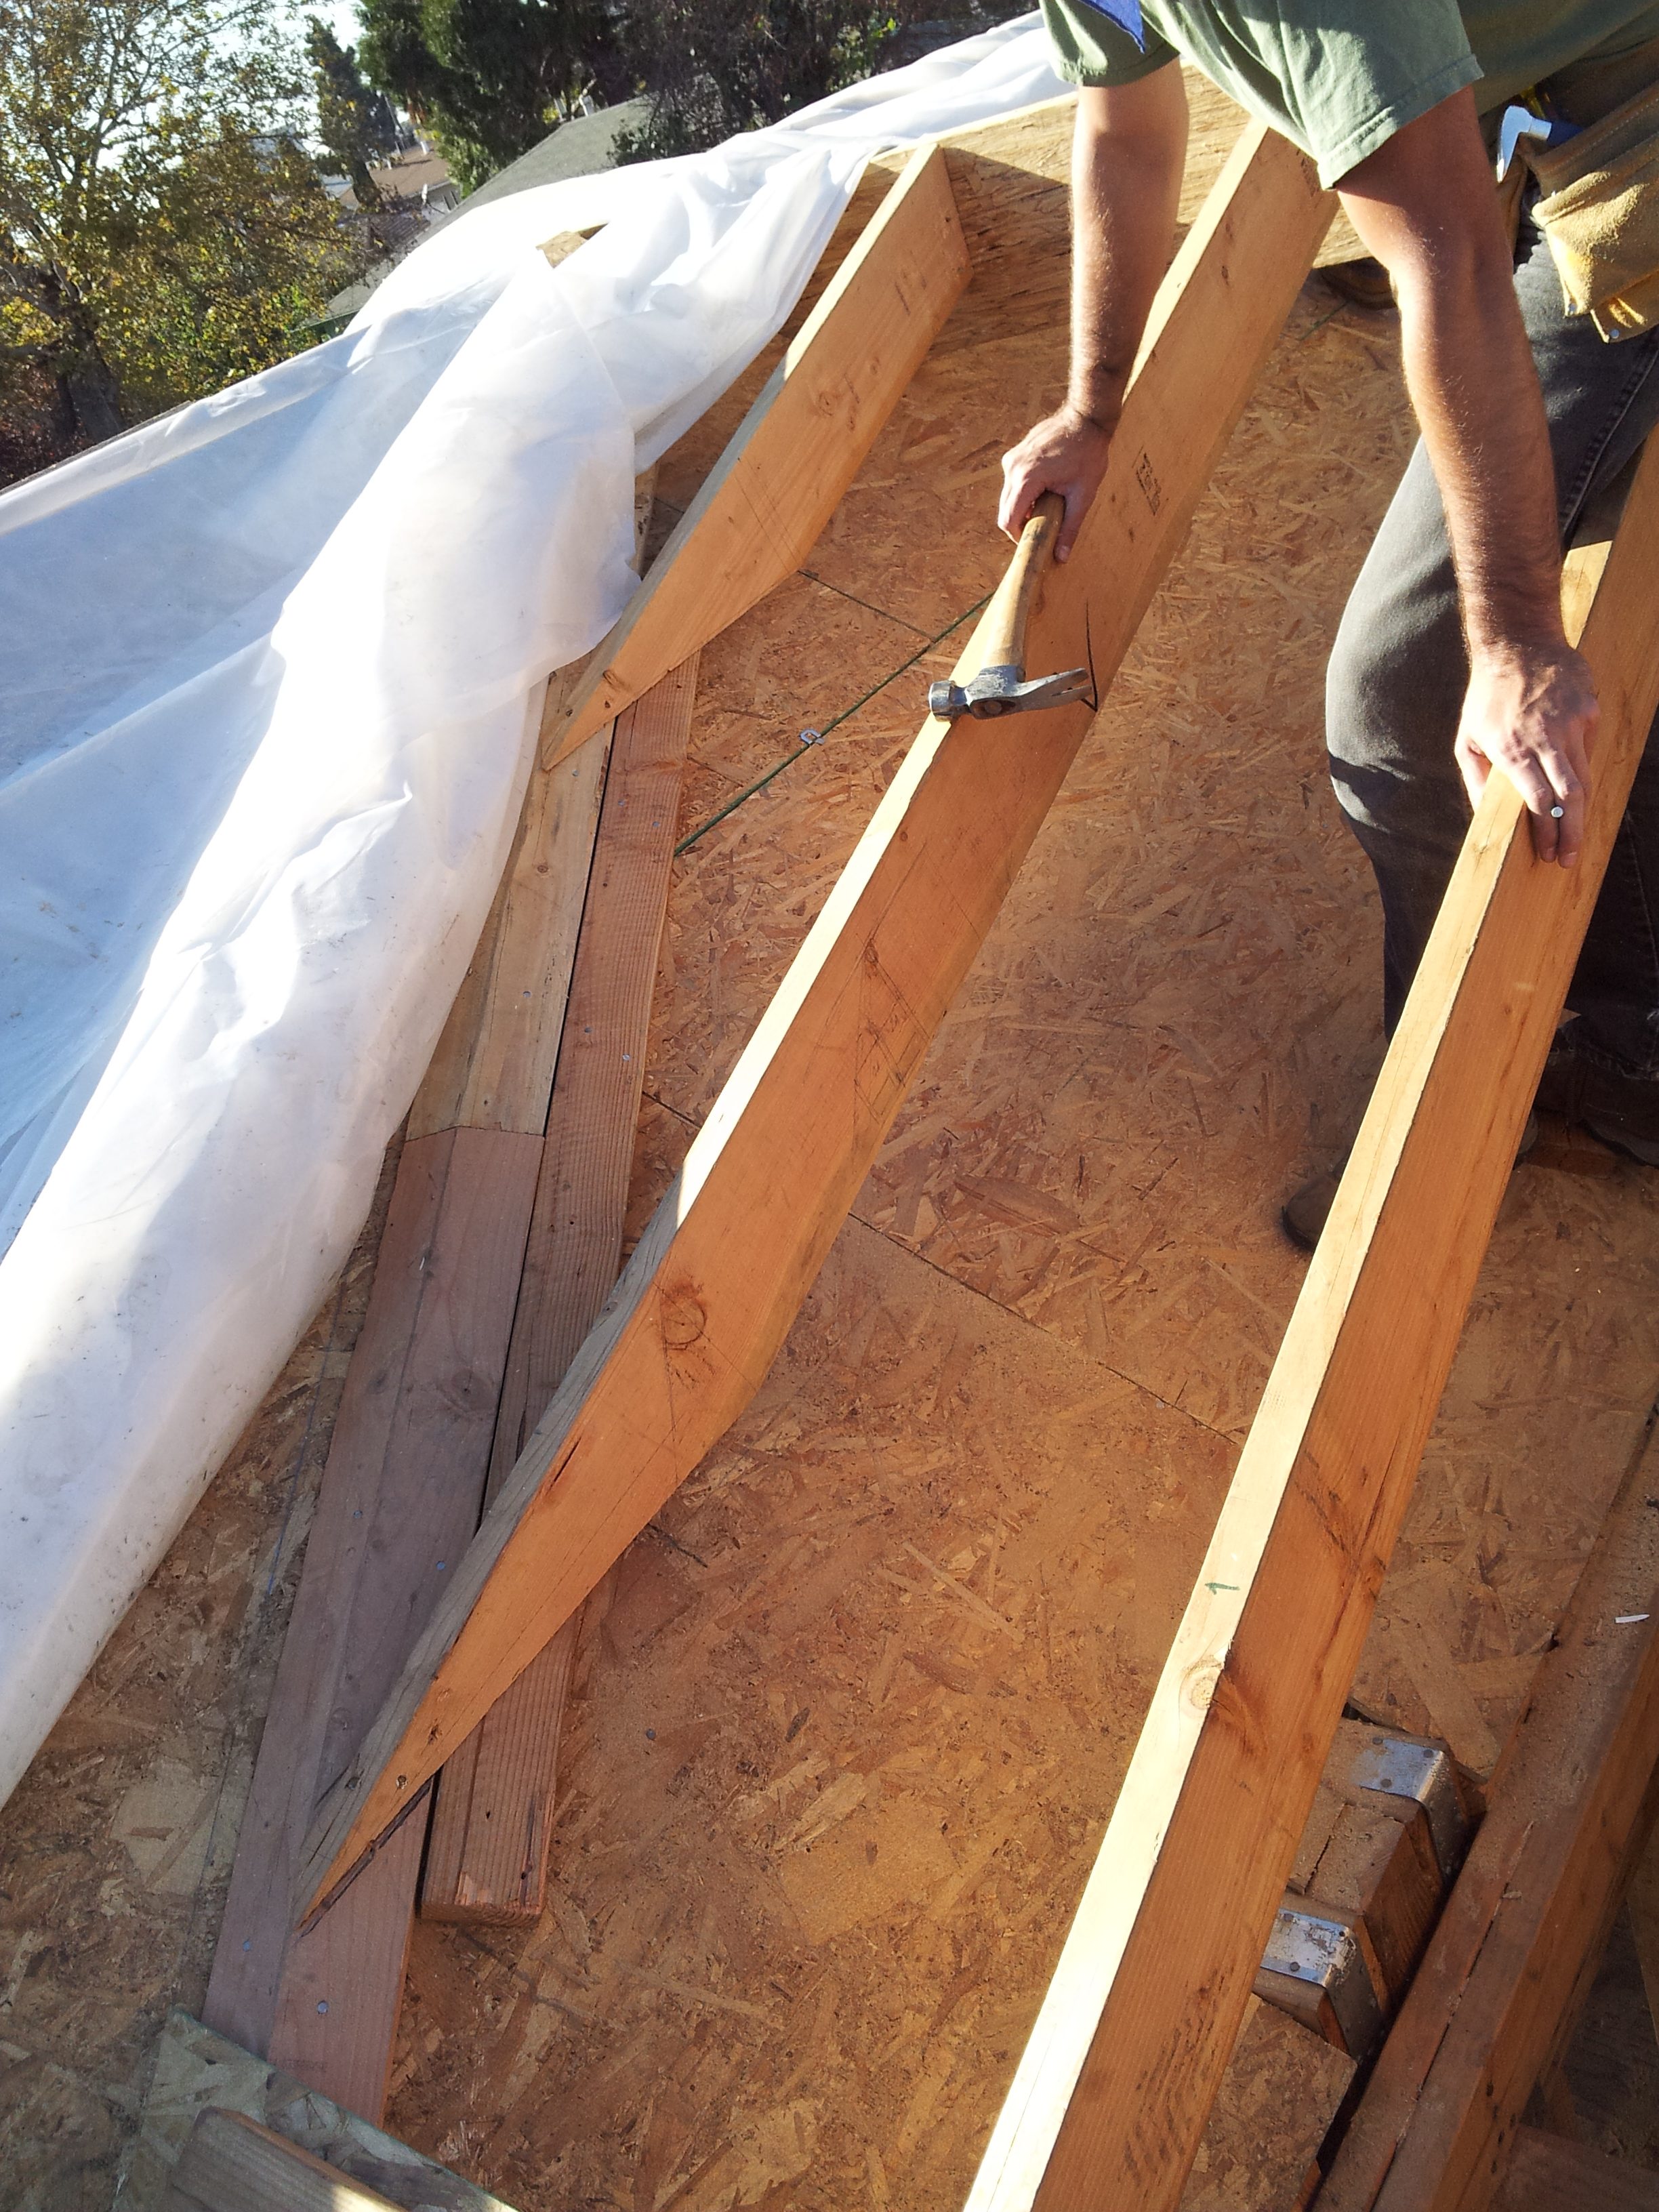
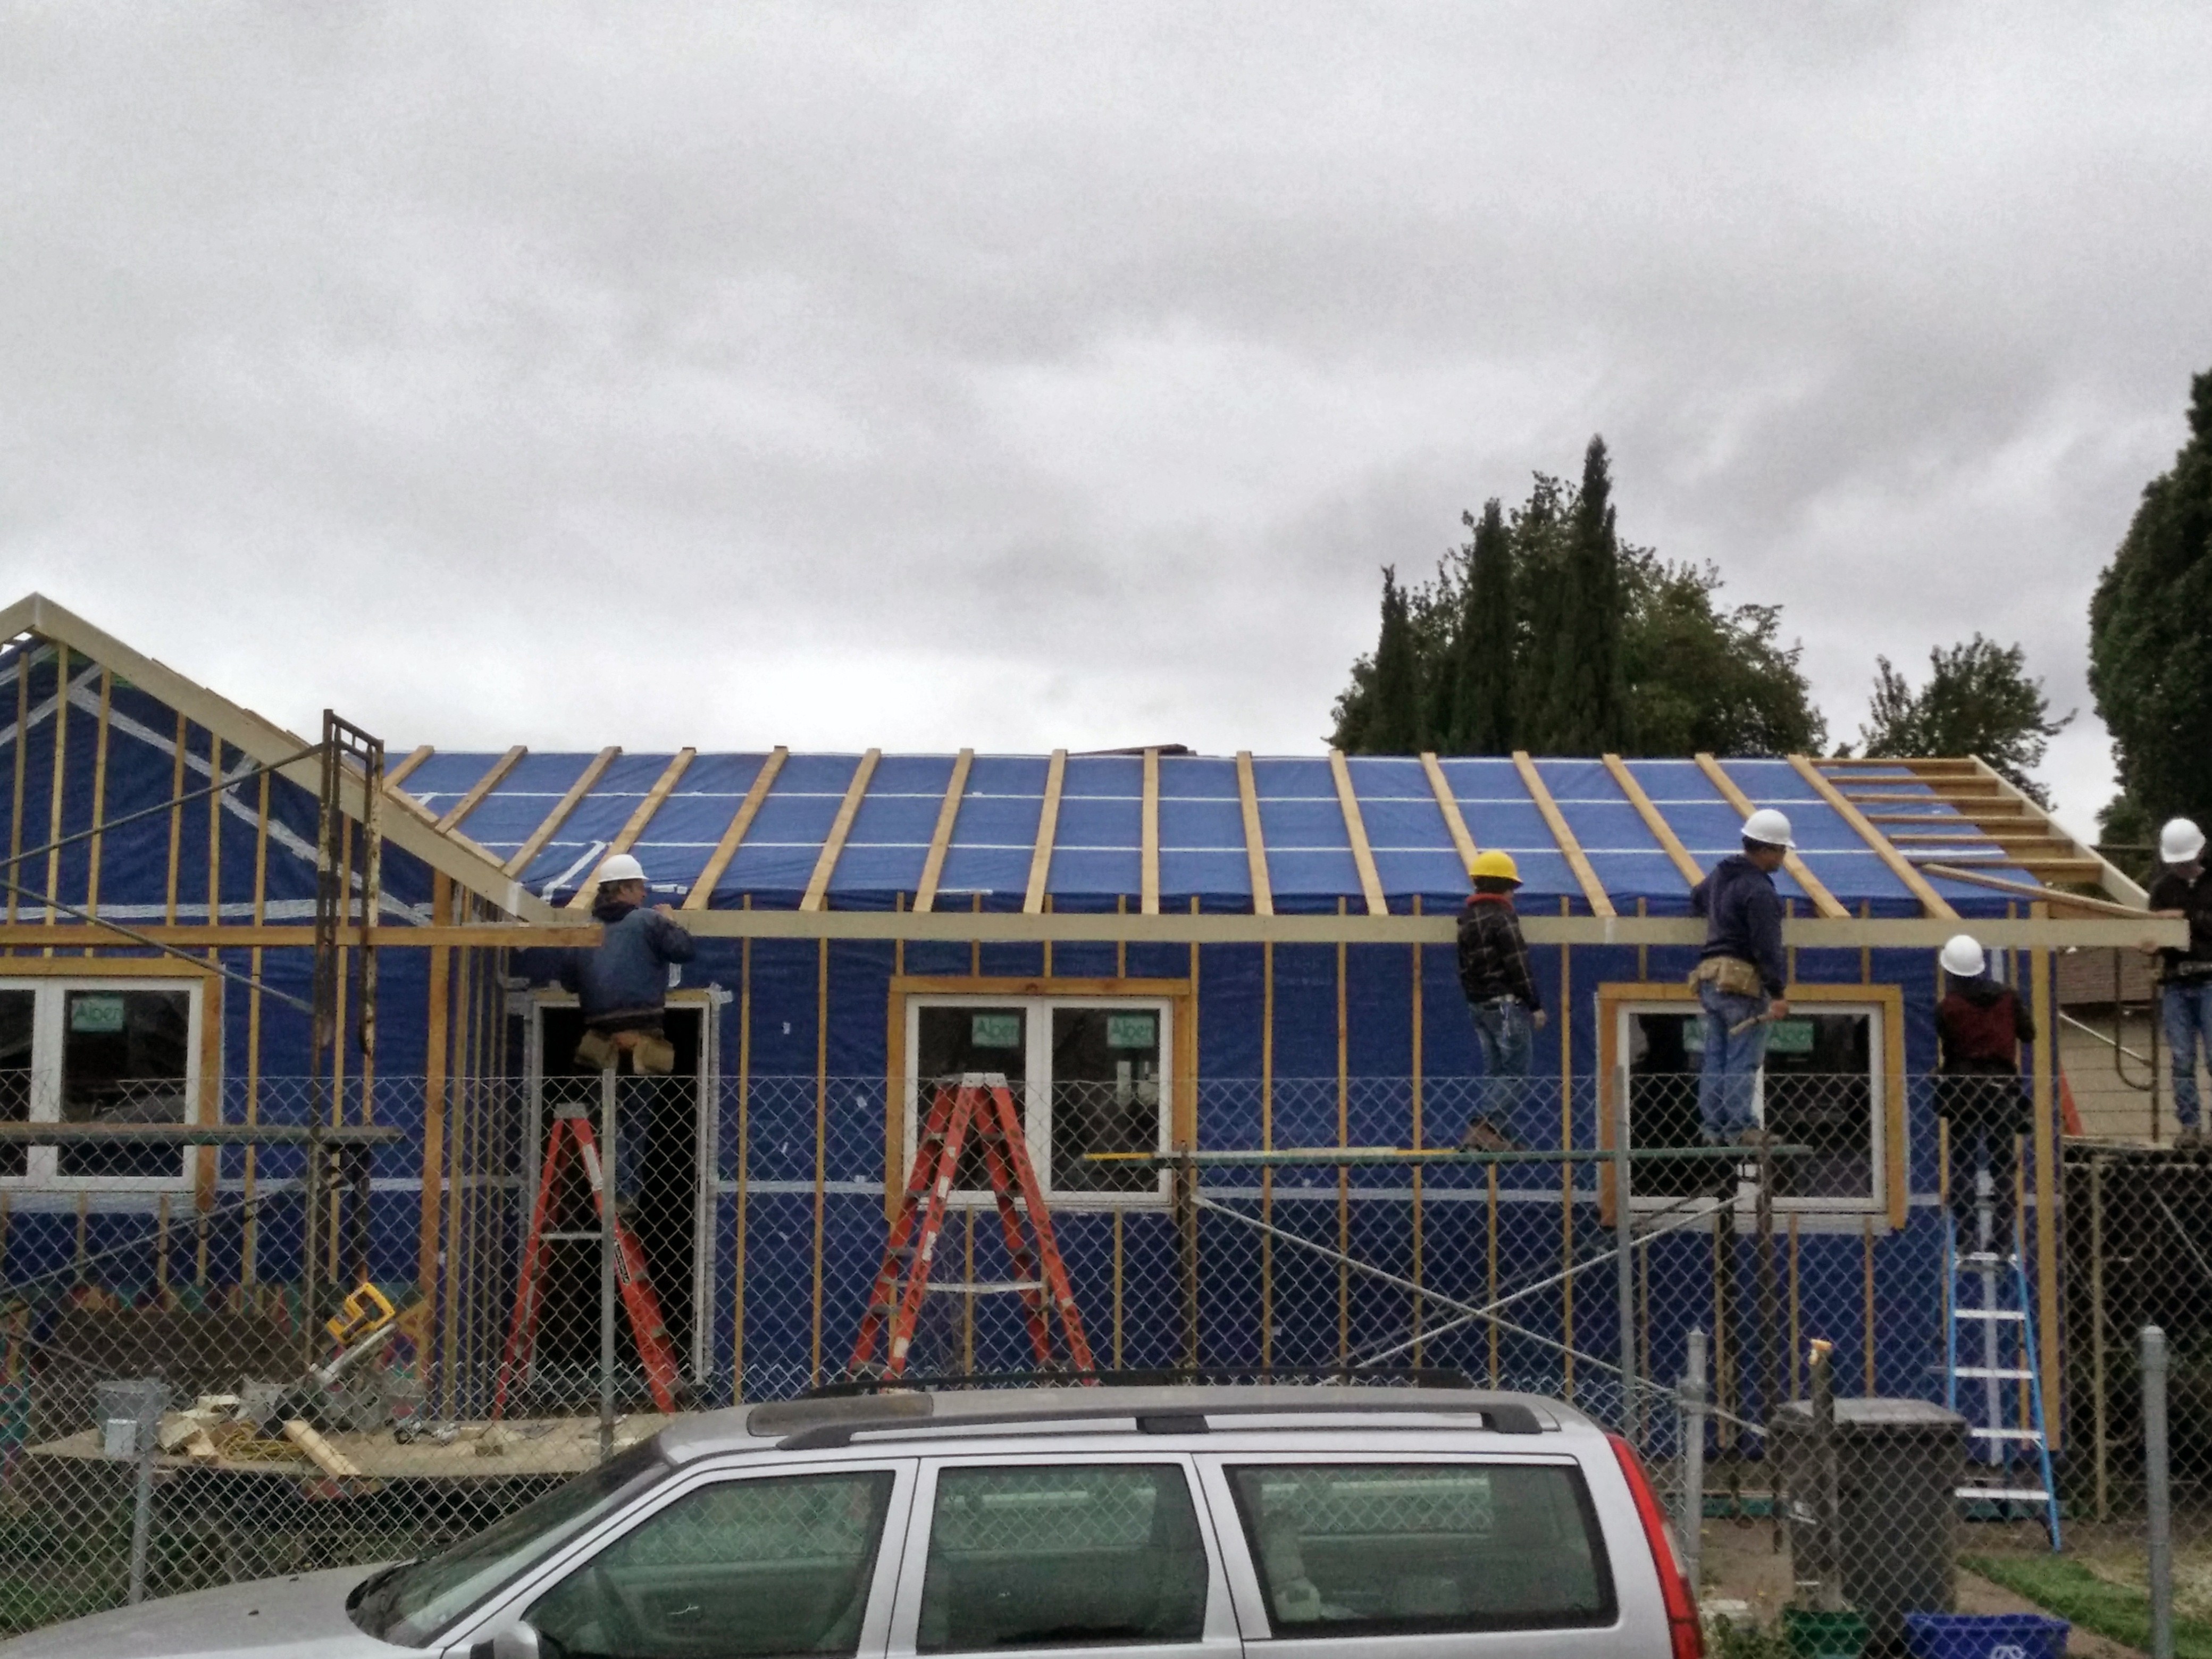
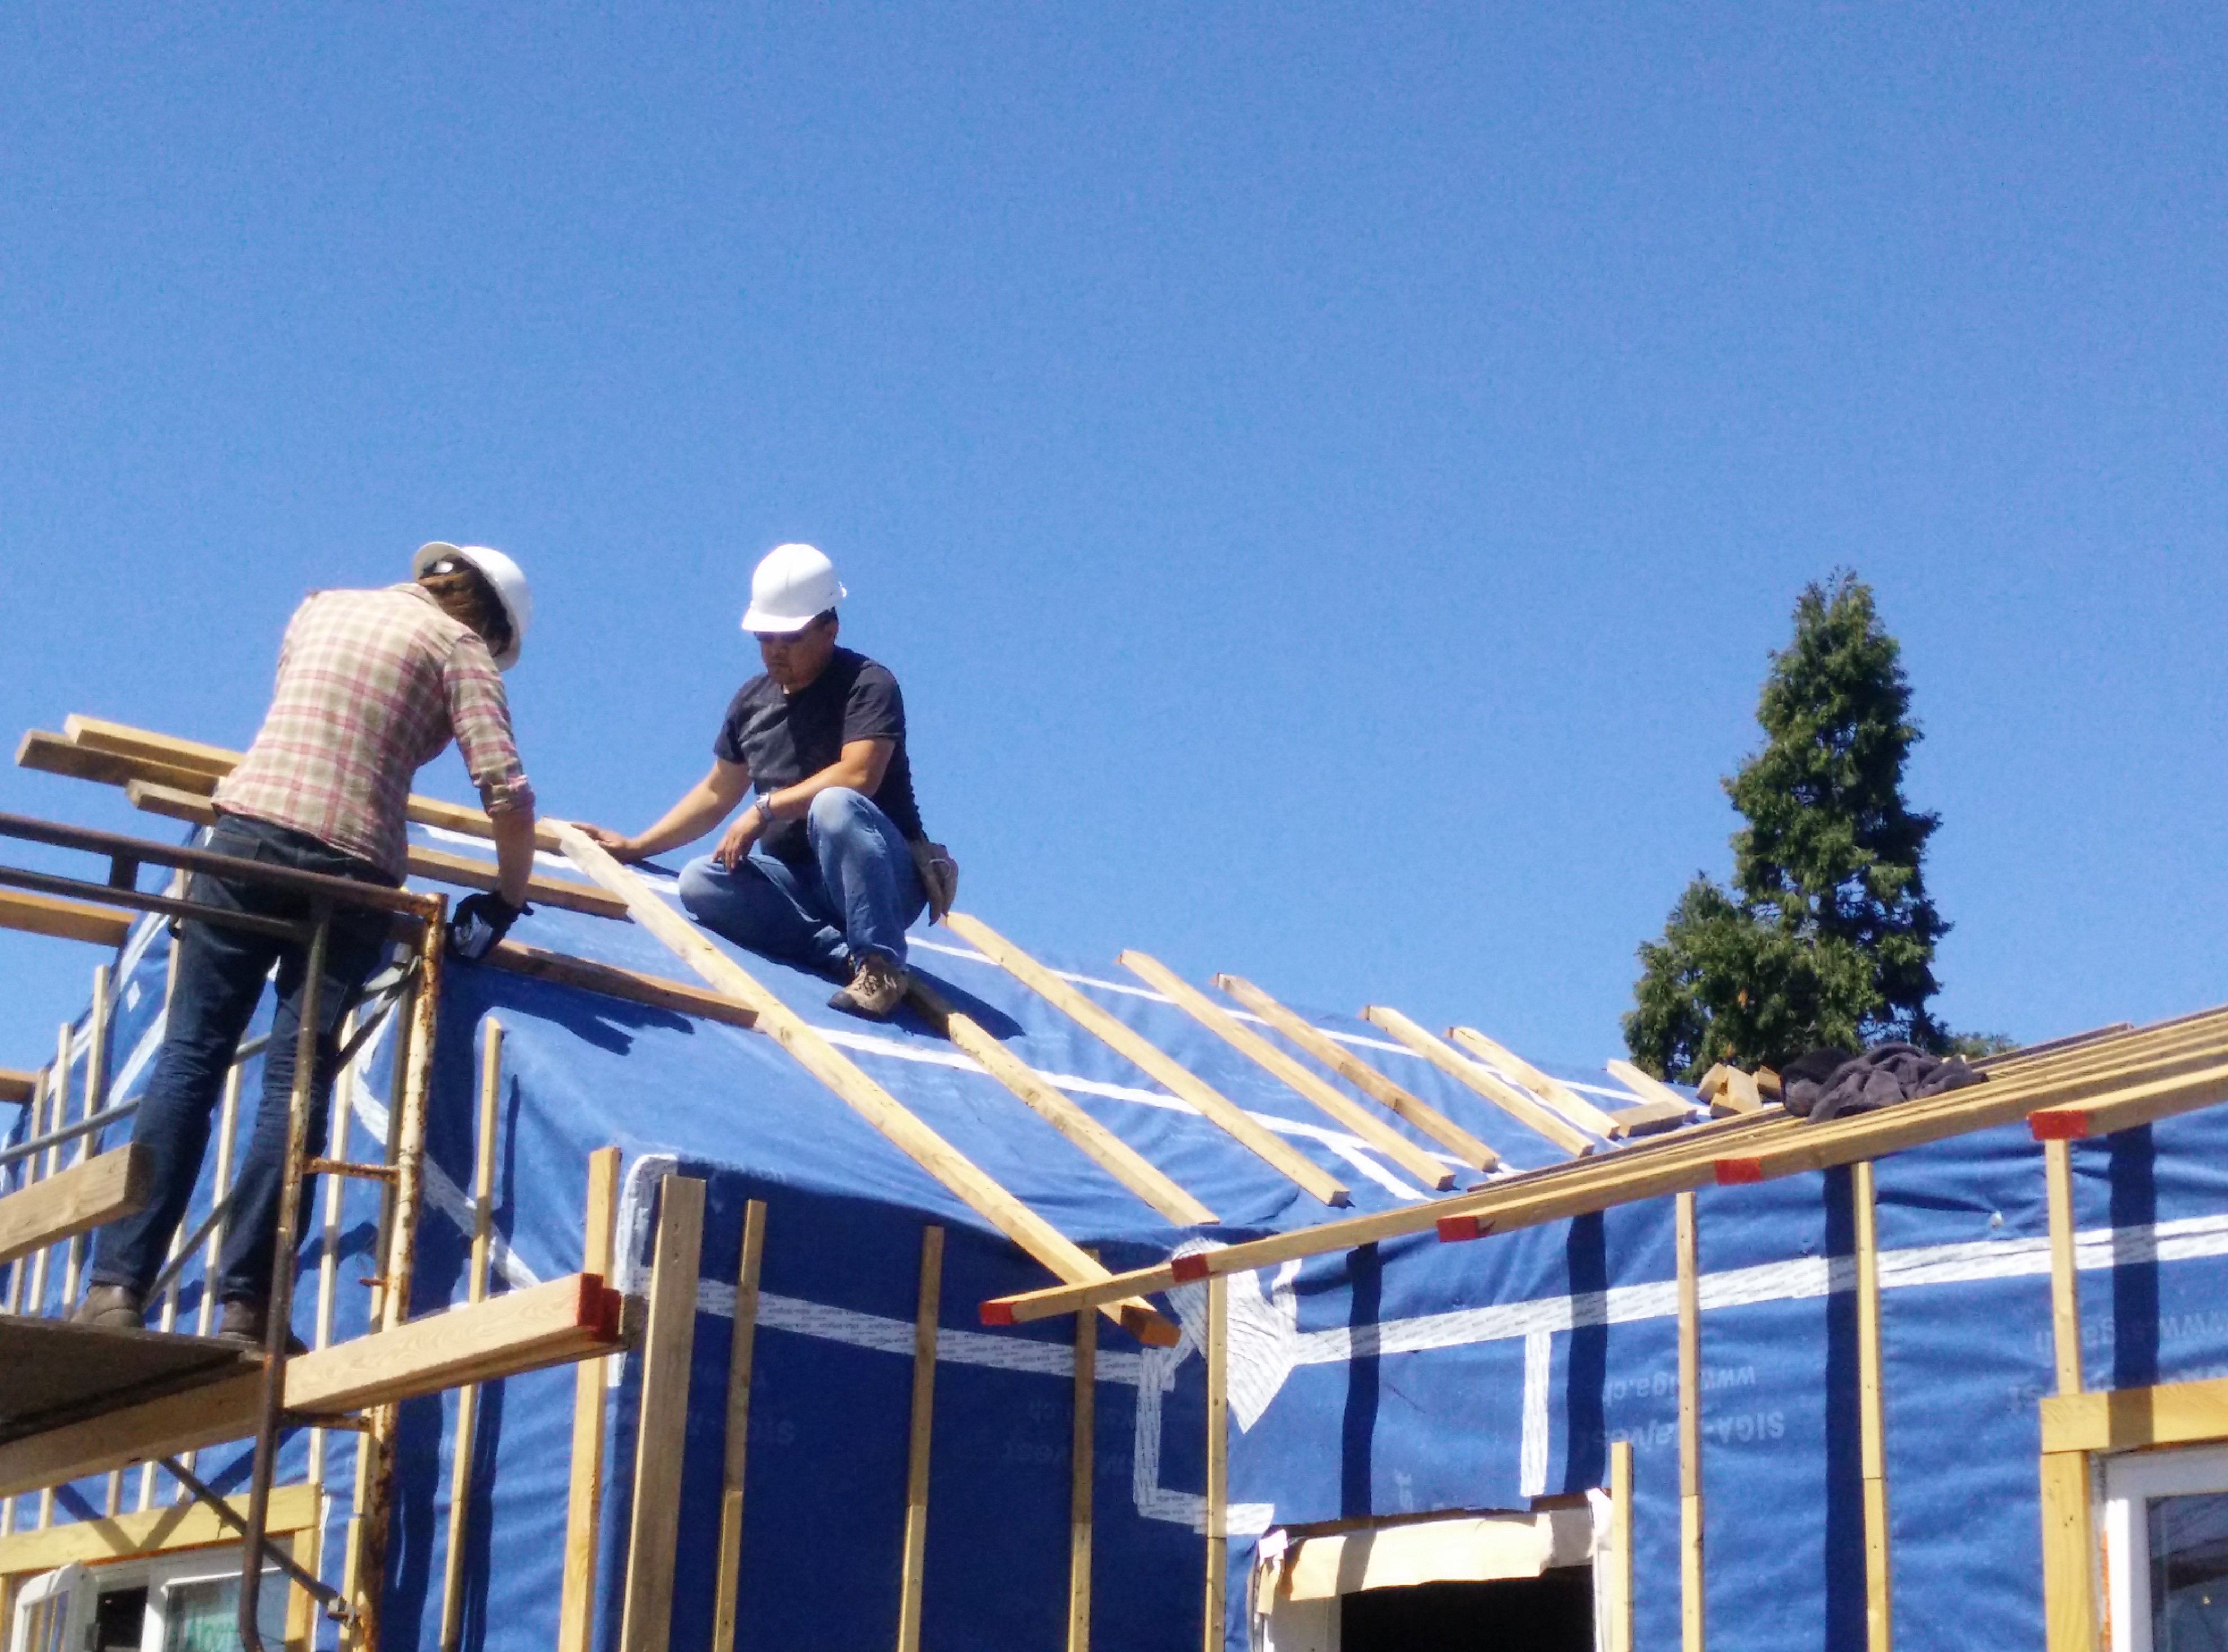
Framing the roof…(2×8) 4&12 0n this side
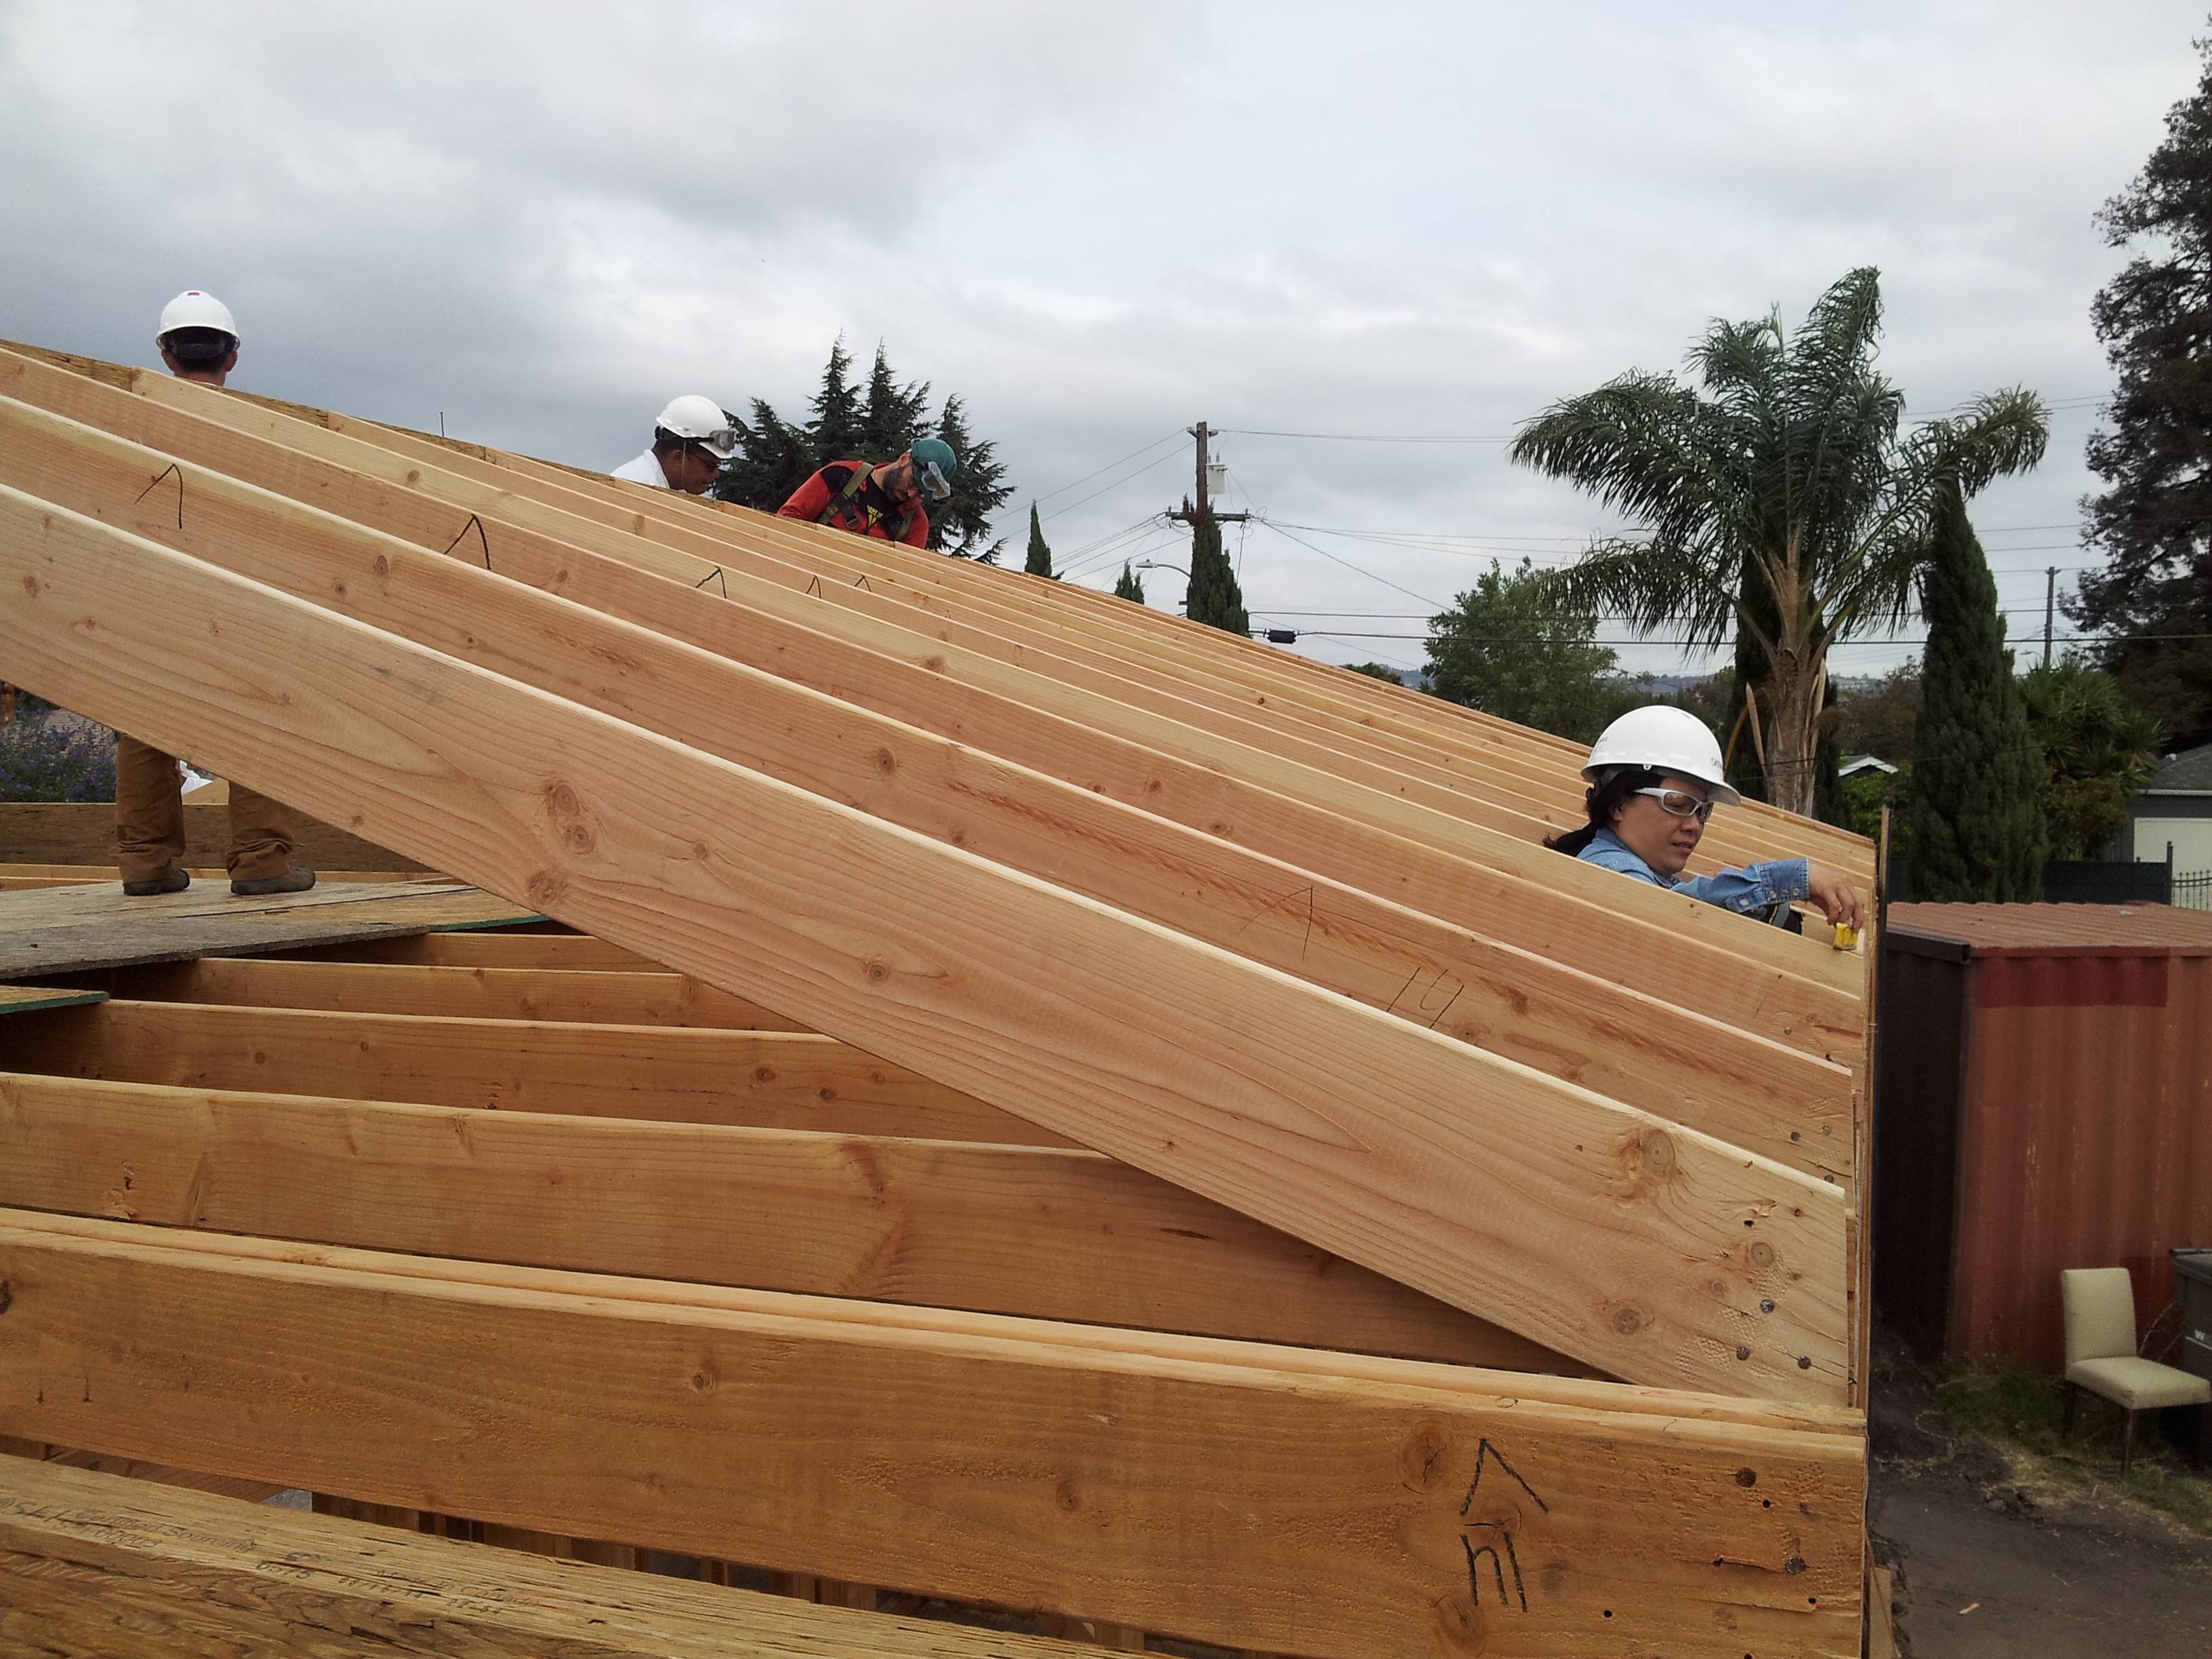
and 7 1/4 & 12 on the other
Hmmm… how does that seat cut go?
Valleys are fun, lotsa trial and error for the students….
And the sheathing (and tape) complete the first roof…
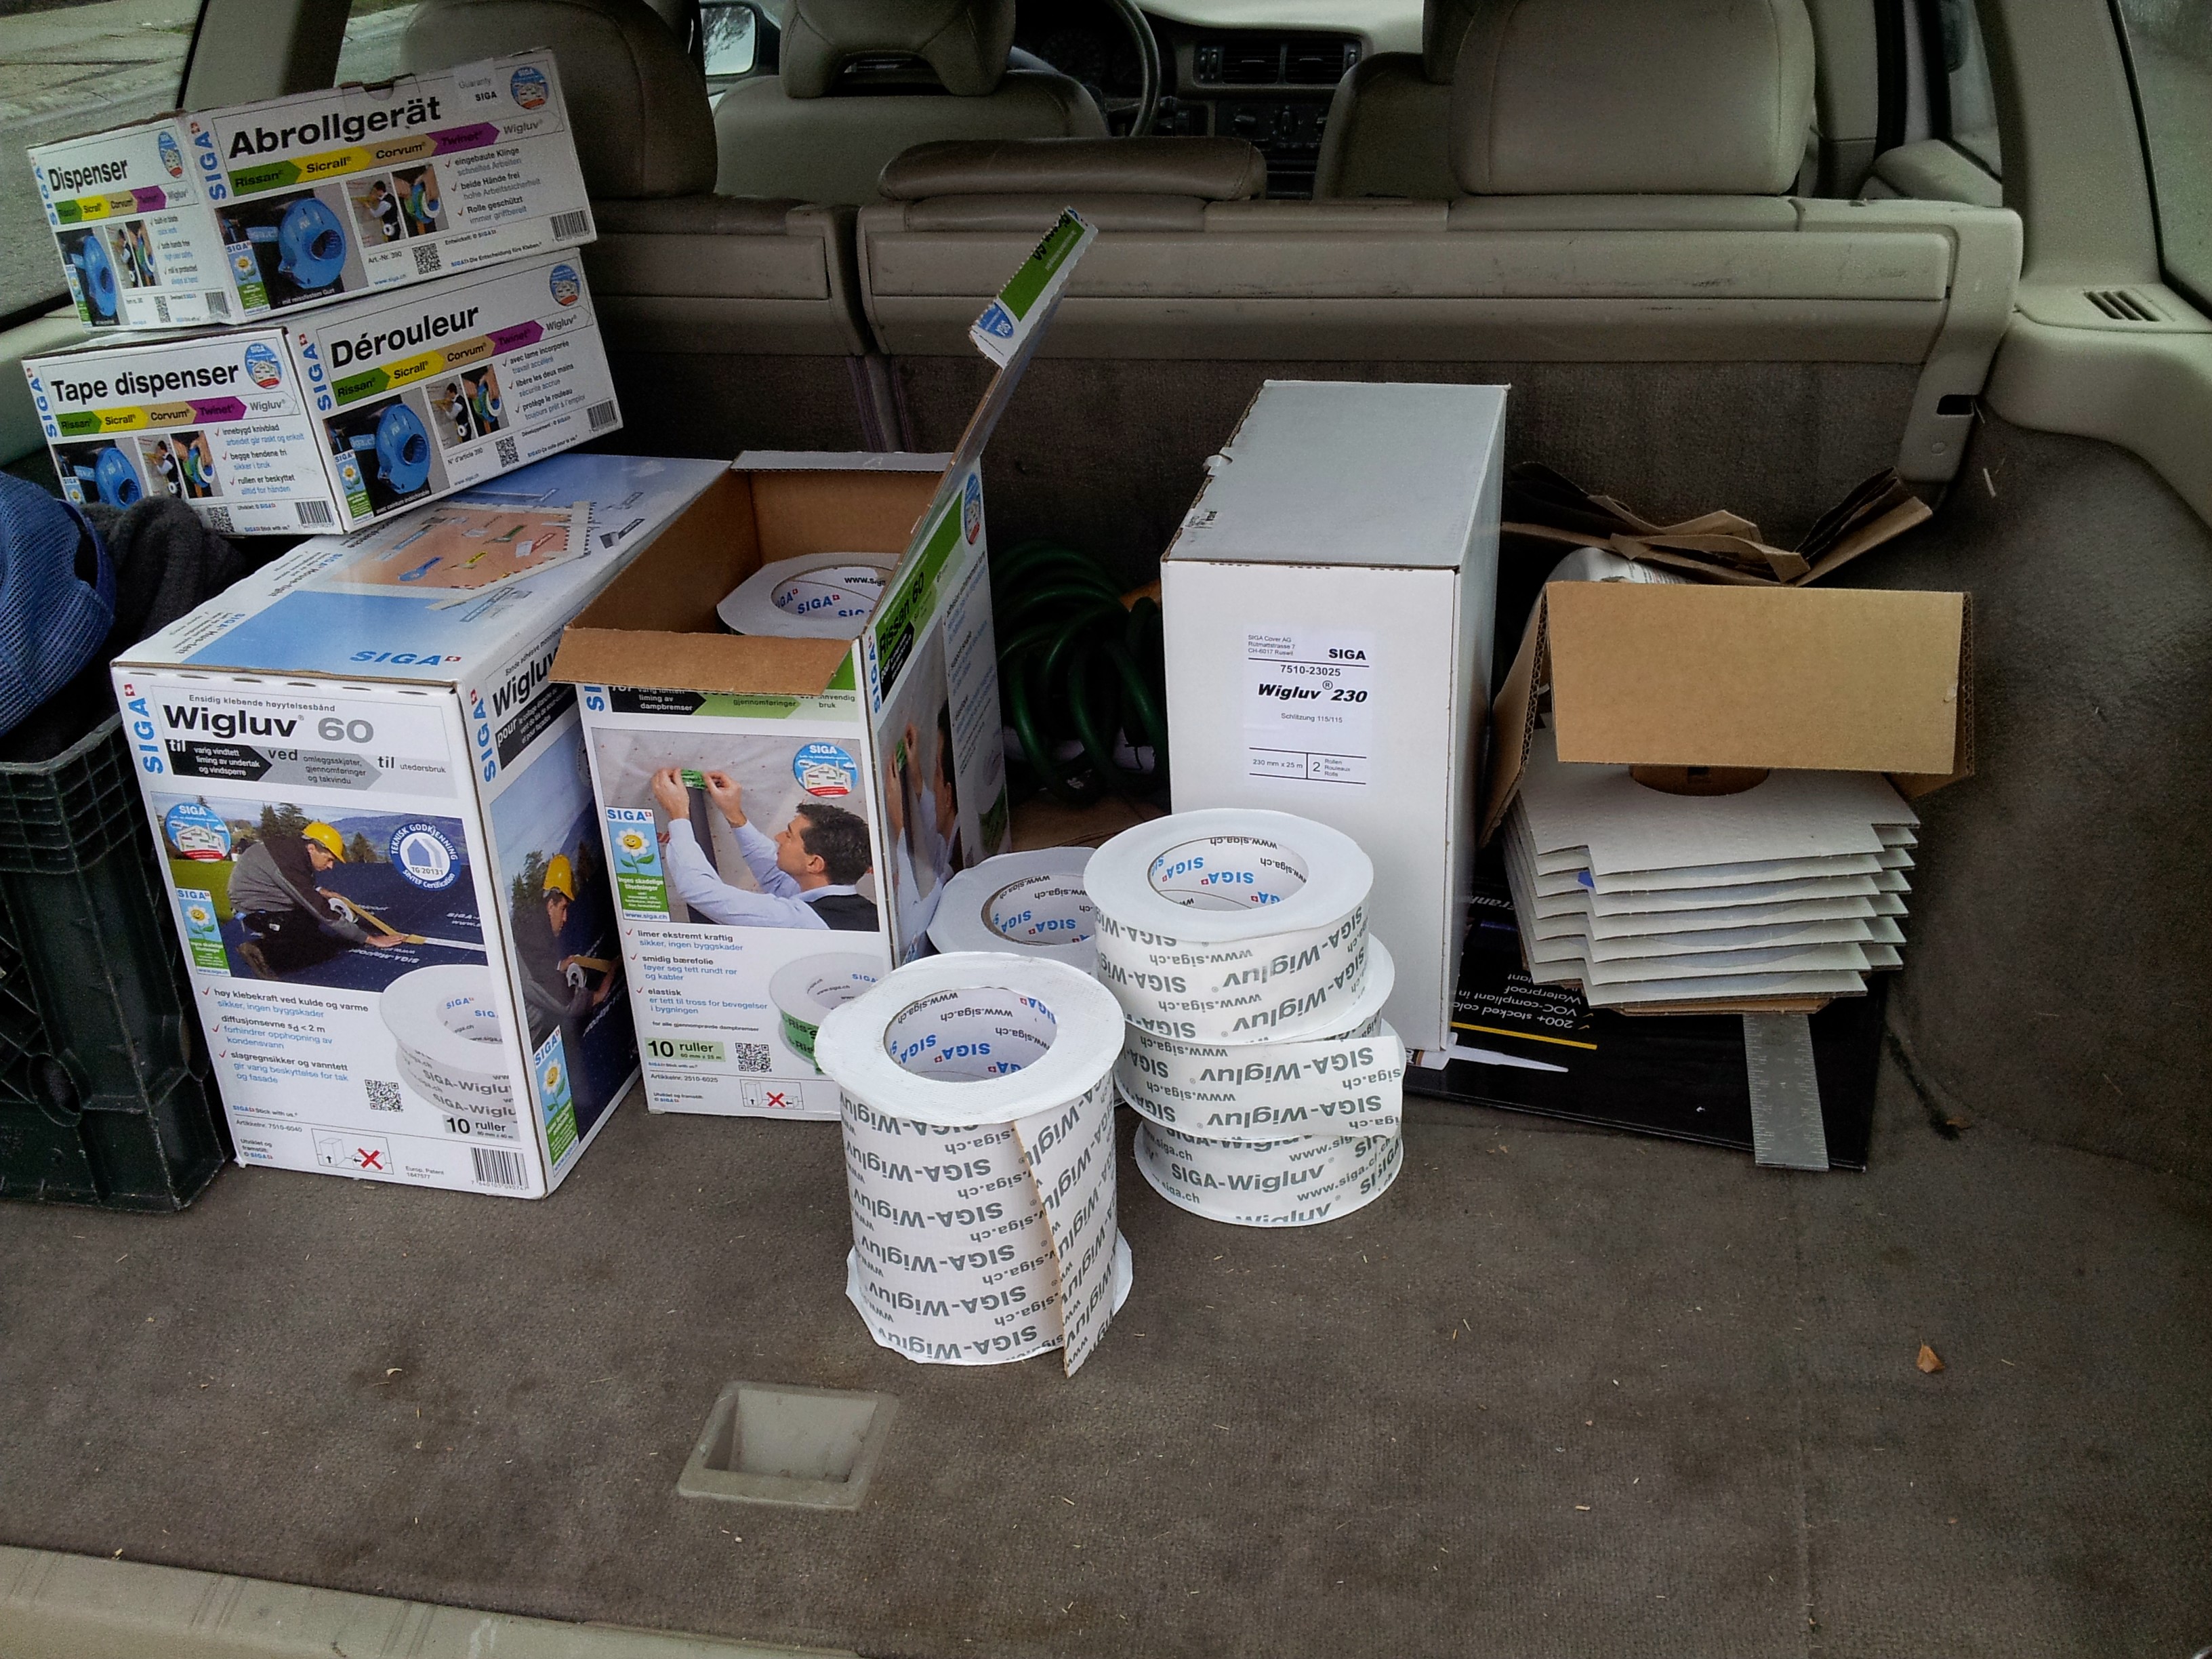
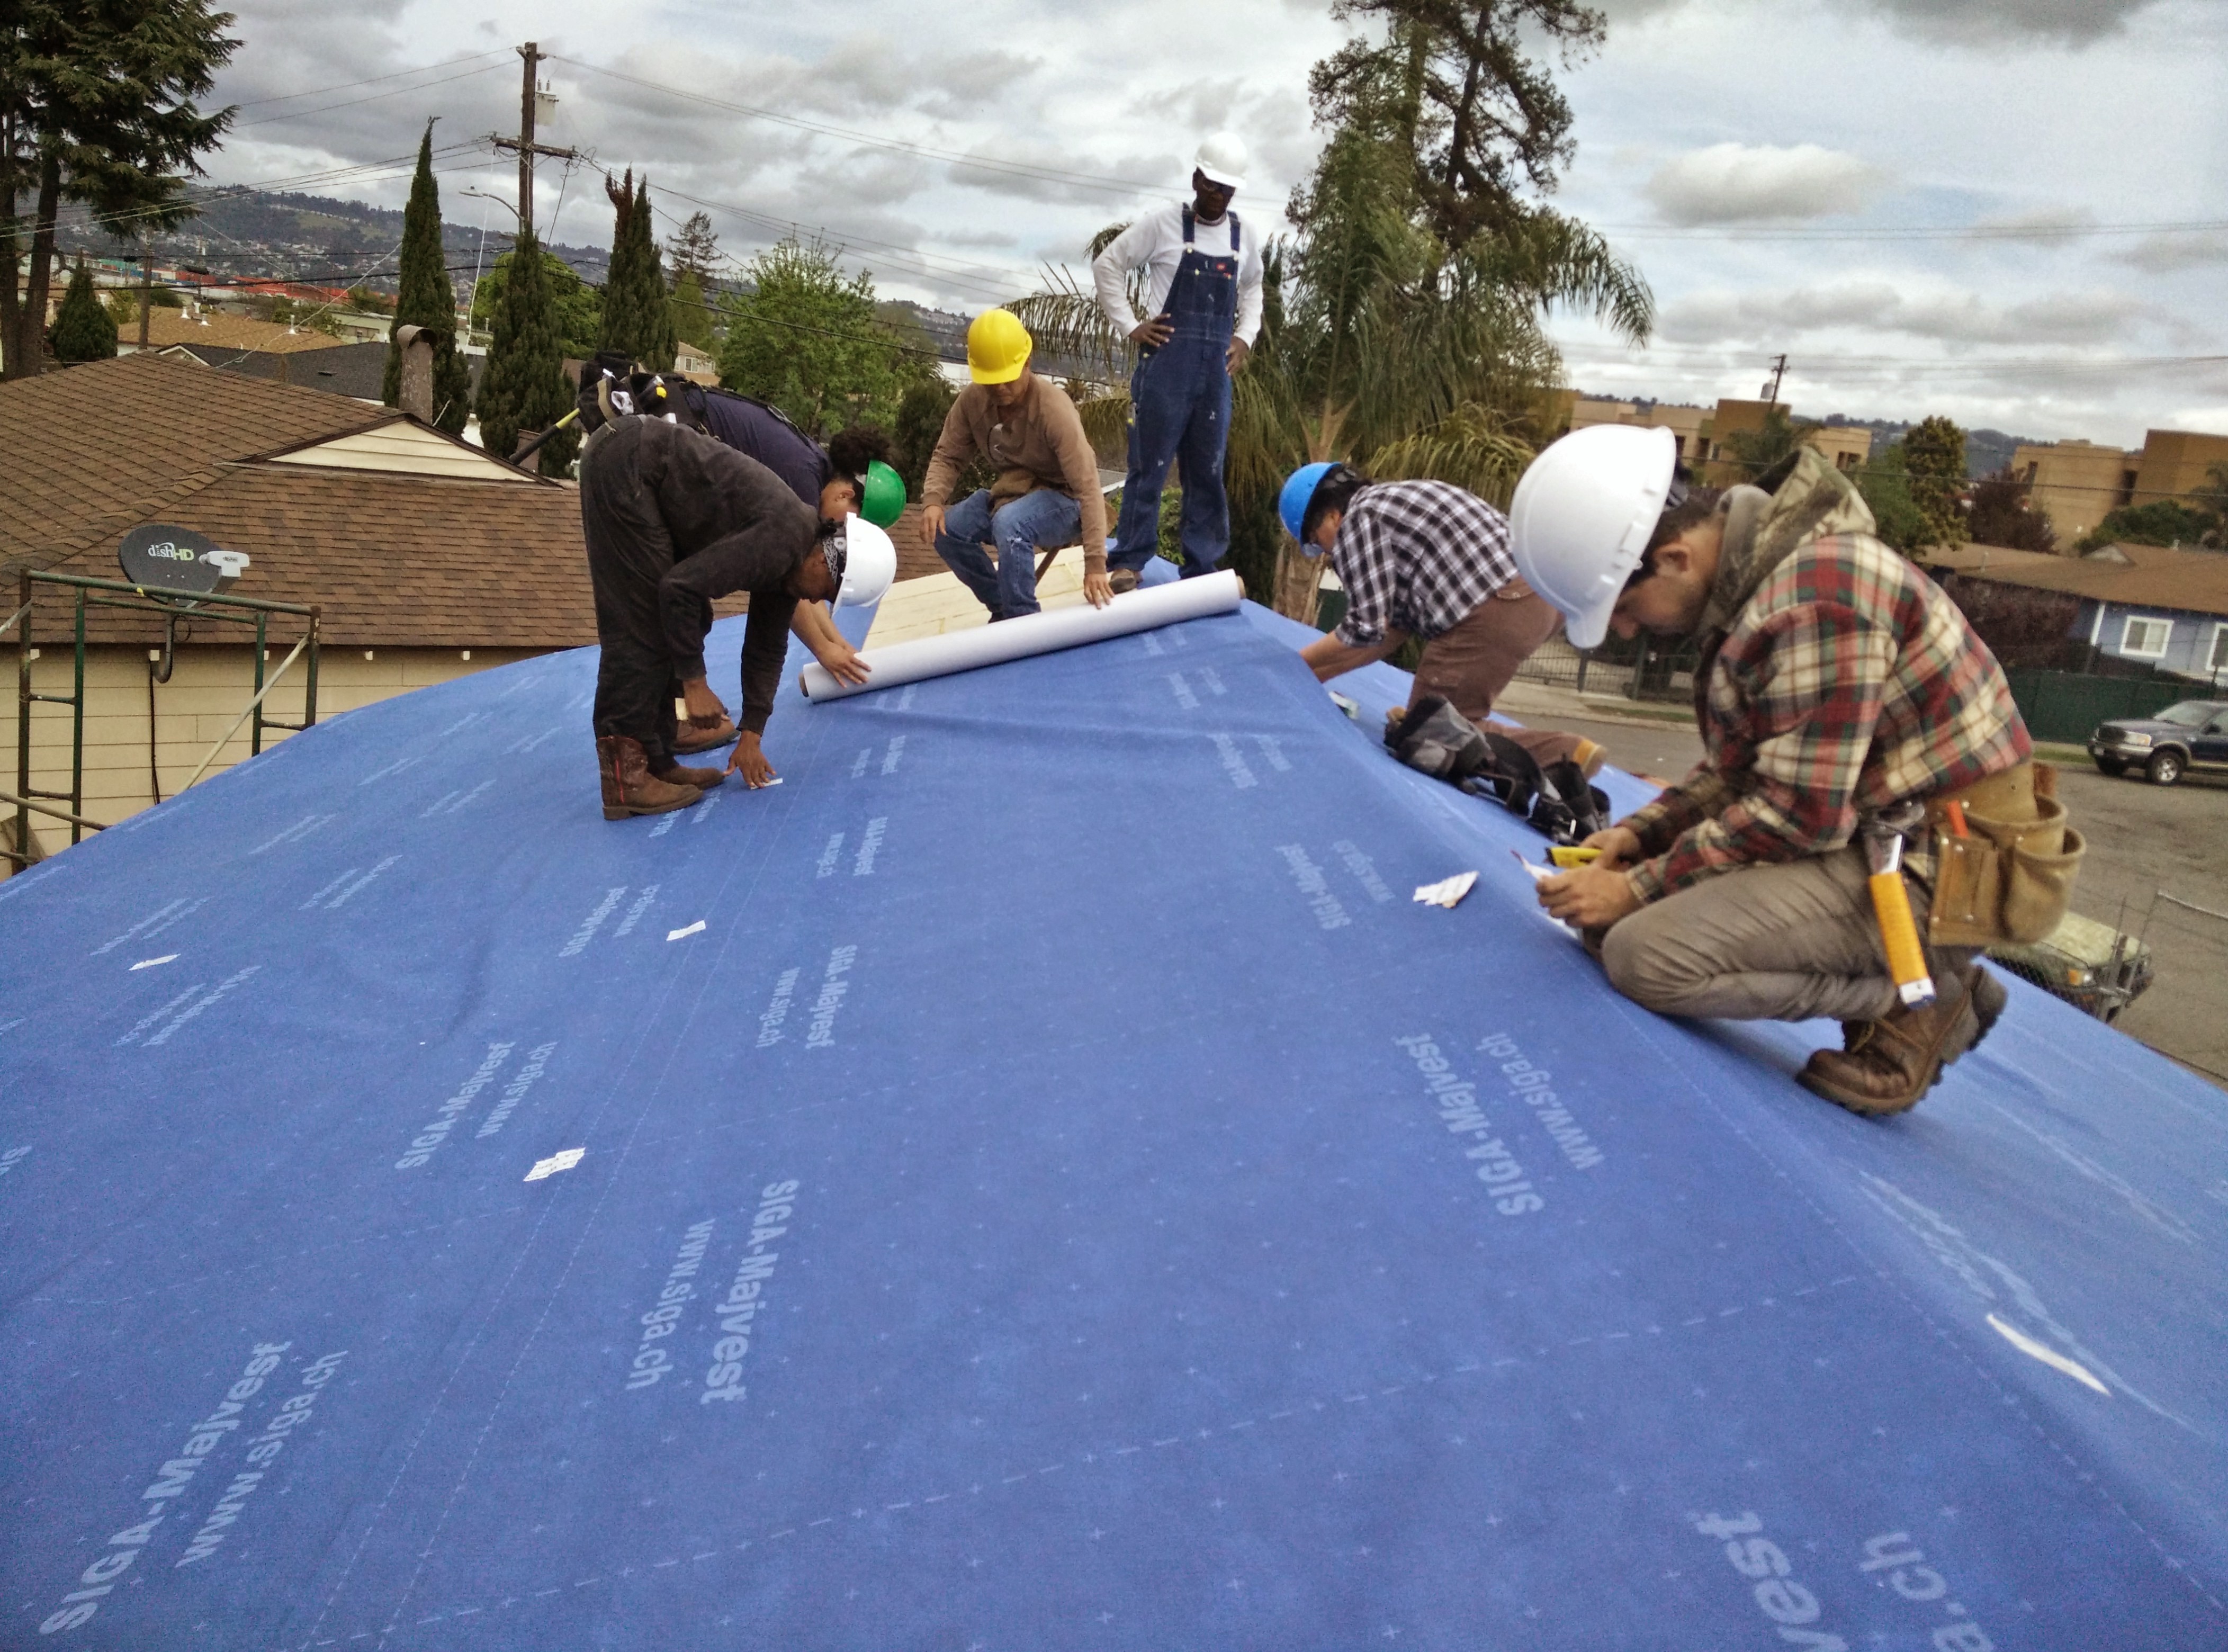
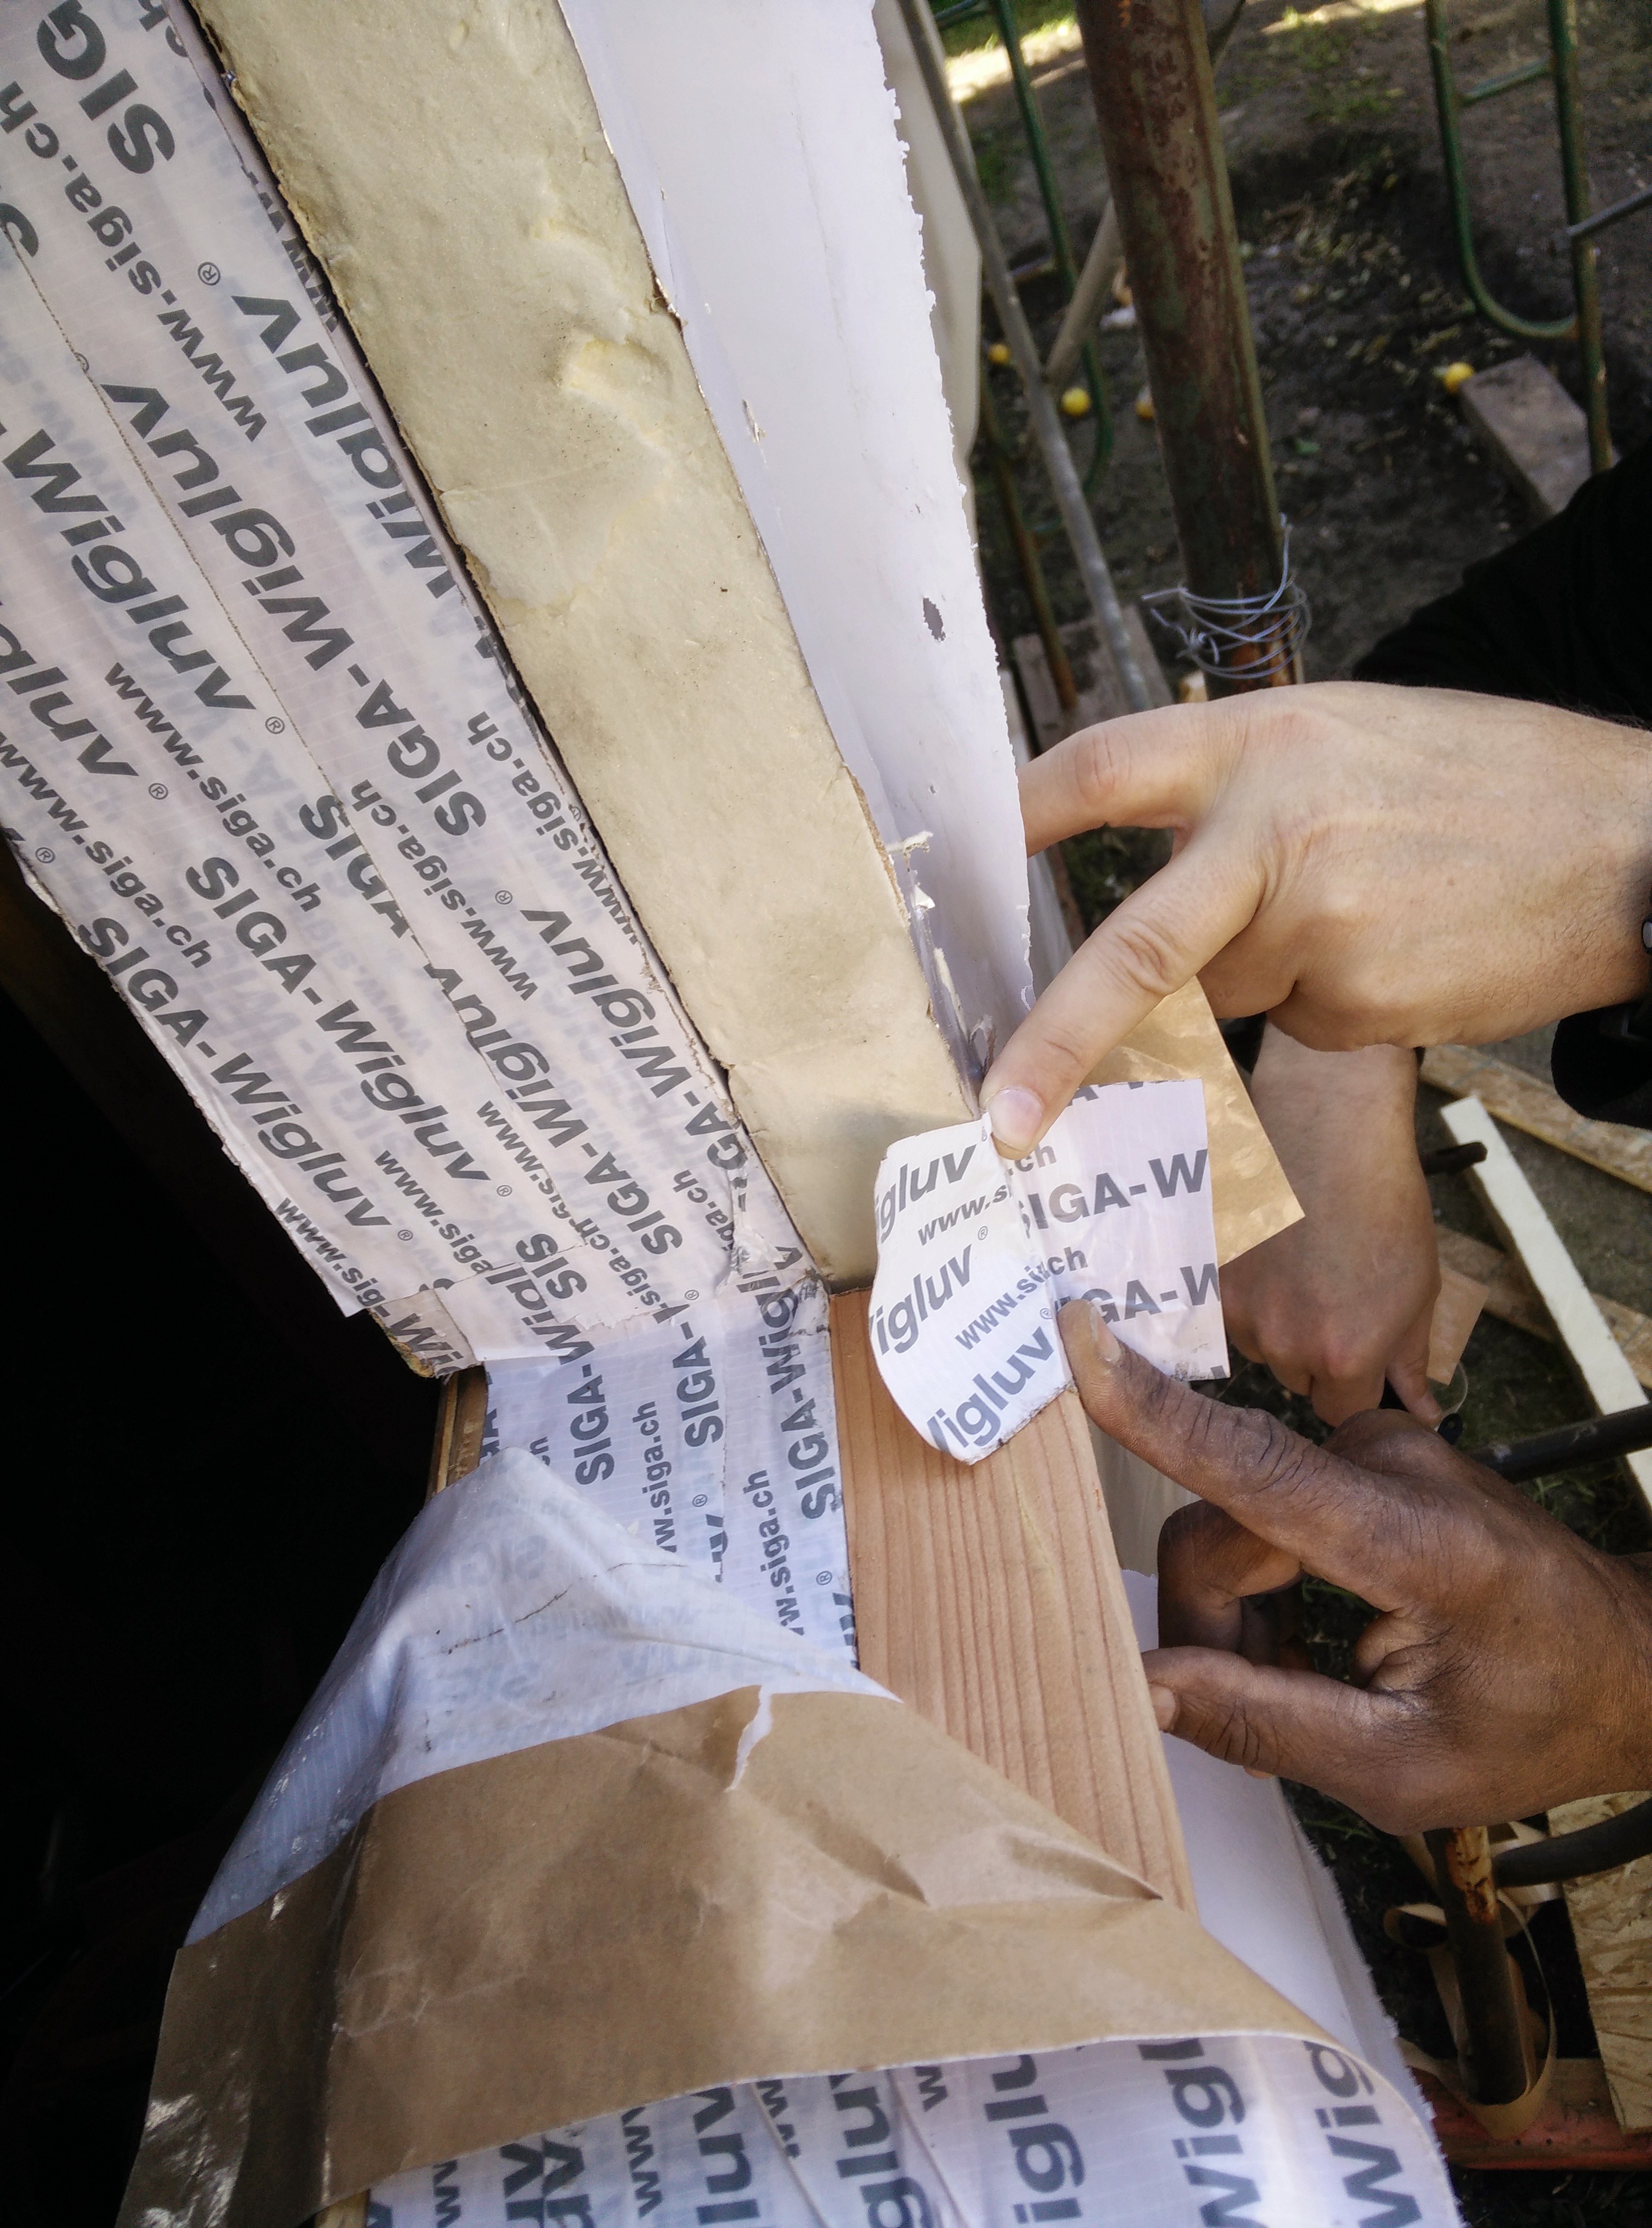
Make sure you firmly press that SIGA wigluv tape to the OSB seams…
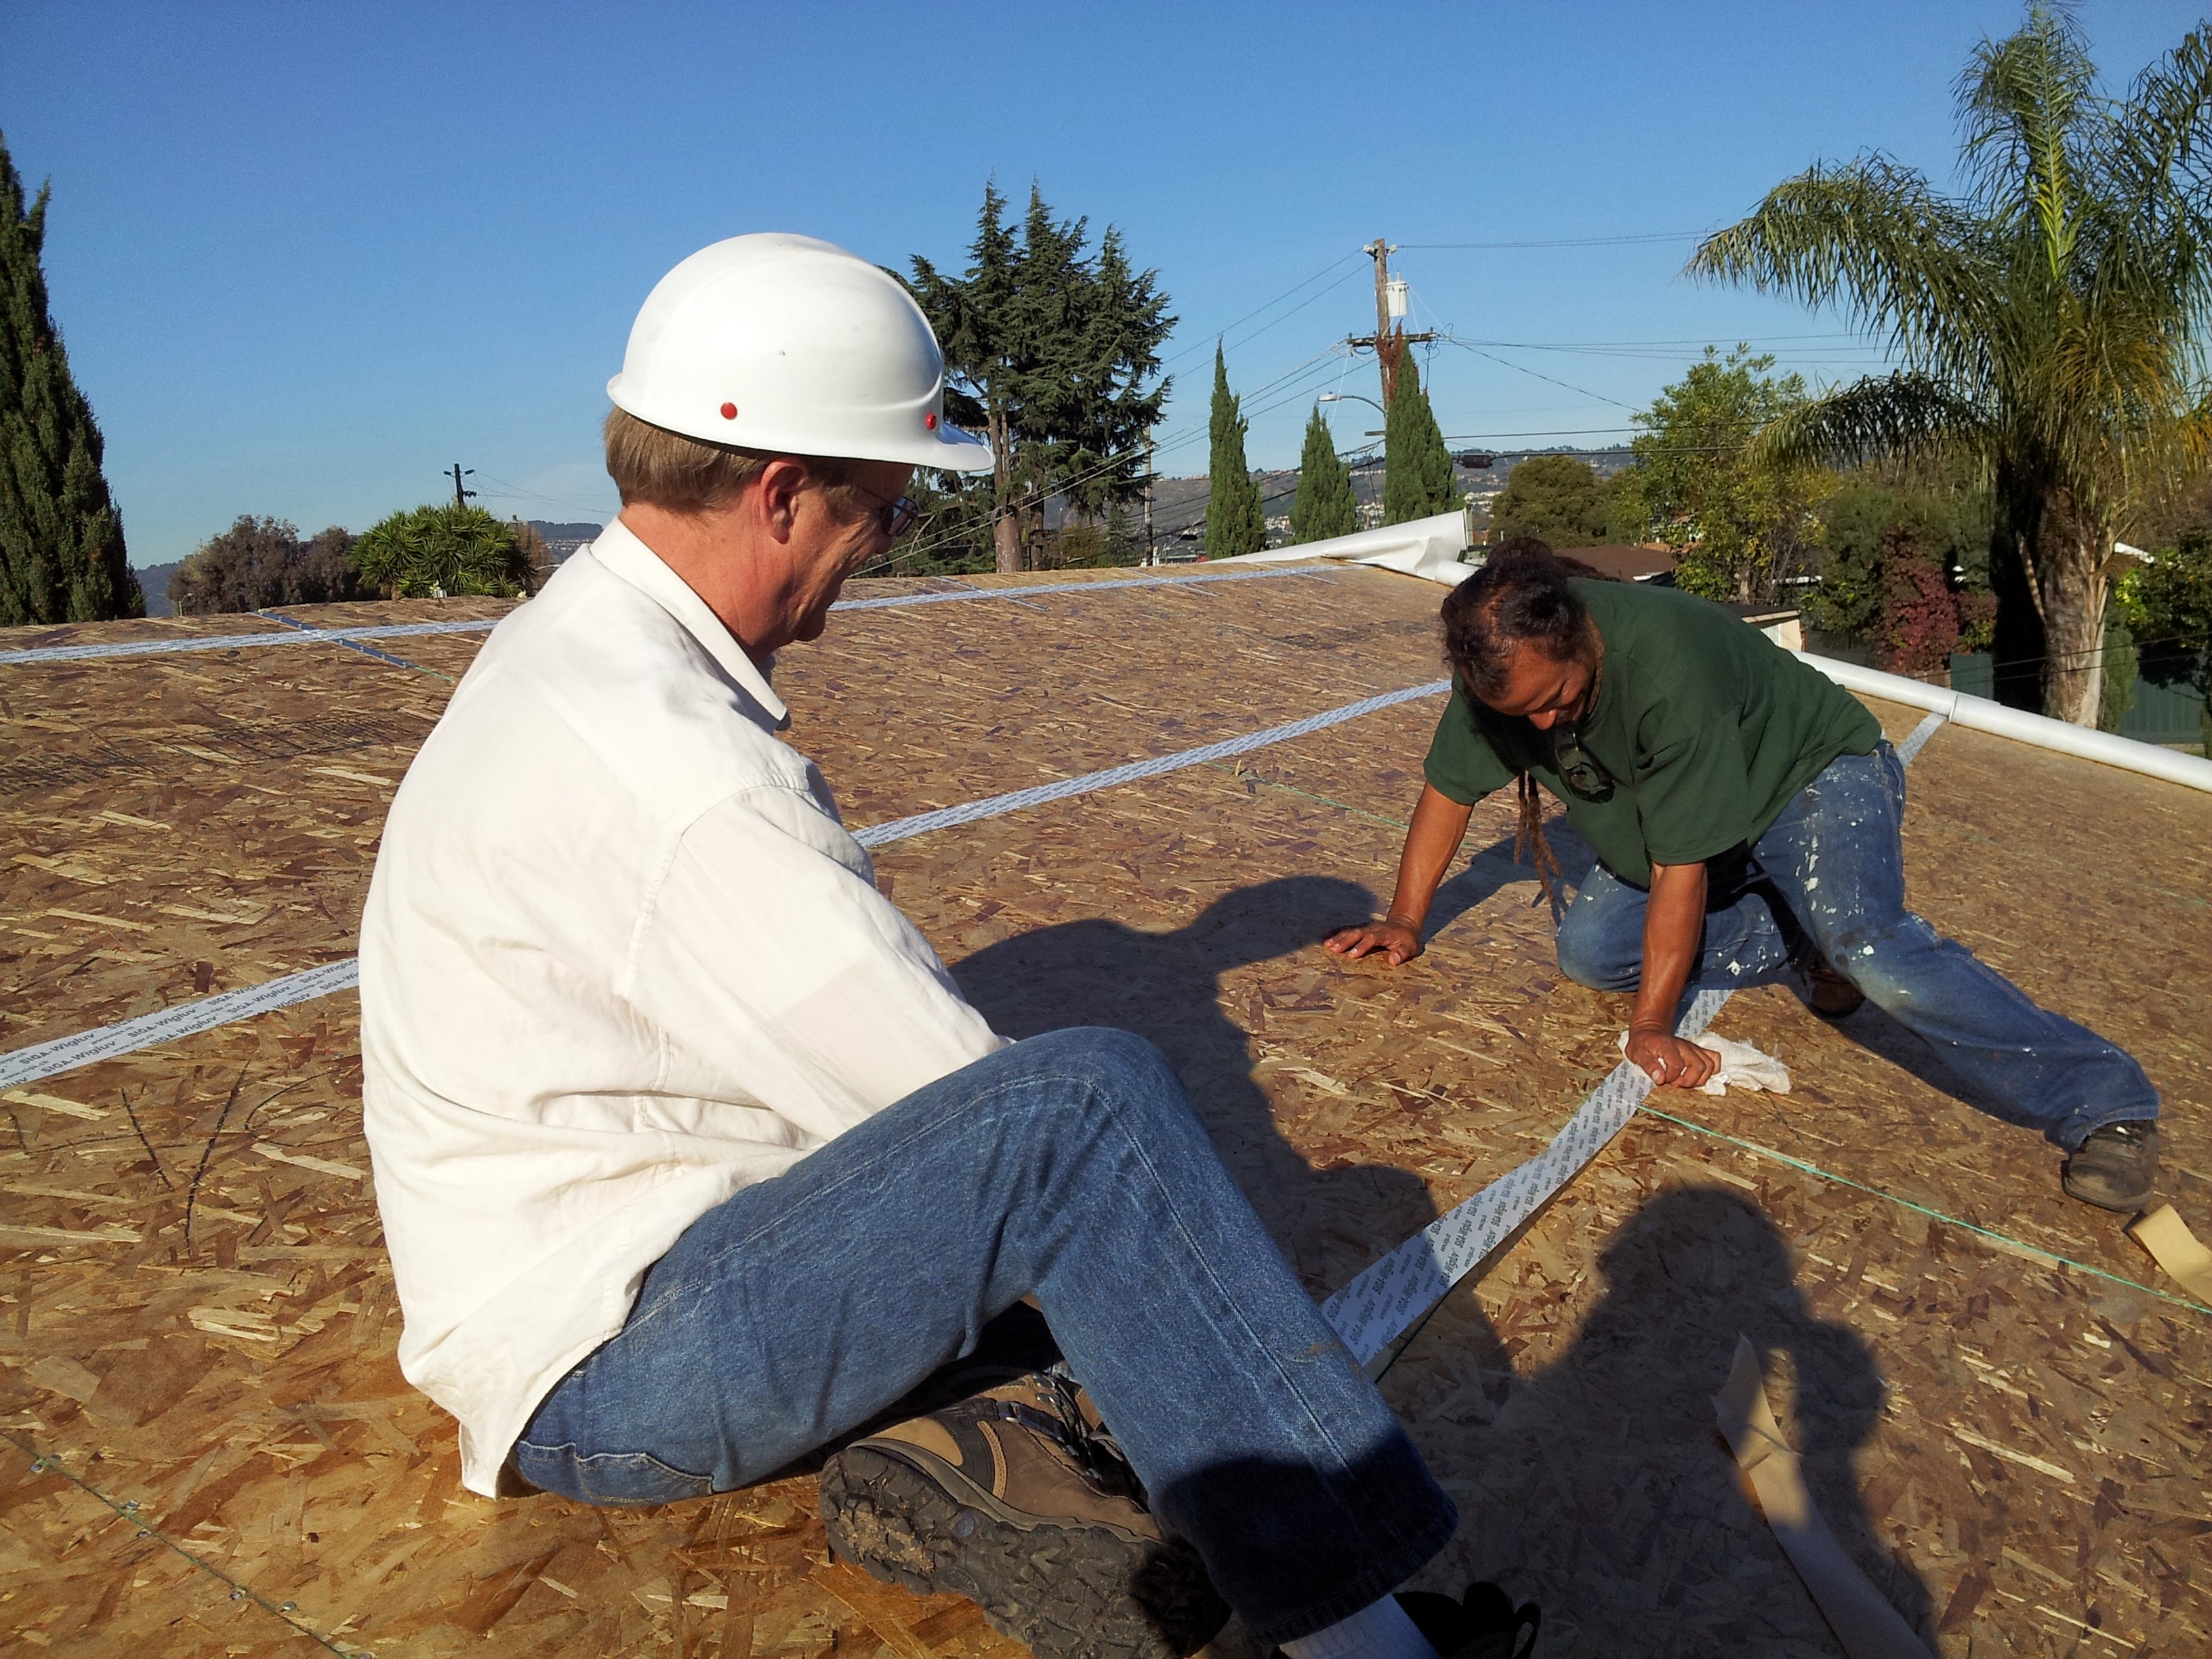
Thank you SIGA Corp for sponsoring all of the high performance tape (Wigluv) and house wrap (Majvest)!
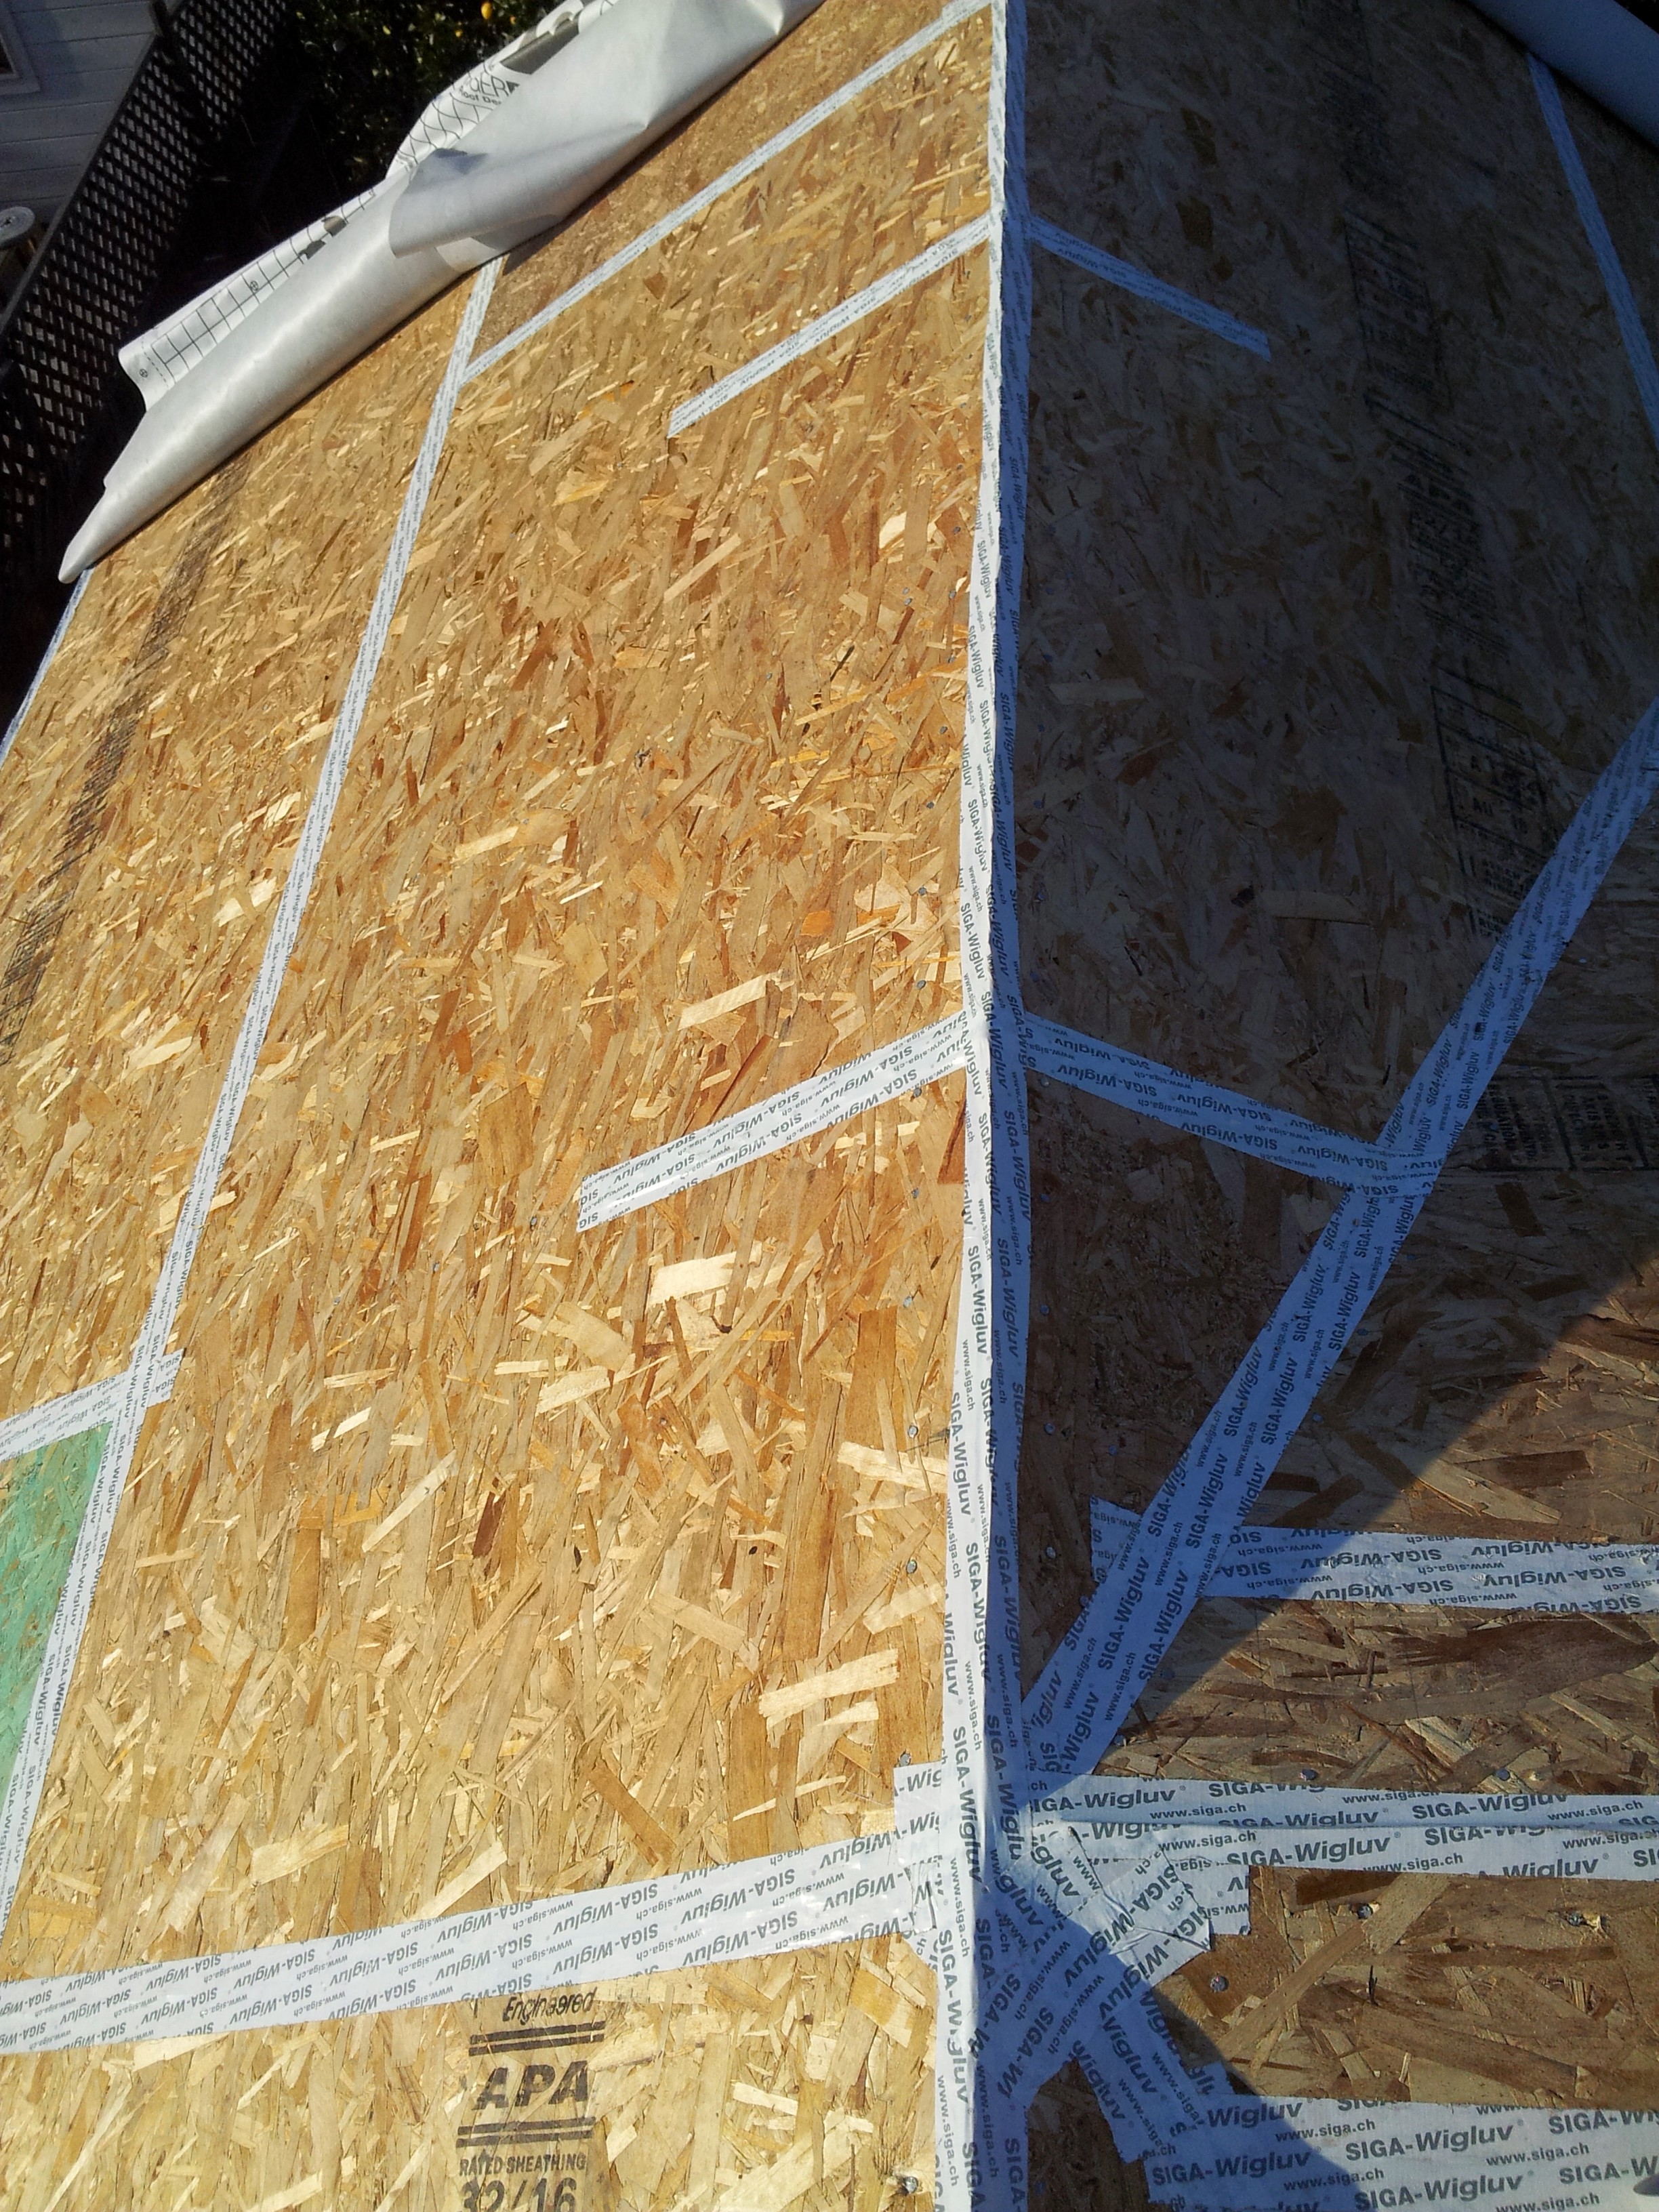
The tape ensures our air barrier, which is the OSB, is air tight enveloping the house from roof ridge, to roof to wall, to wall to subfloor (which is much more difficult and complicated)….

on our chamfer corner, filling those “45” corner gaps with roxul insulation.. which is unreachable after wall sheathing is installed.
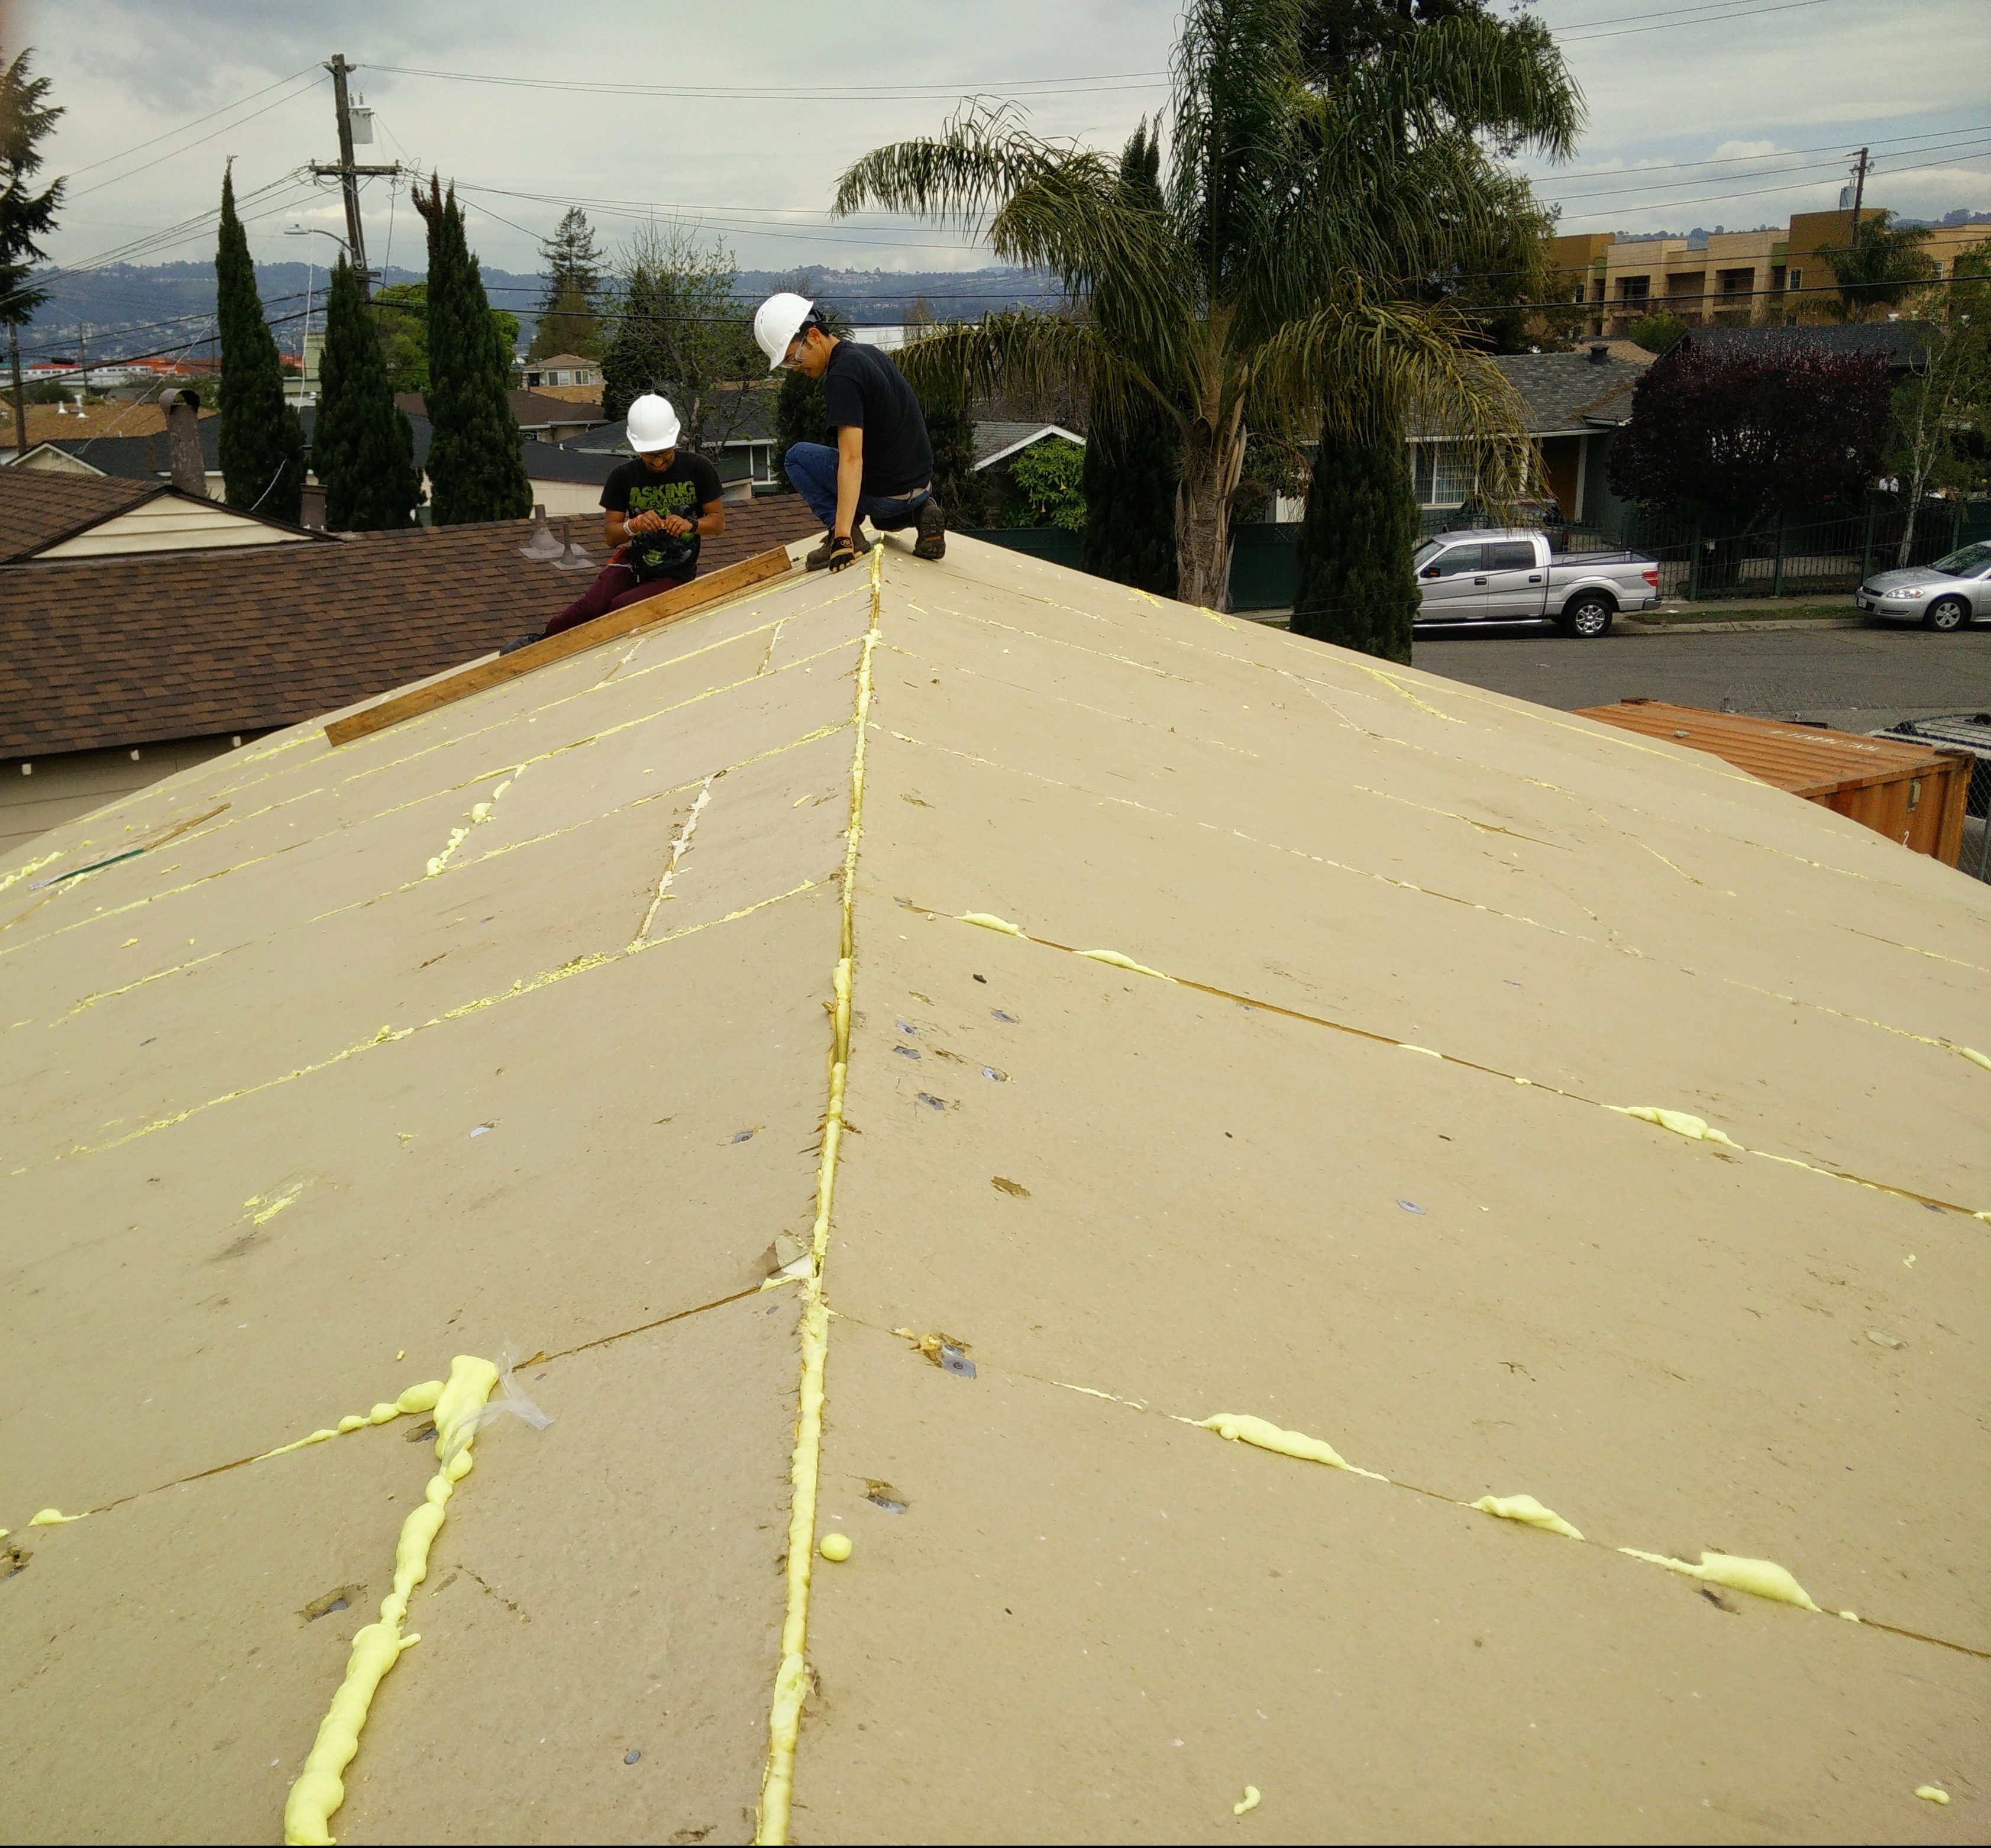
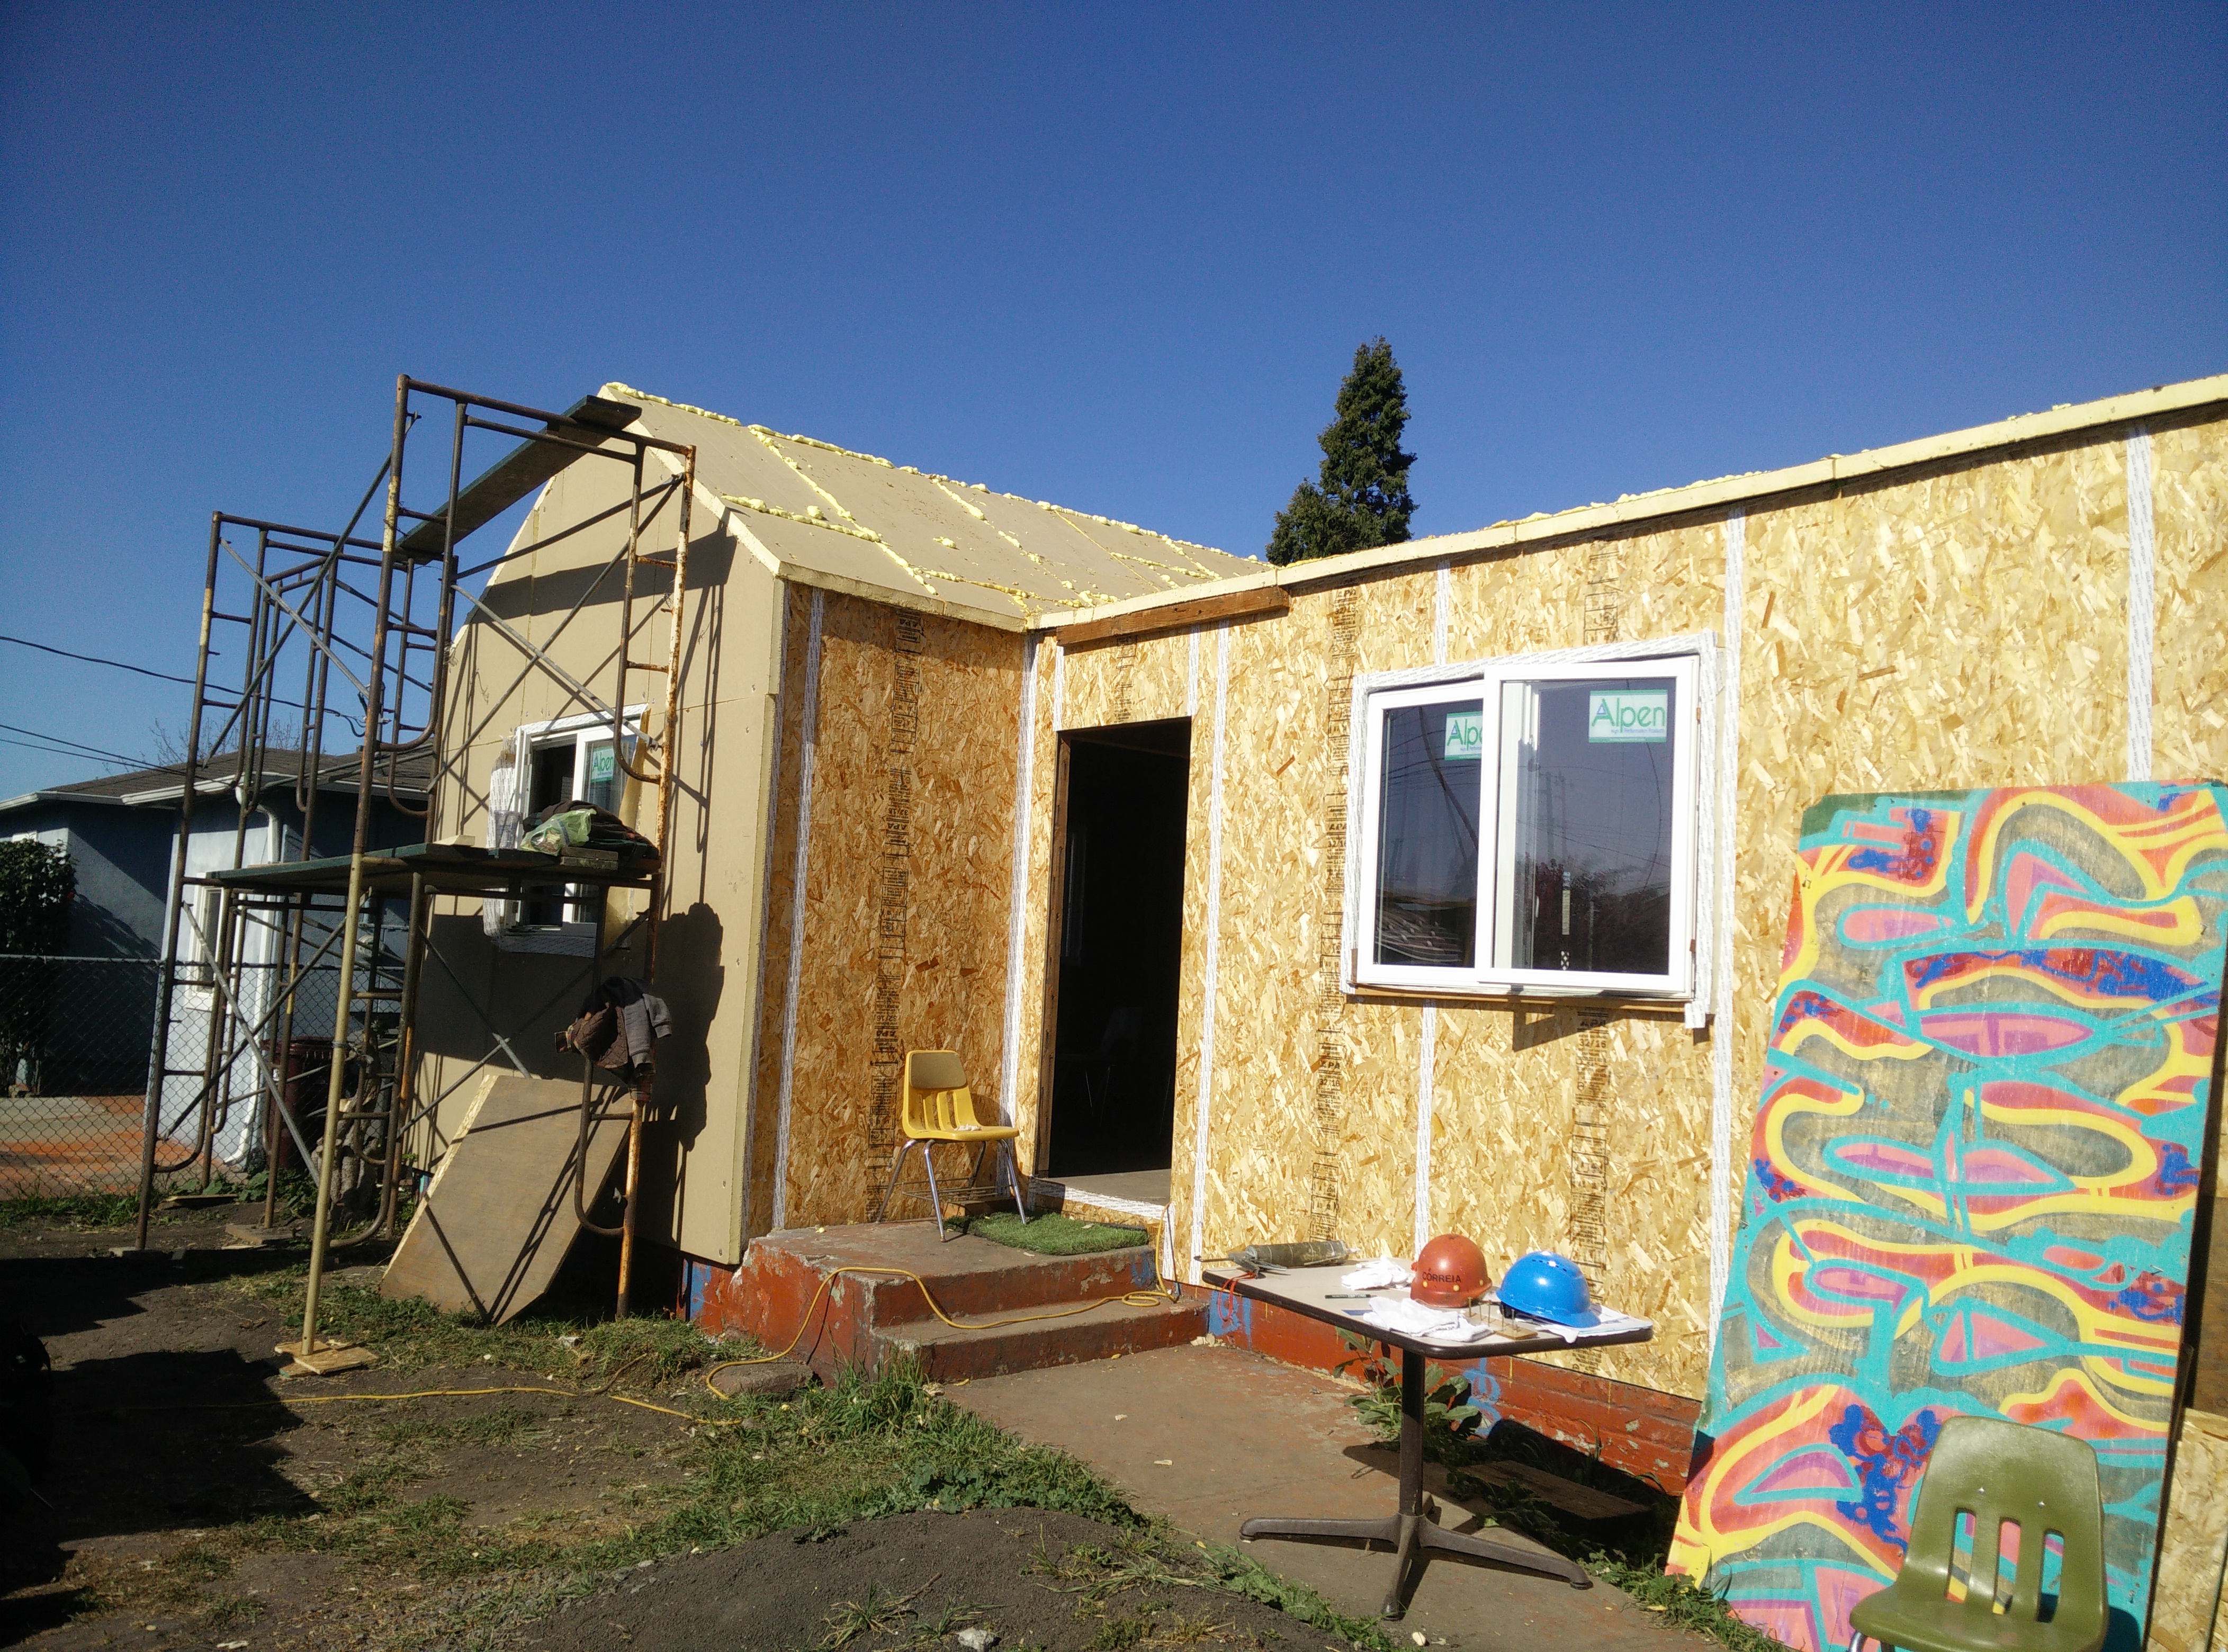
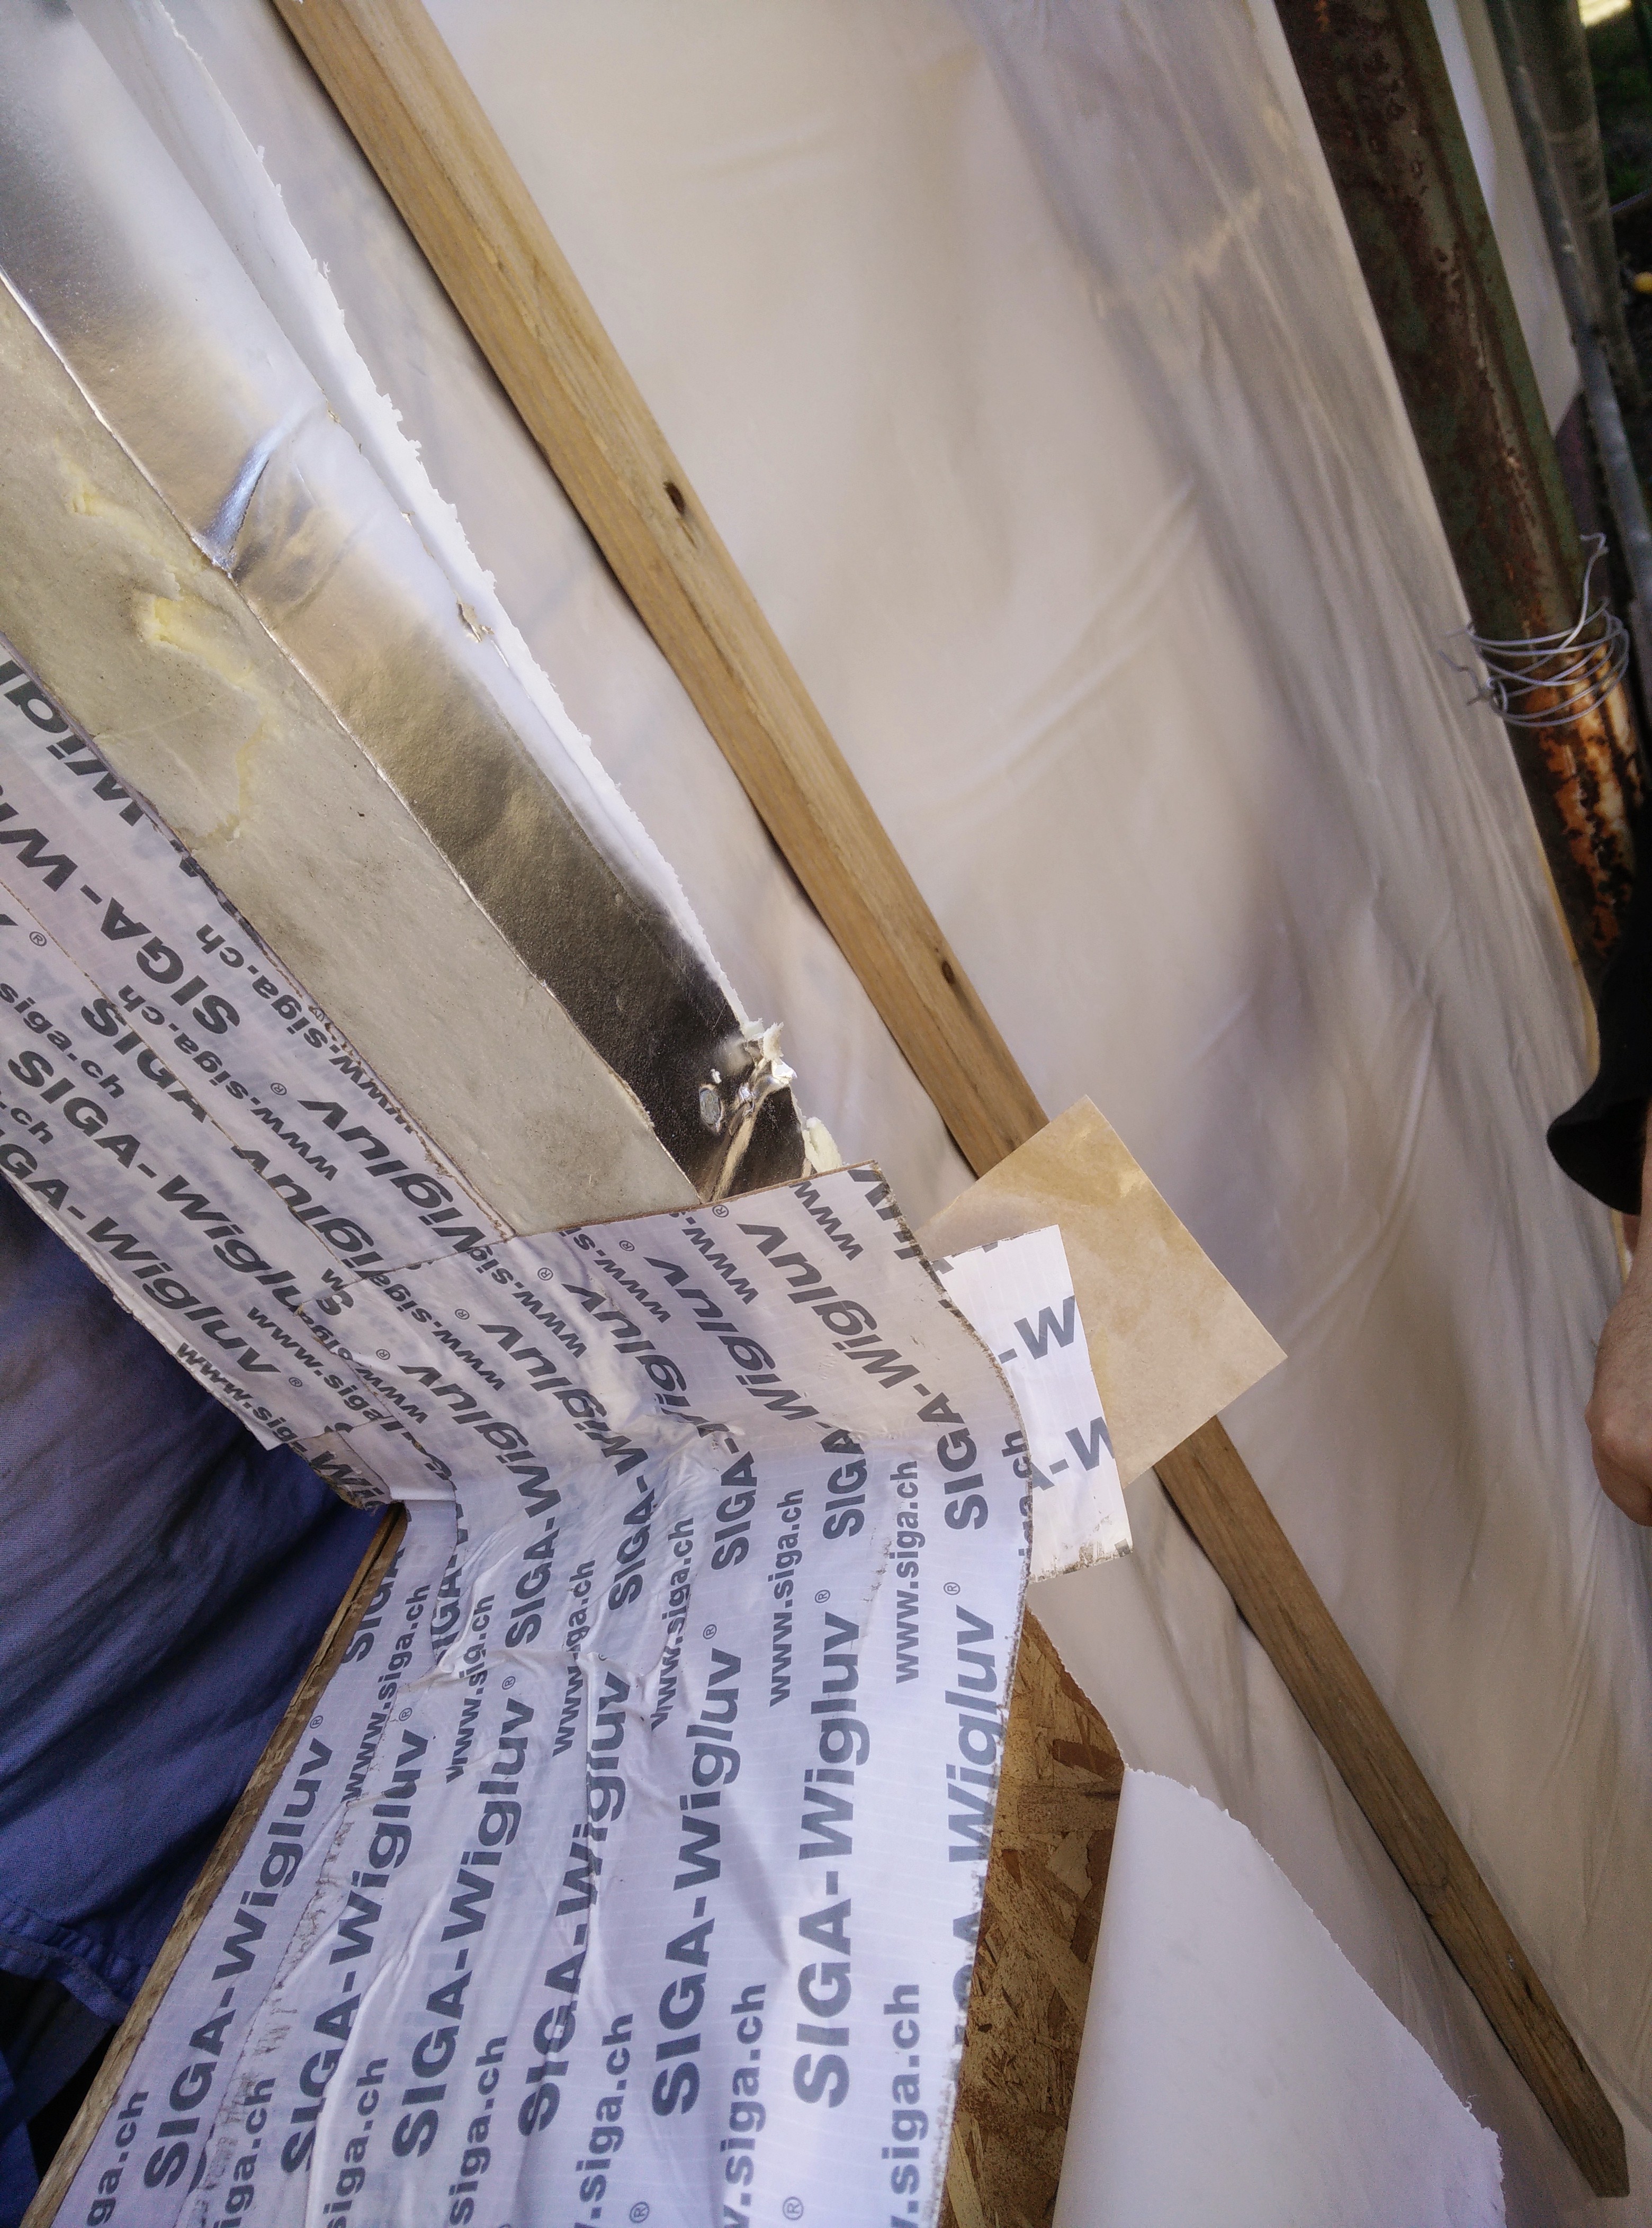
Passive homes are super insulated like the rigid, paper faced, 2 1/2″ polyiso we attached to the roof sheathing and 2″ to the walls…
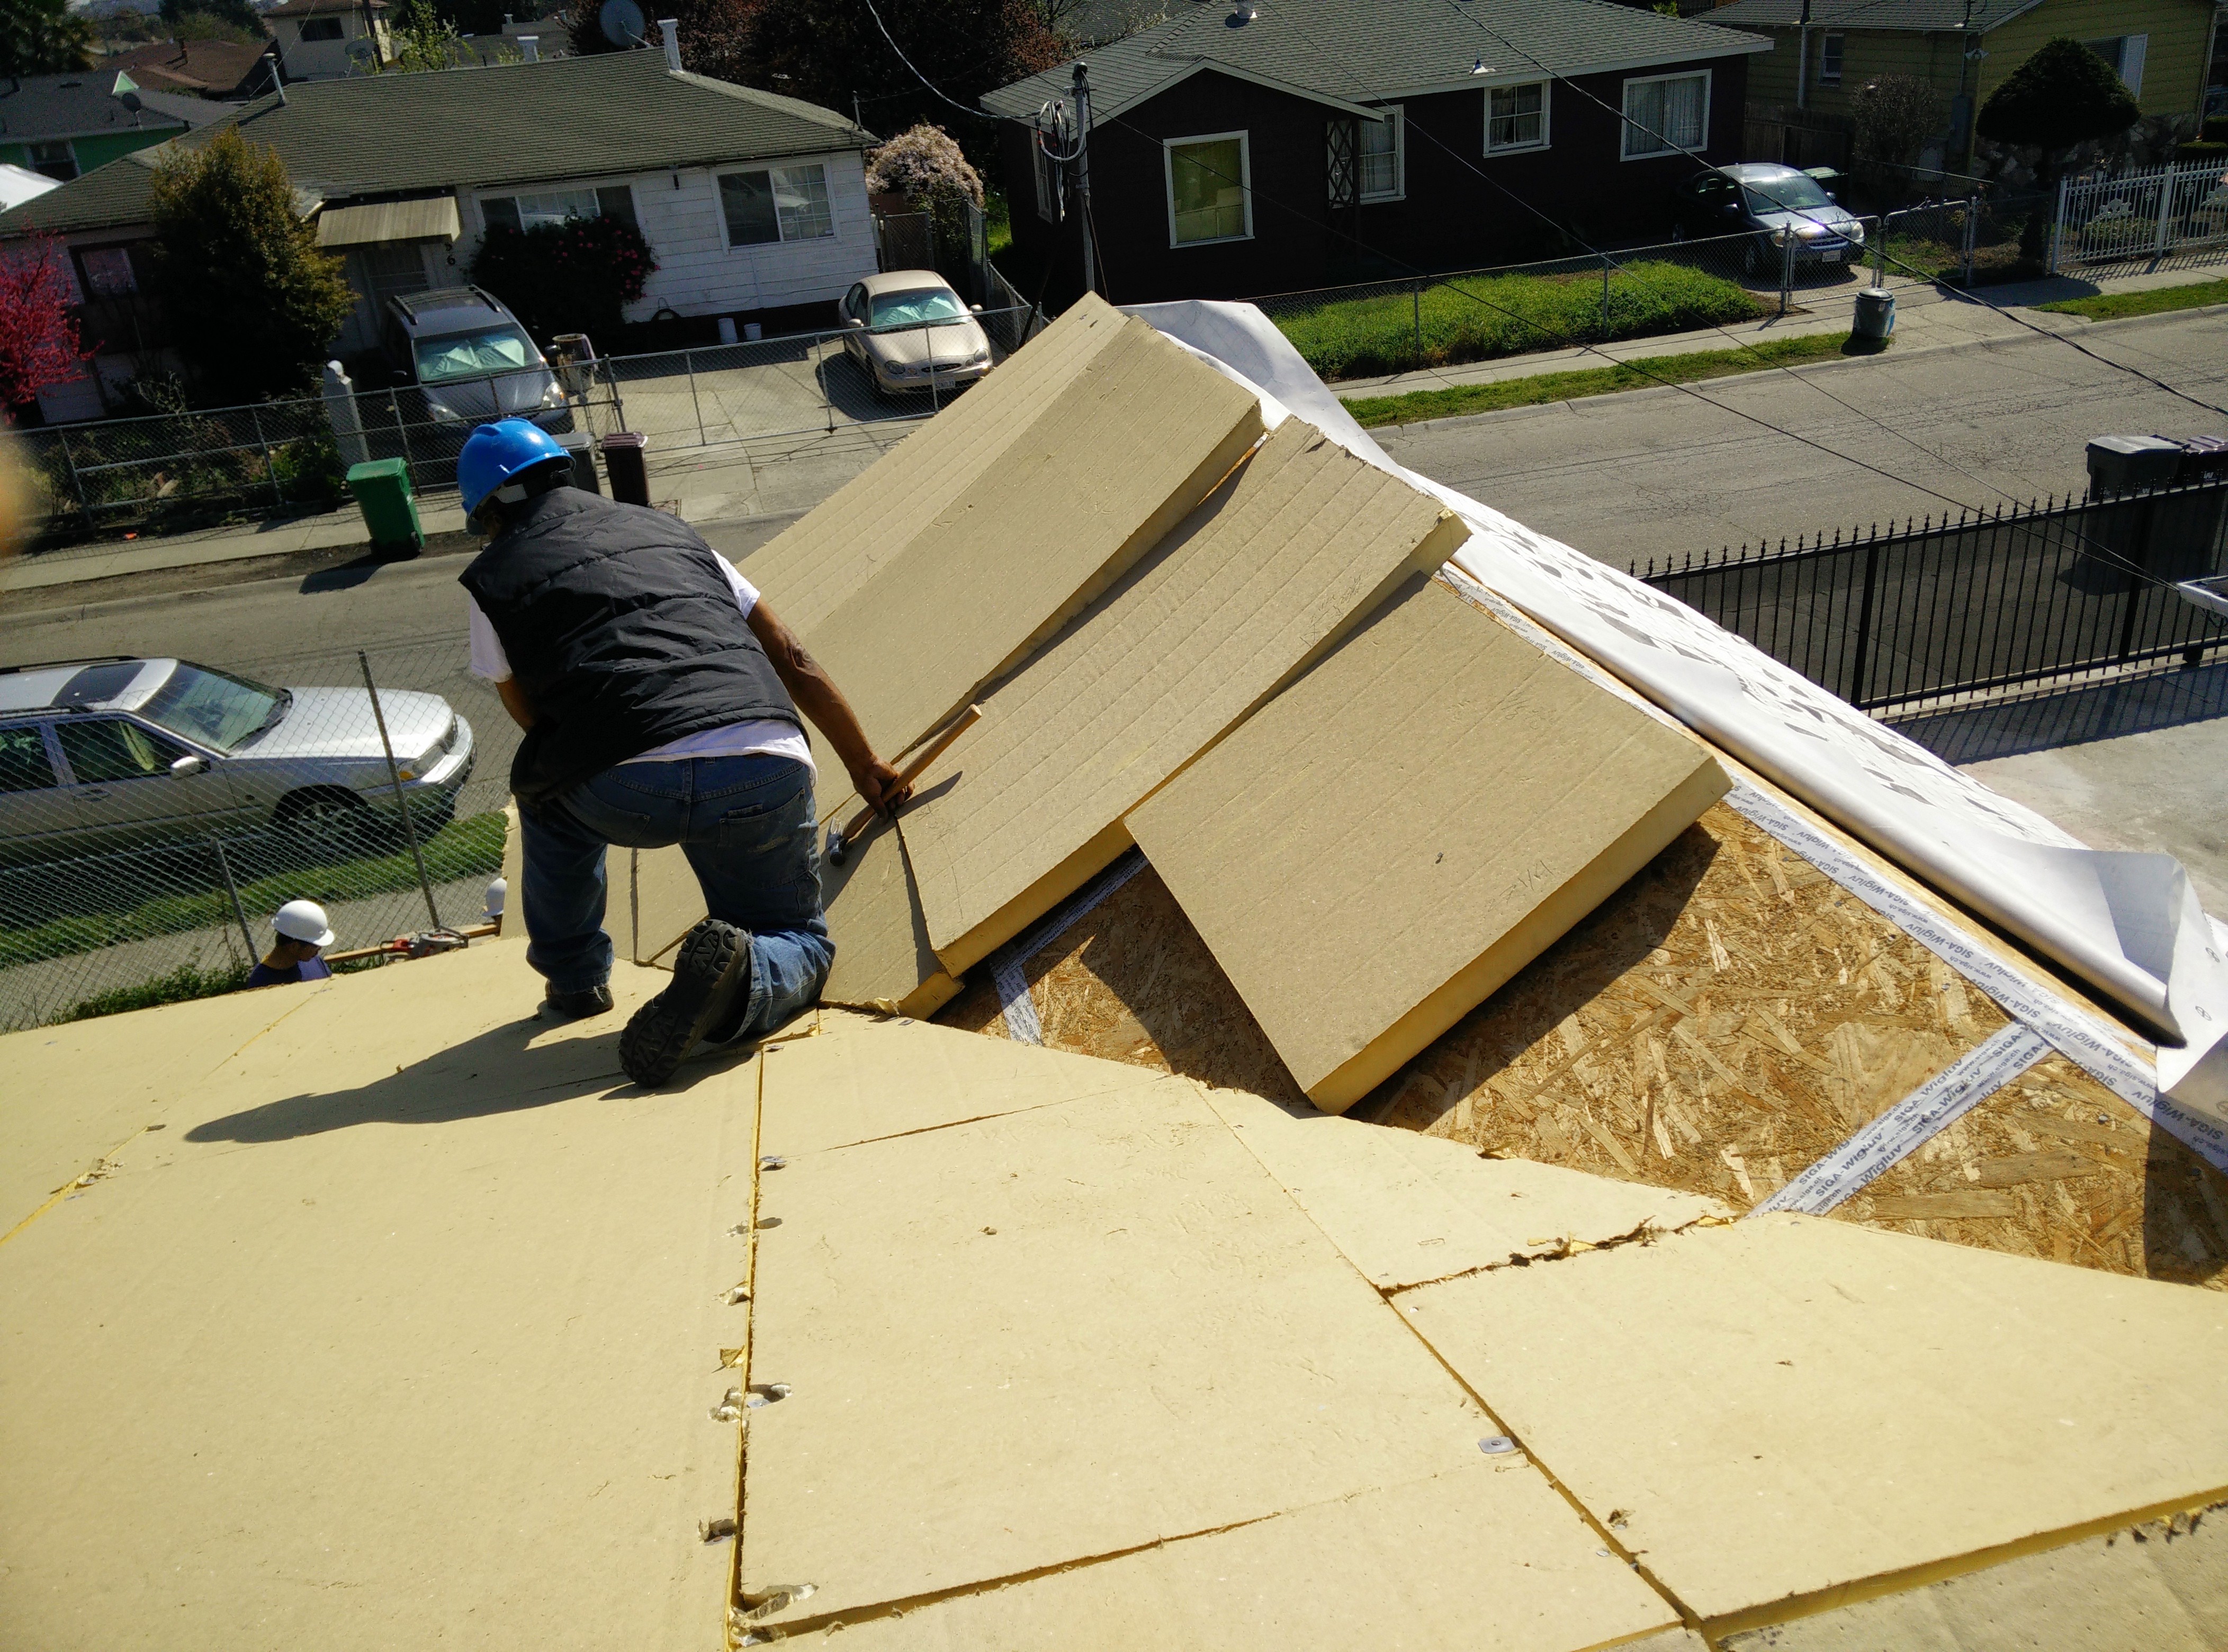
and then we fill the gaps with spray foam…

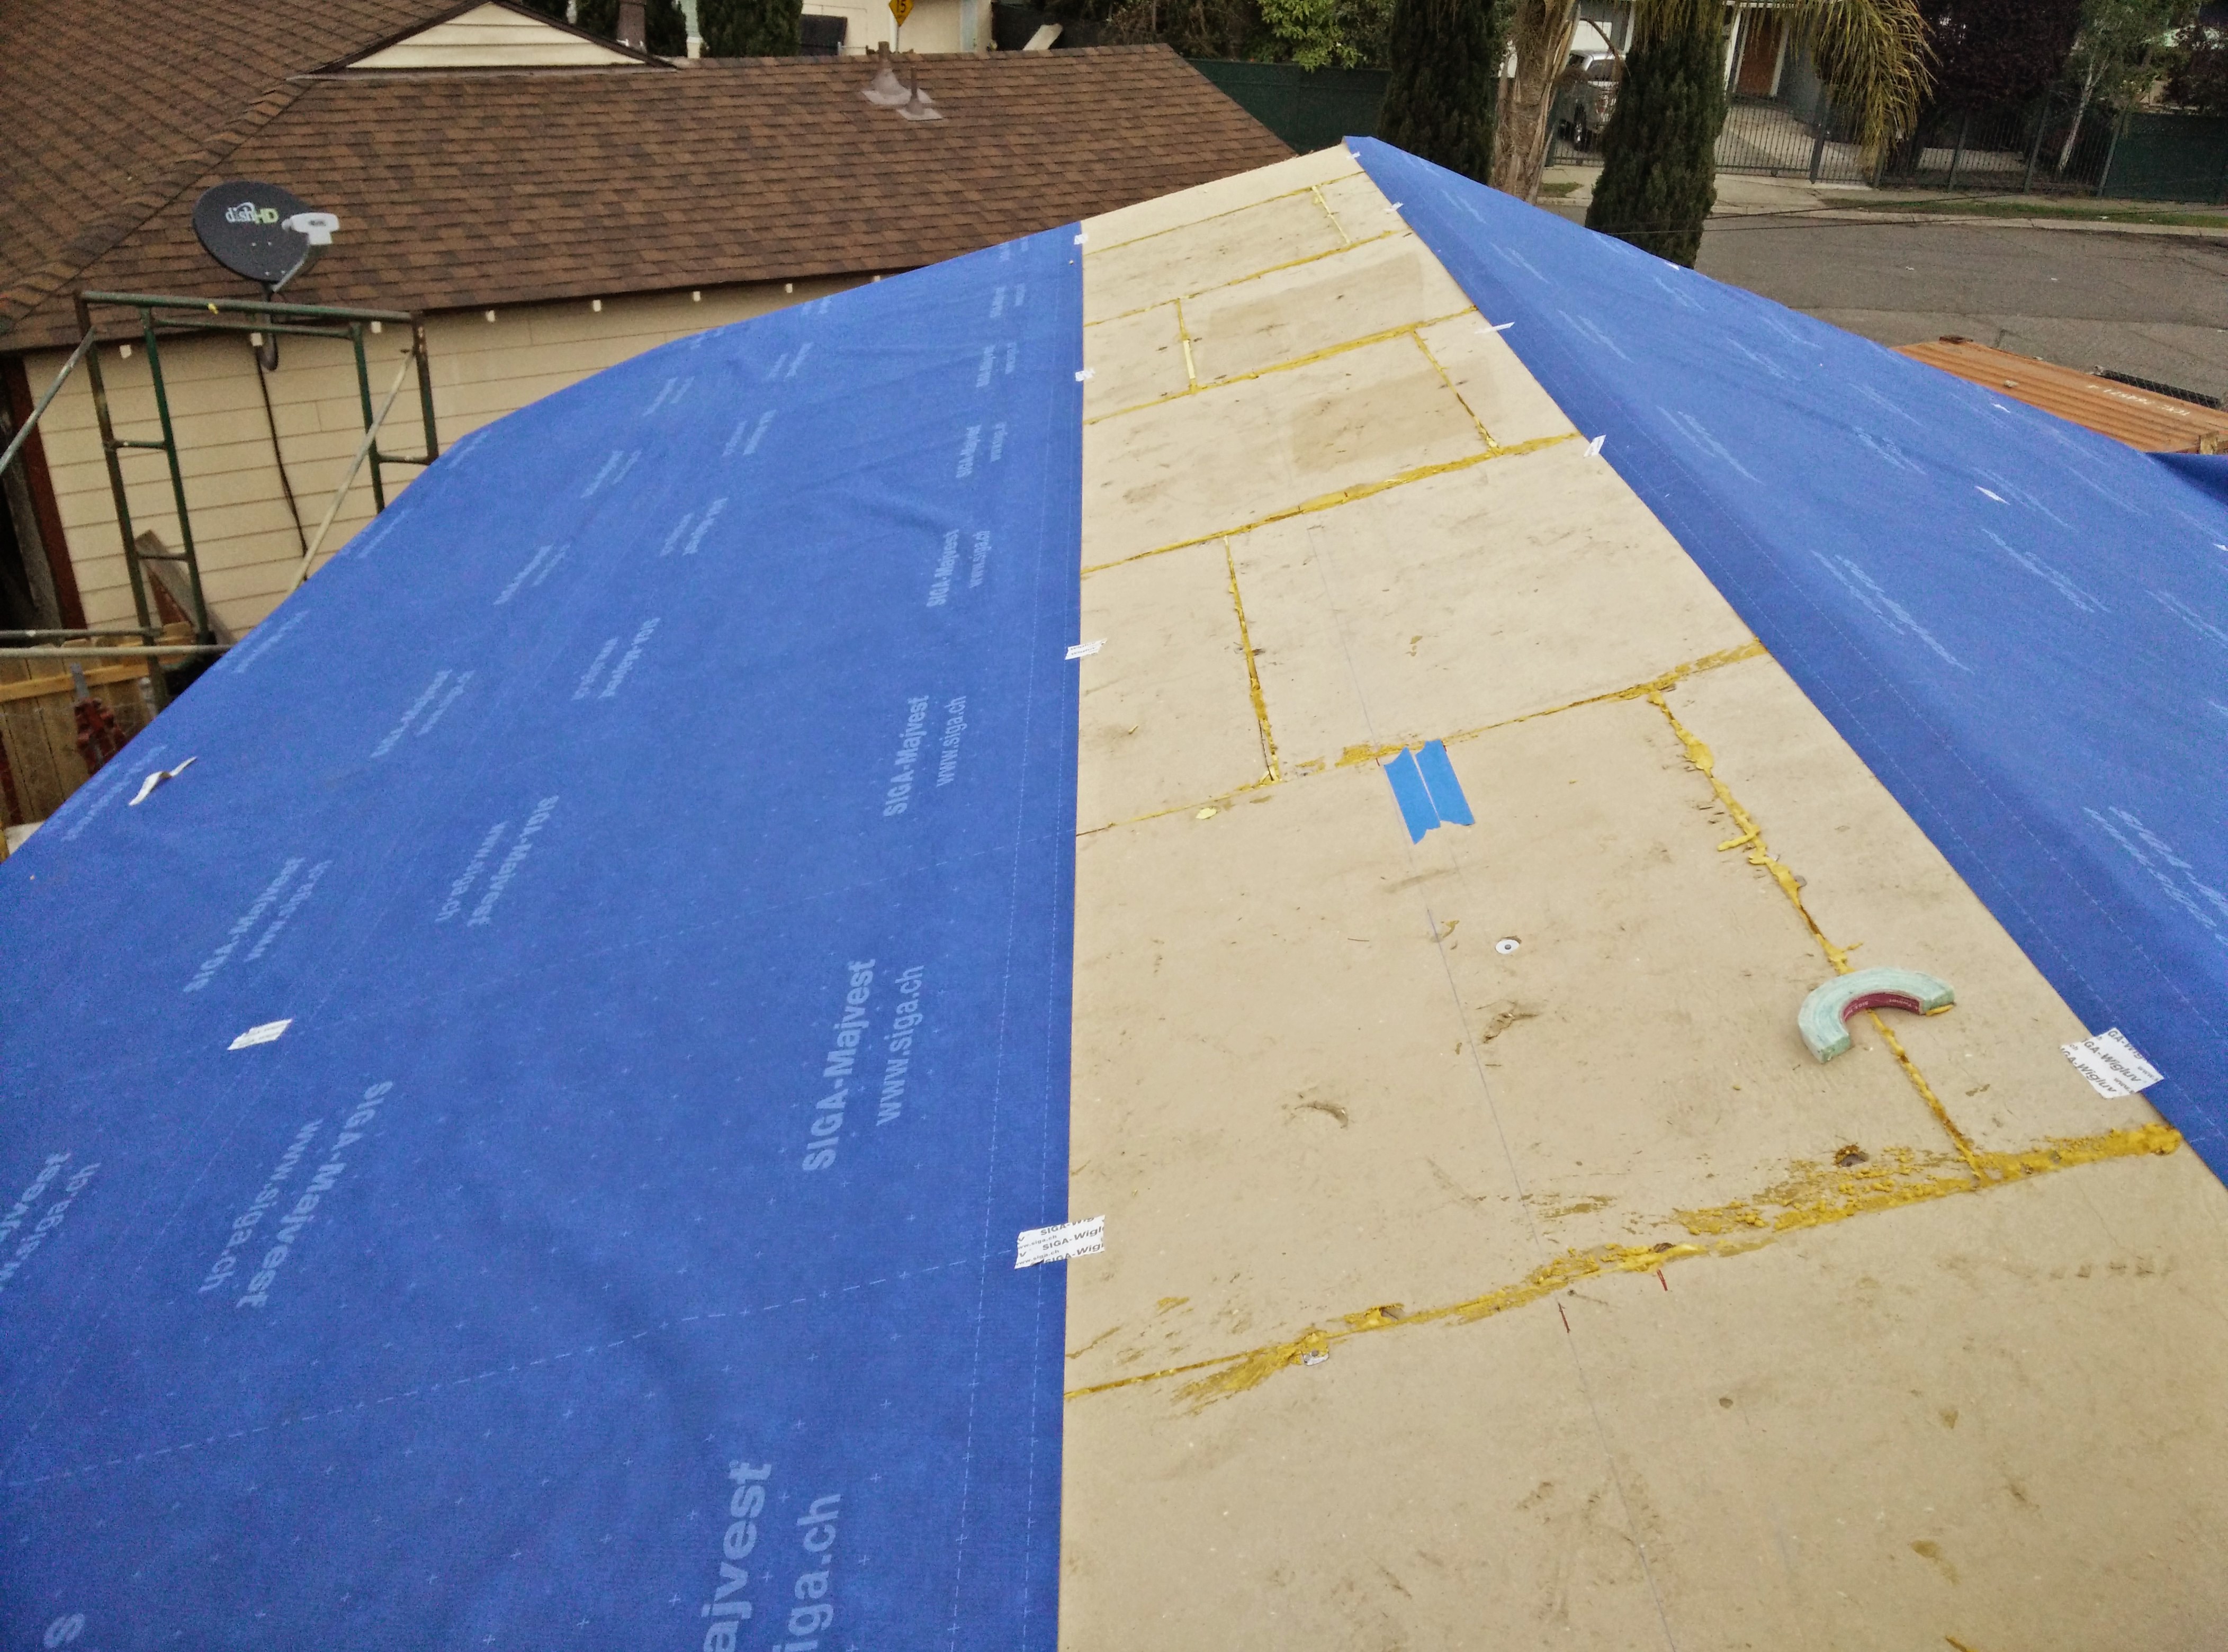
And the house wrap, “majvest,” from SIGA, is a three layered tear-proof and flexible material. The diffusion-open membrane acts as a wind proof weather resistant barrier (WRB)
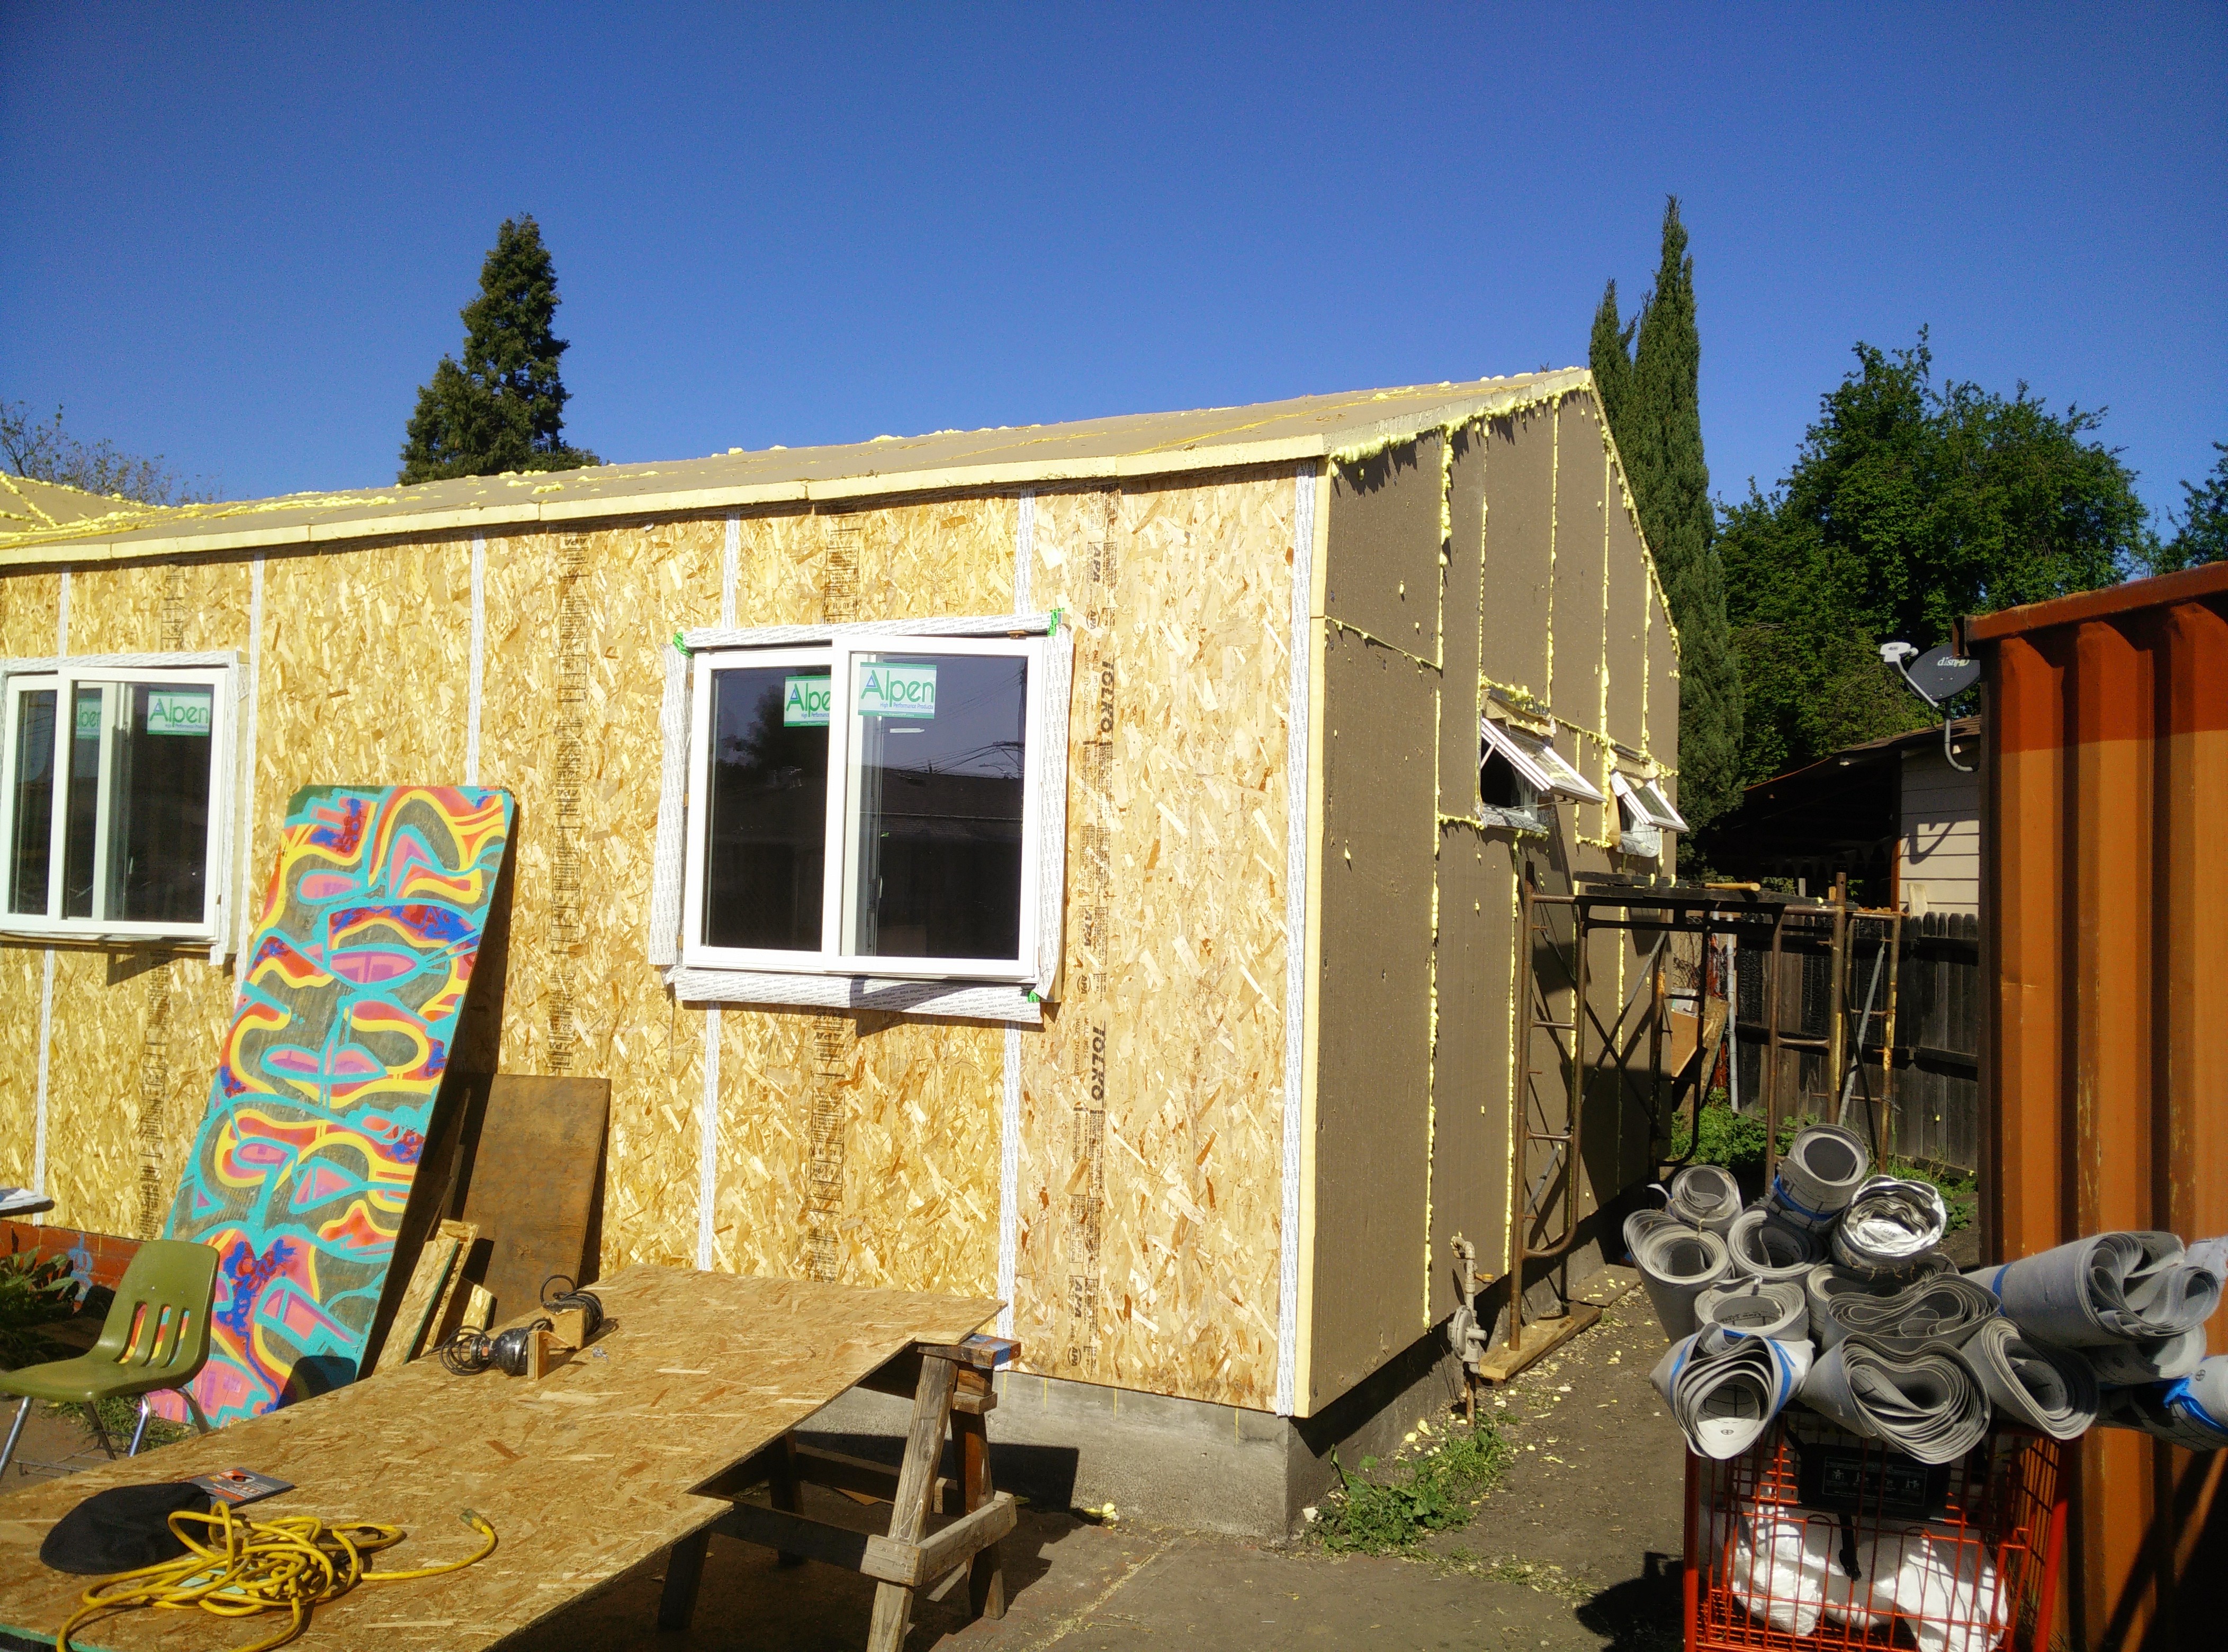
oops, back to before installing mayvest, showing the roof insulation (2 1/2″) to wall insulation (2″)….
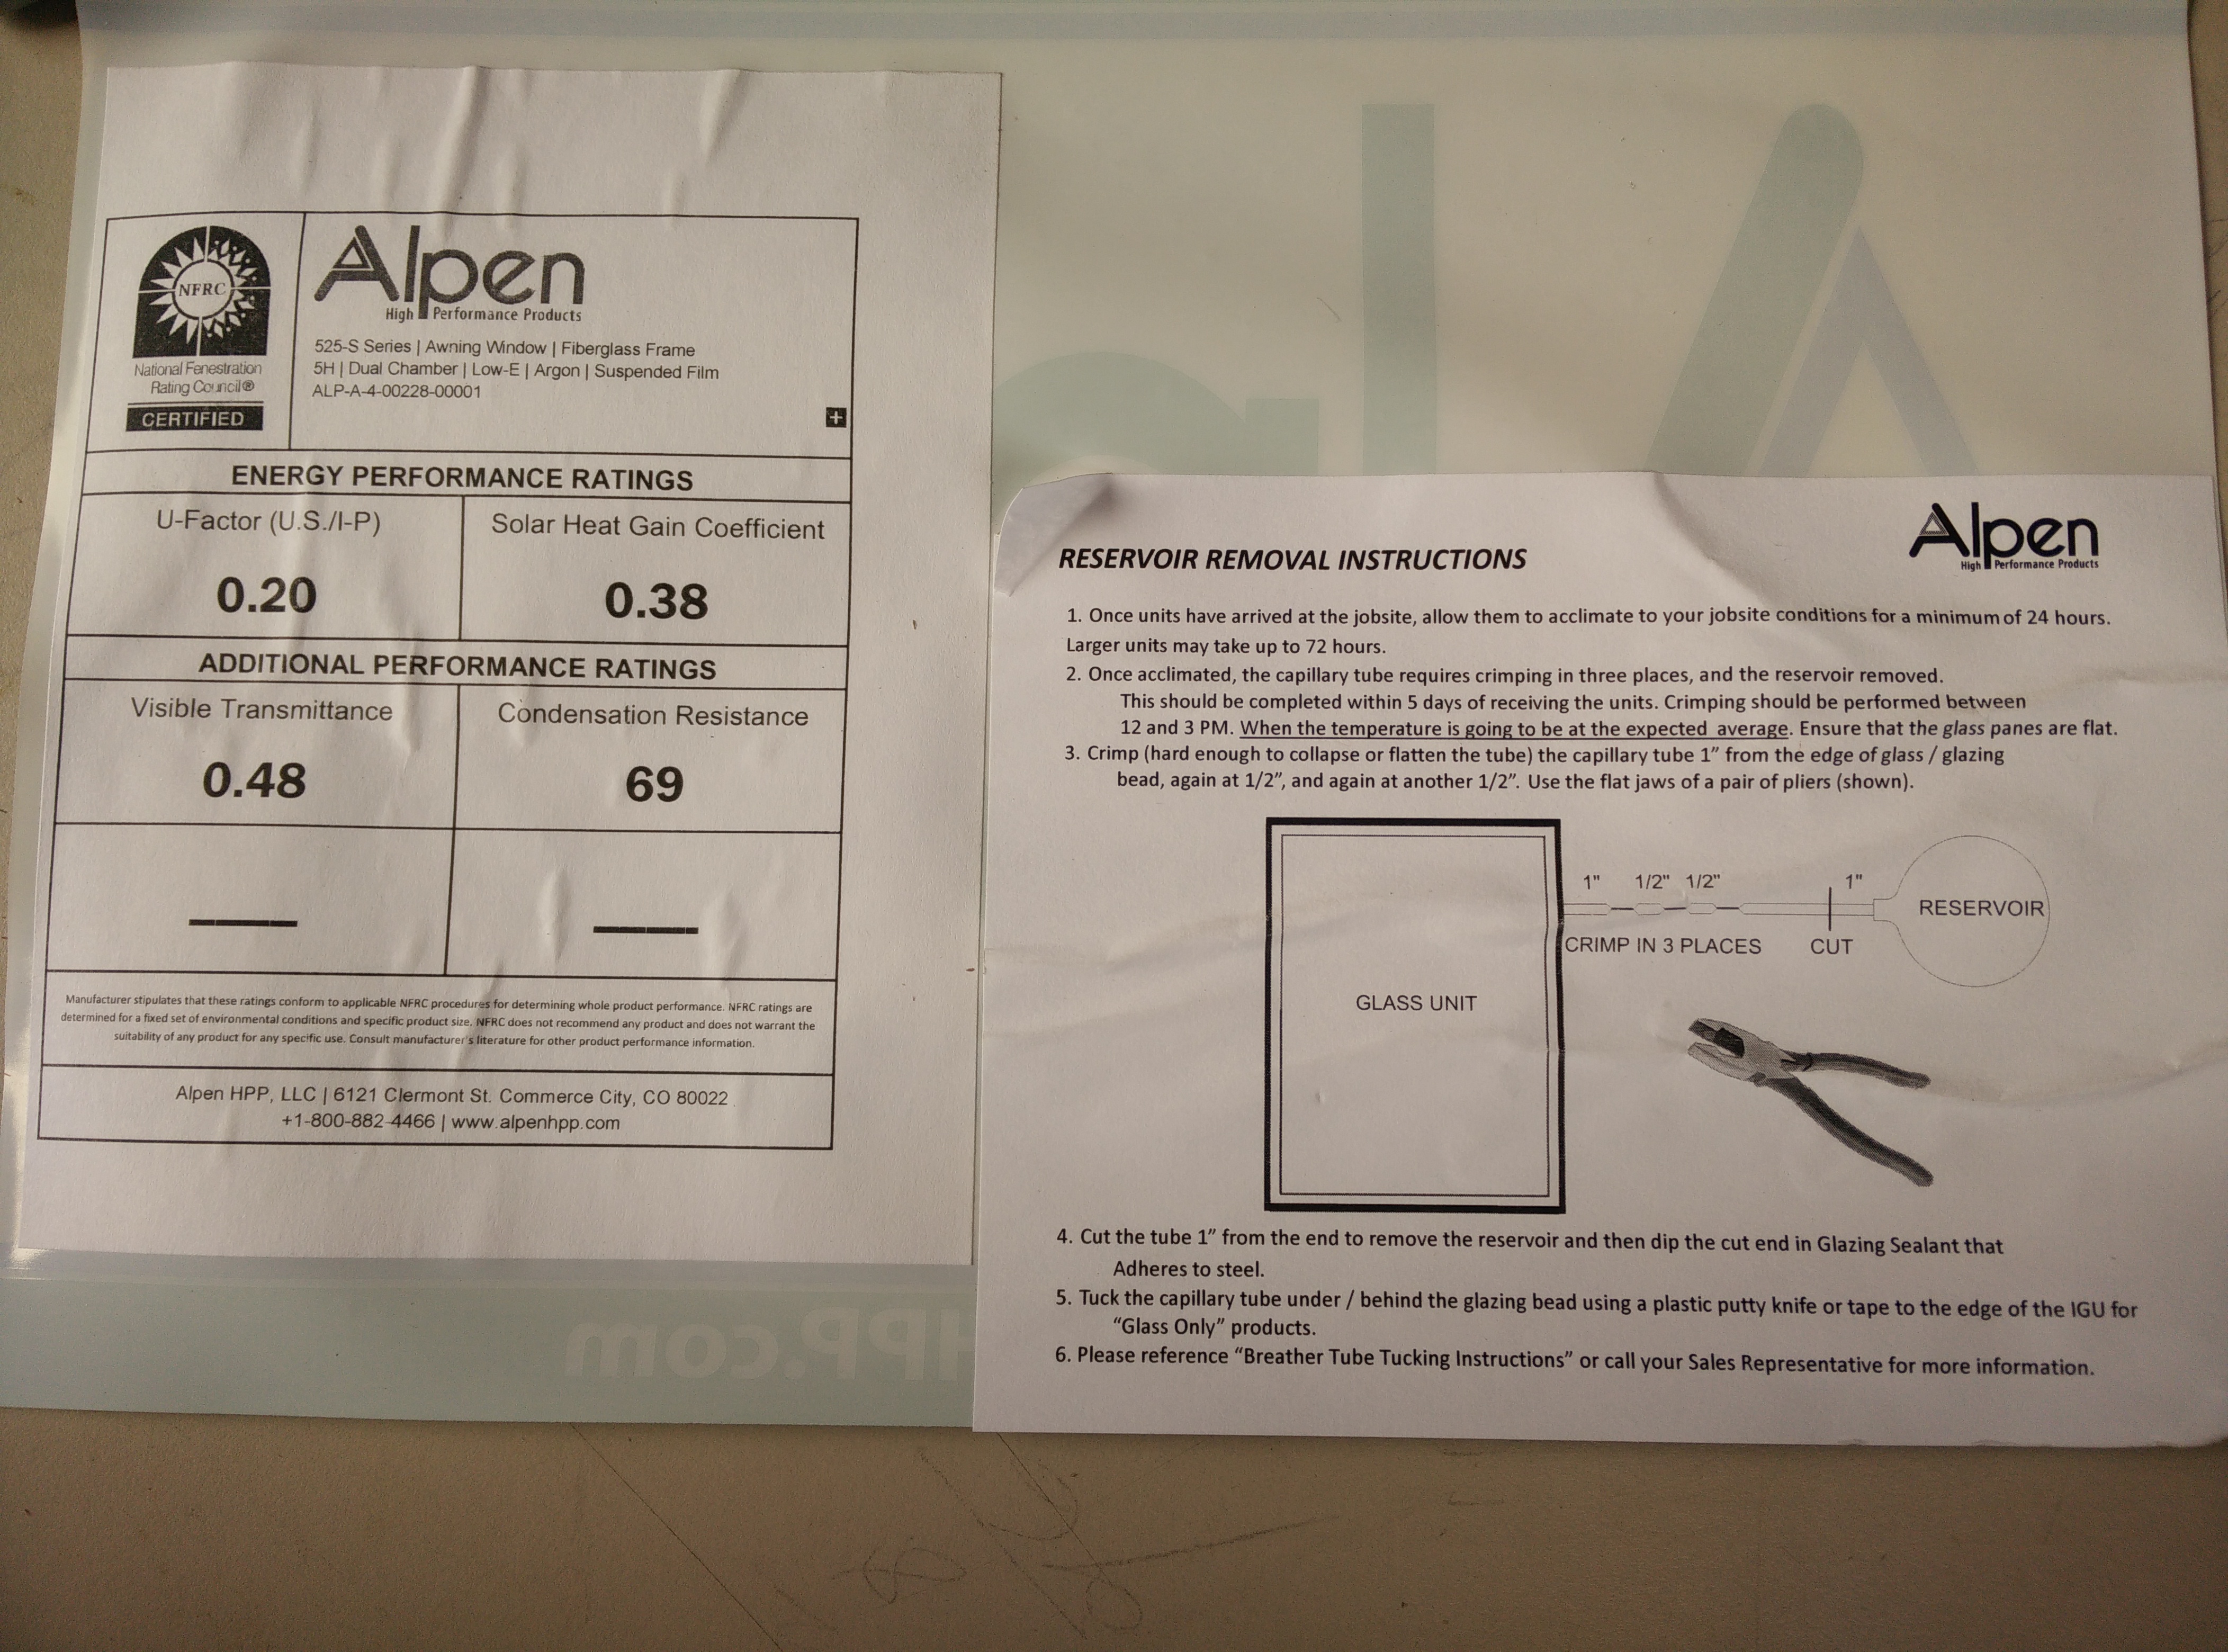
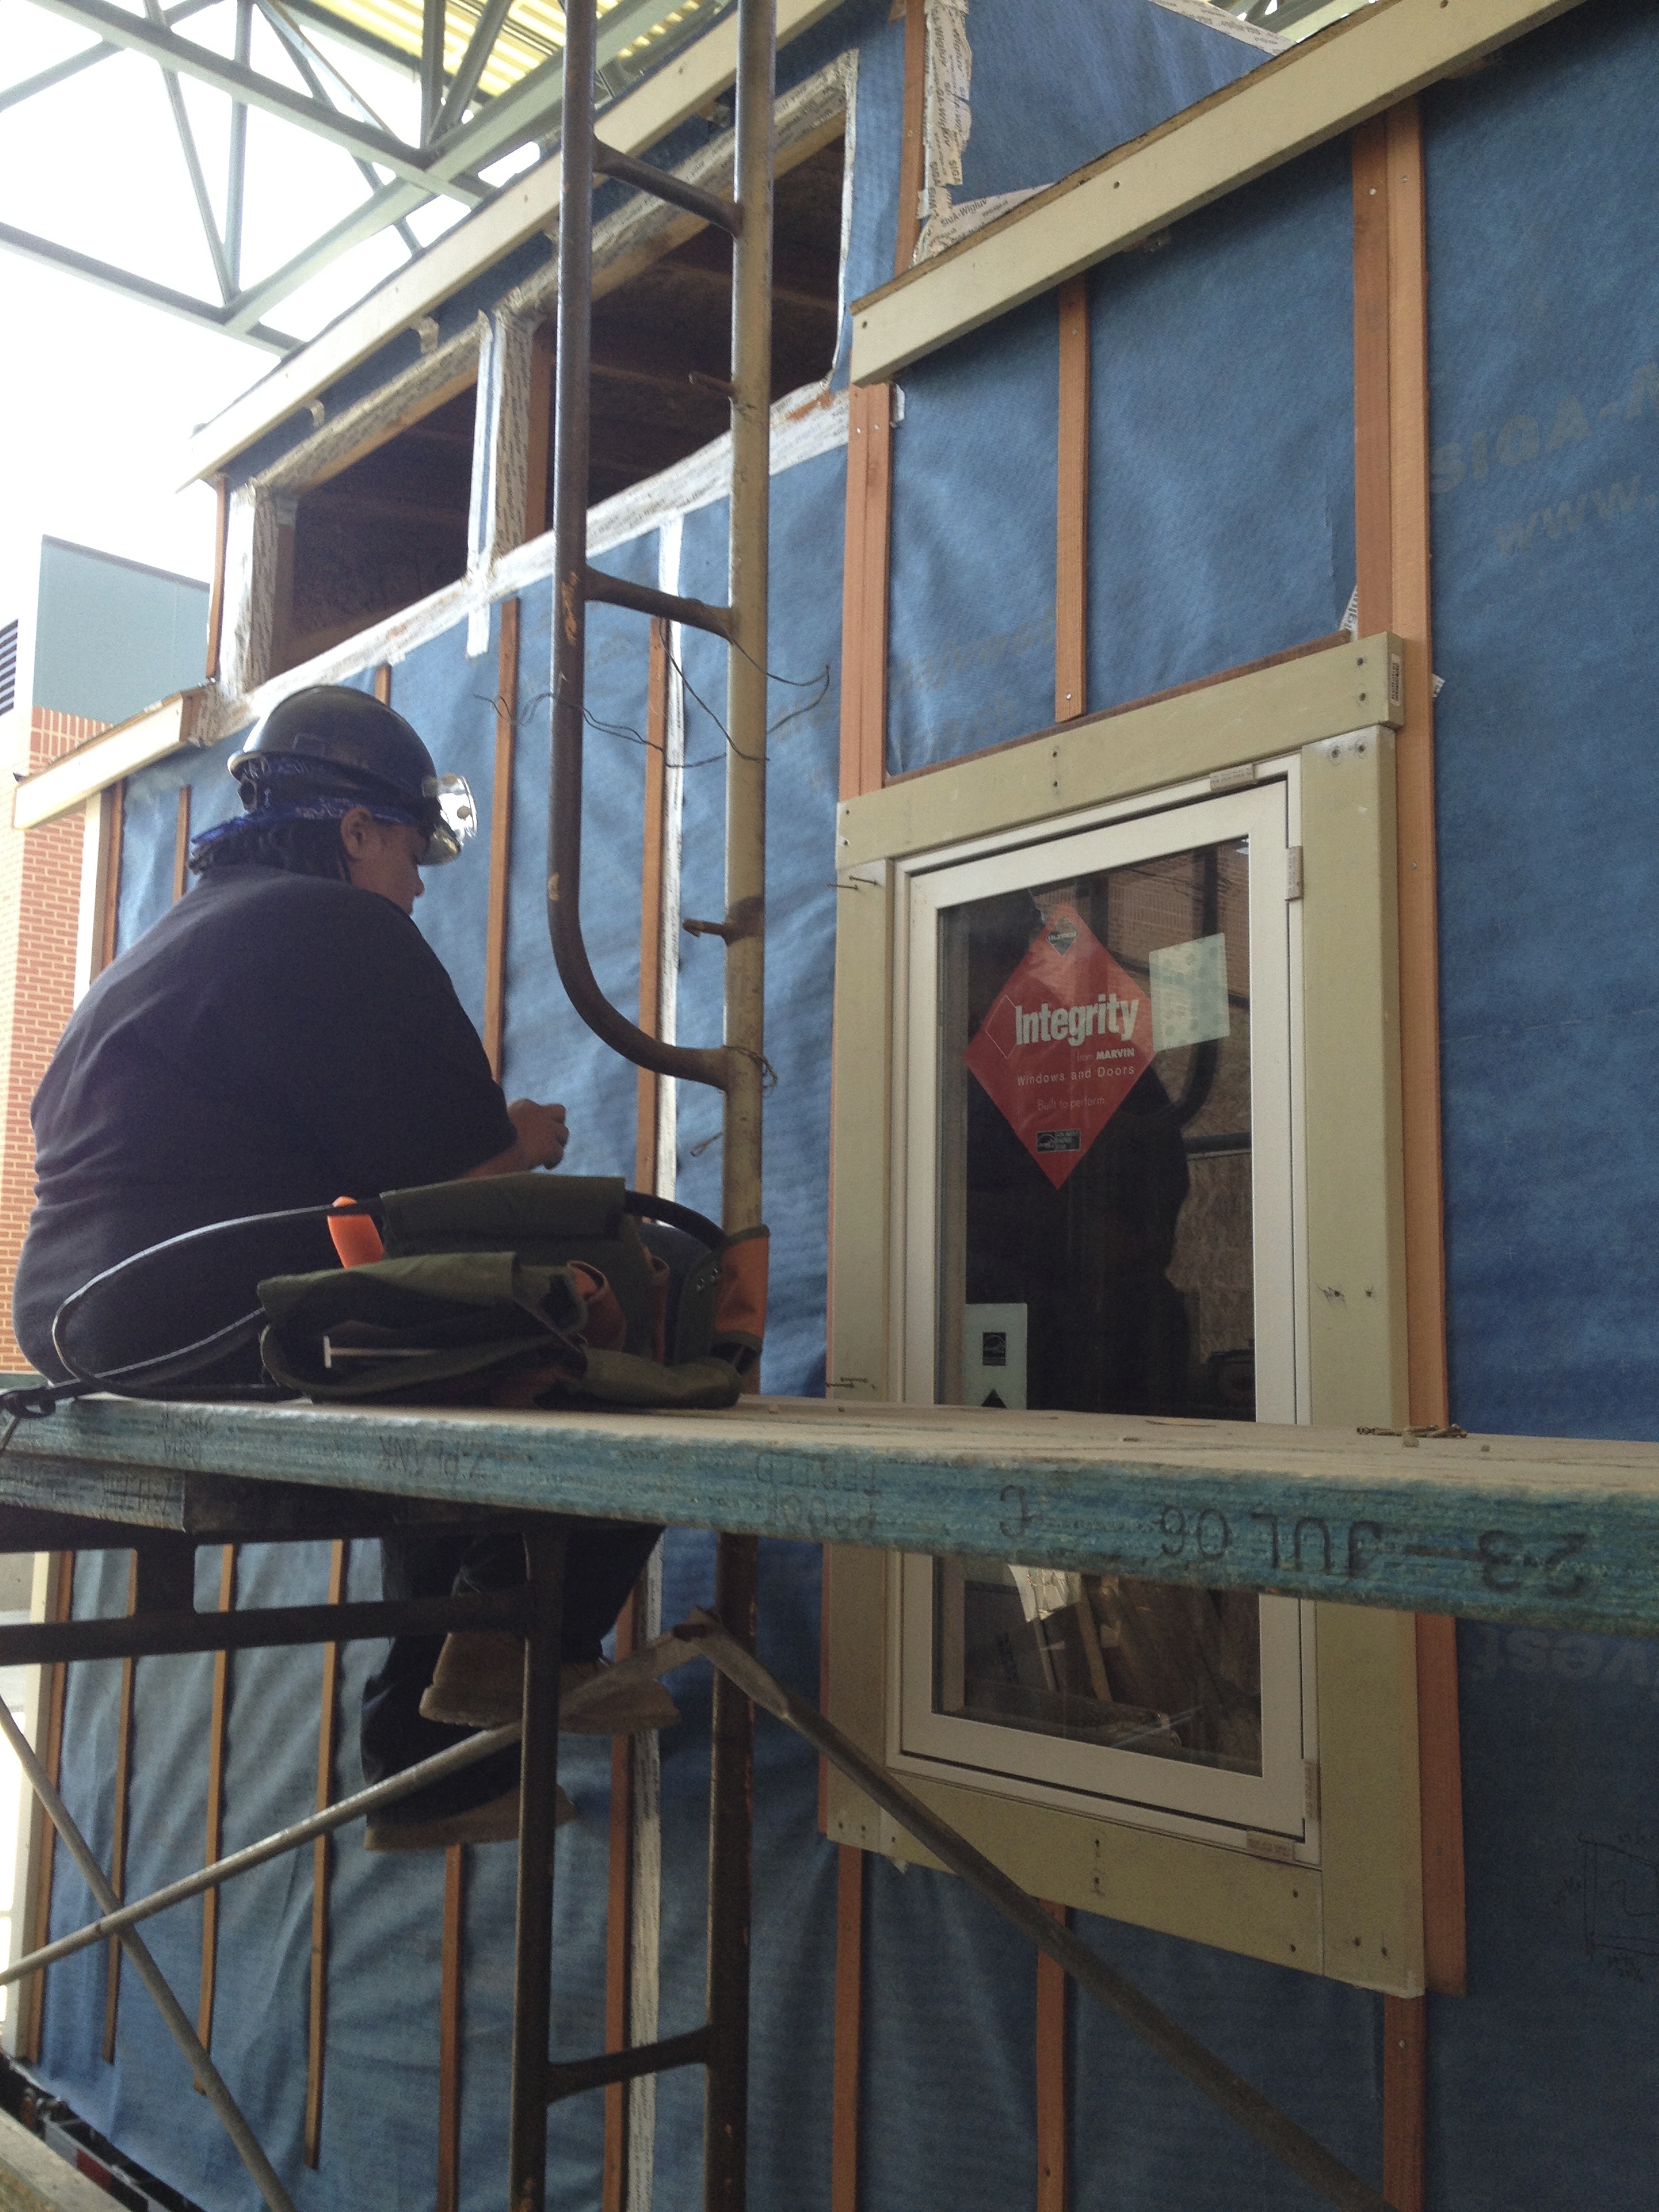
Oh yeah prior to all that we installed the windows: Alpen 700 series: Triple glazed, casement windows from Colorado…
Fine tuning the rough opening, nice form Lisa!
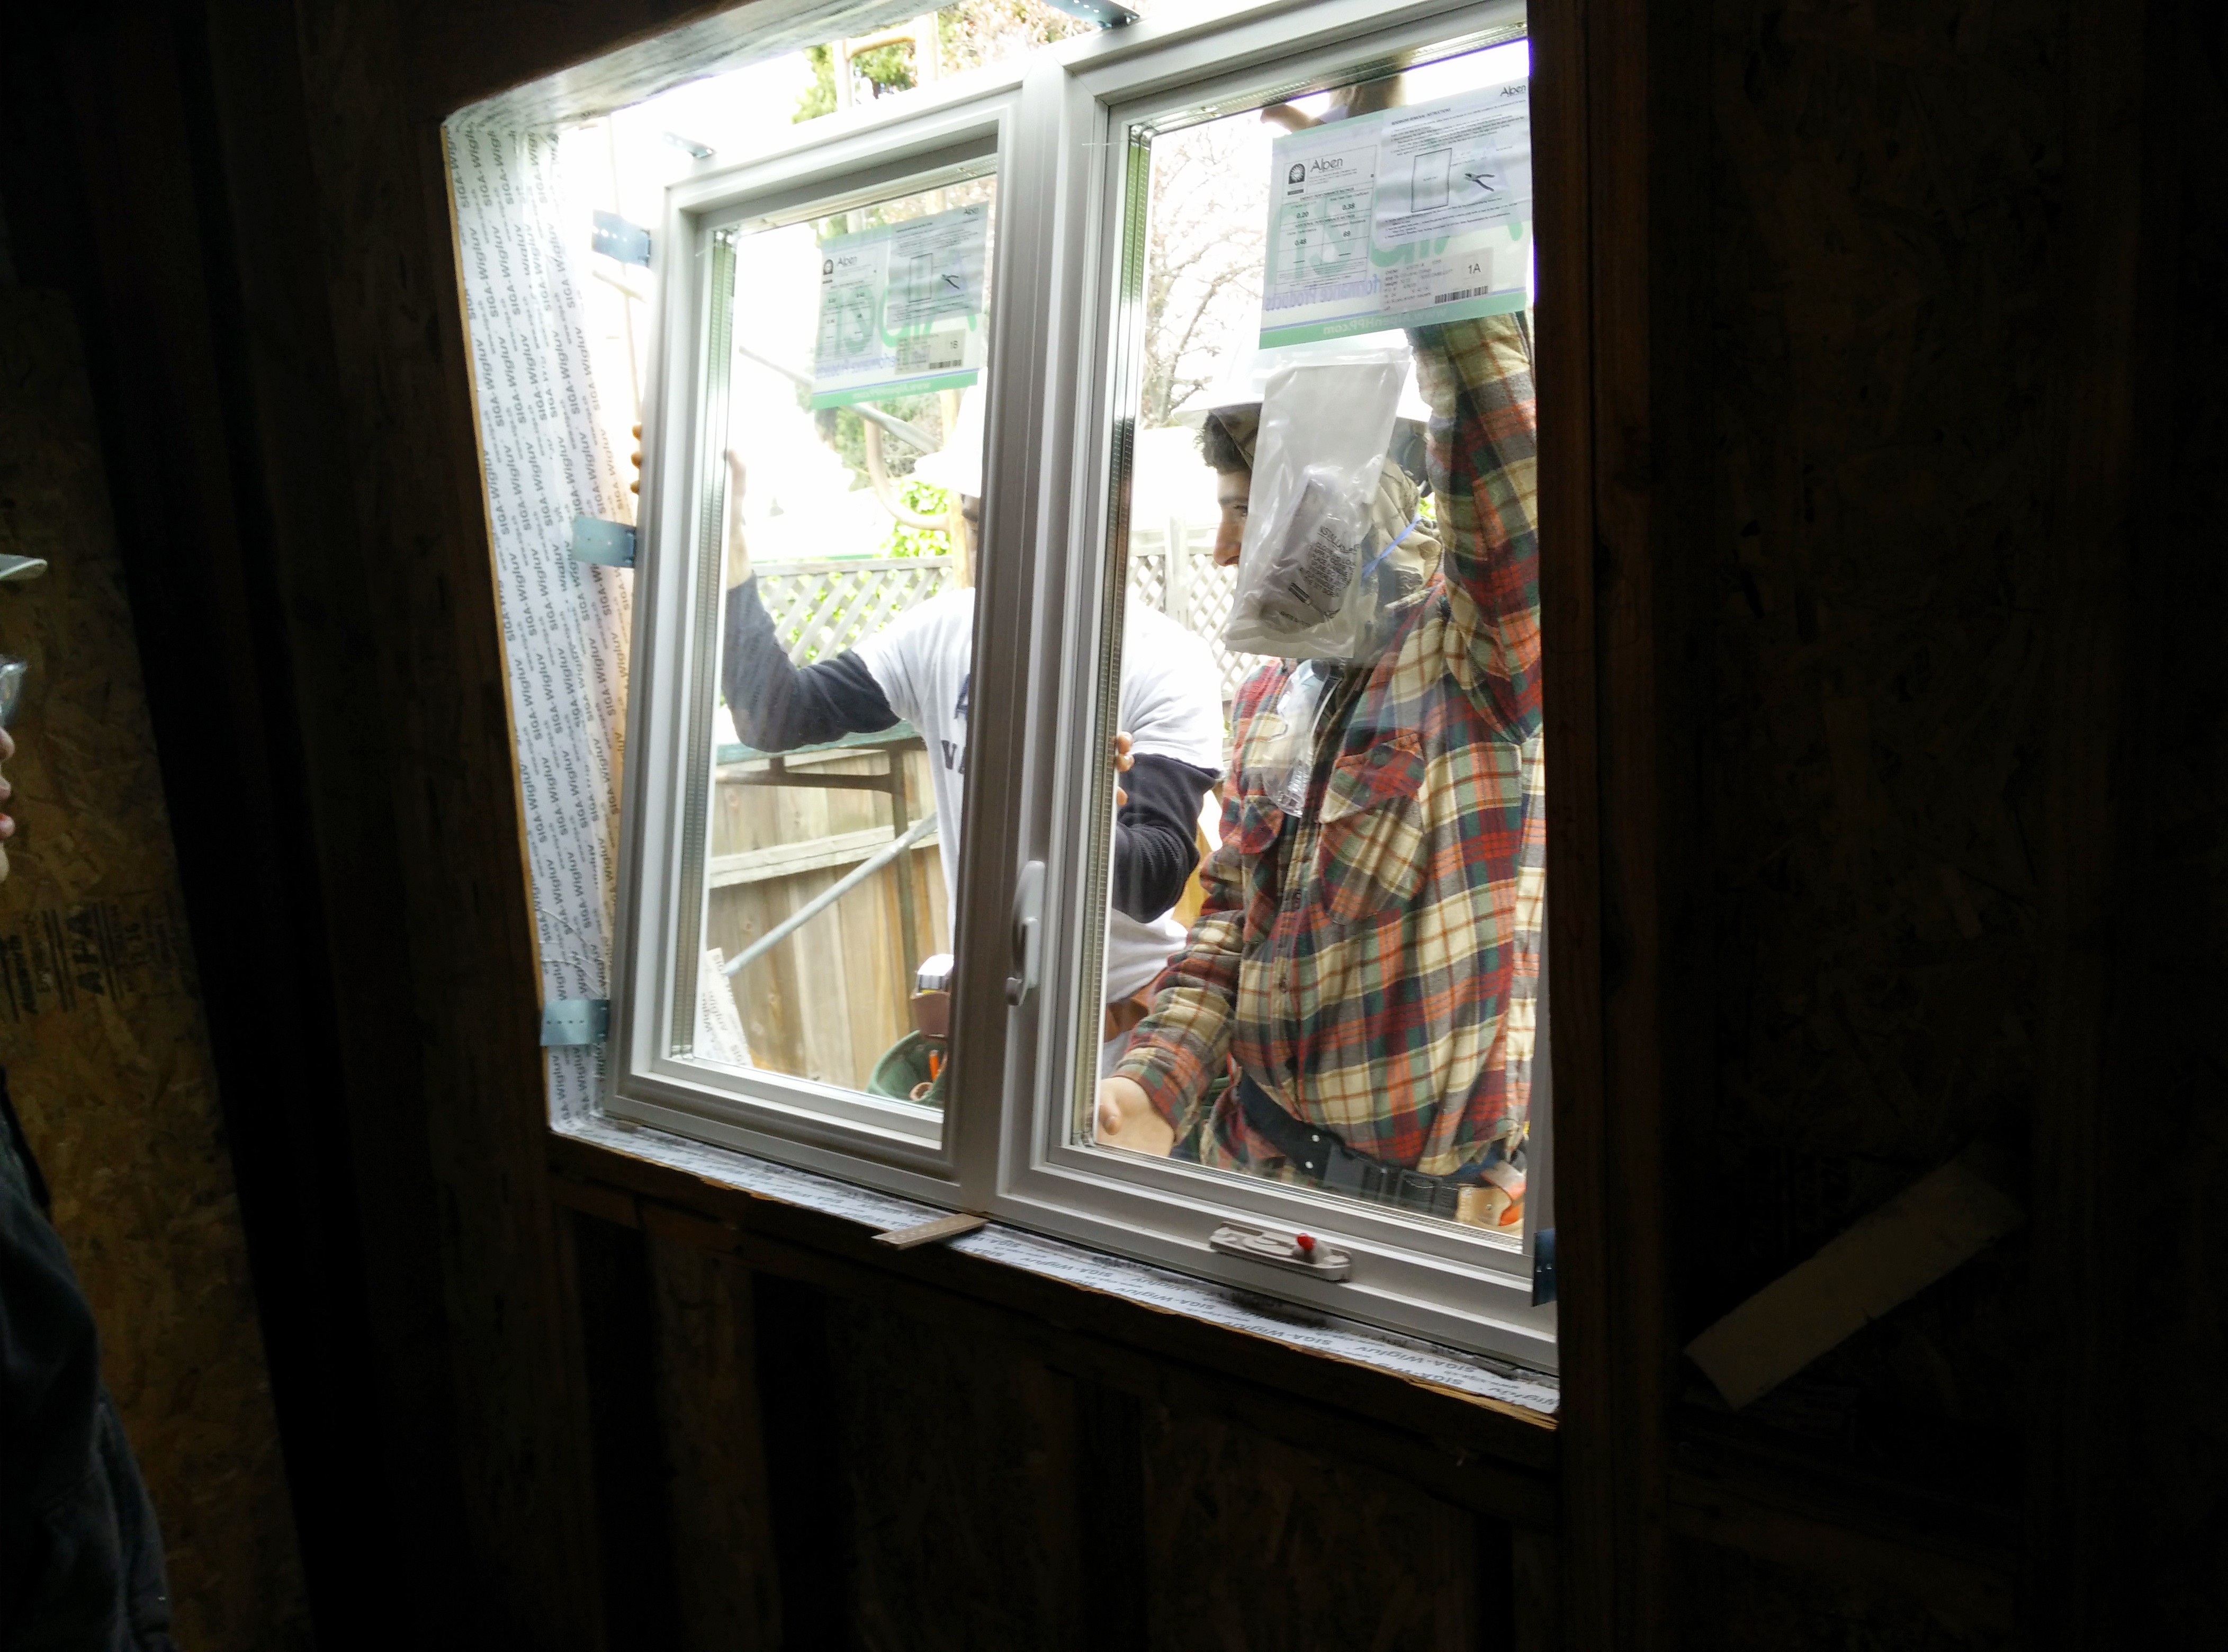
Installing the windows involved carefully connecting the air barrier, osb, to the inner front edge of the window, allowing for an uninterrupted air seal and room for draining any possible moisture infiltration…
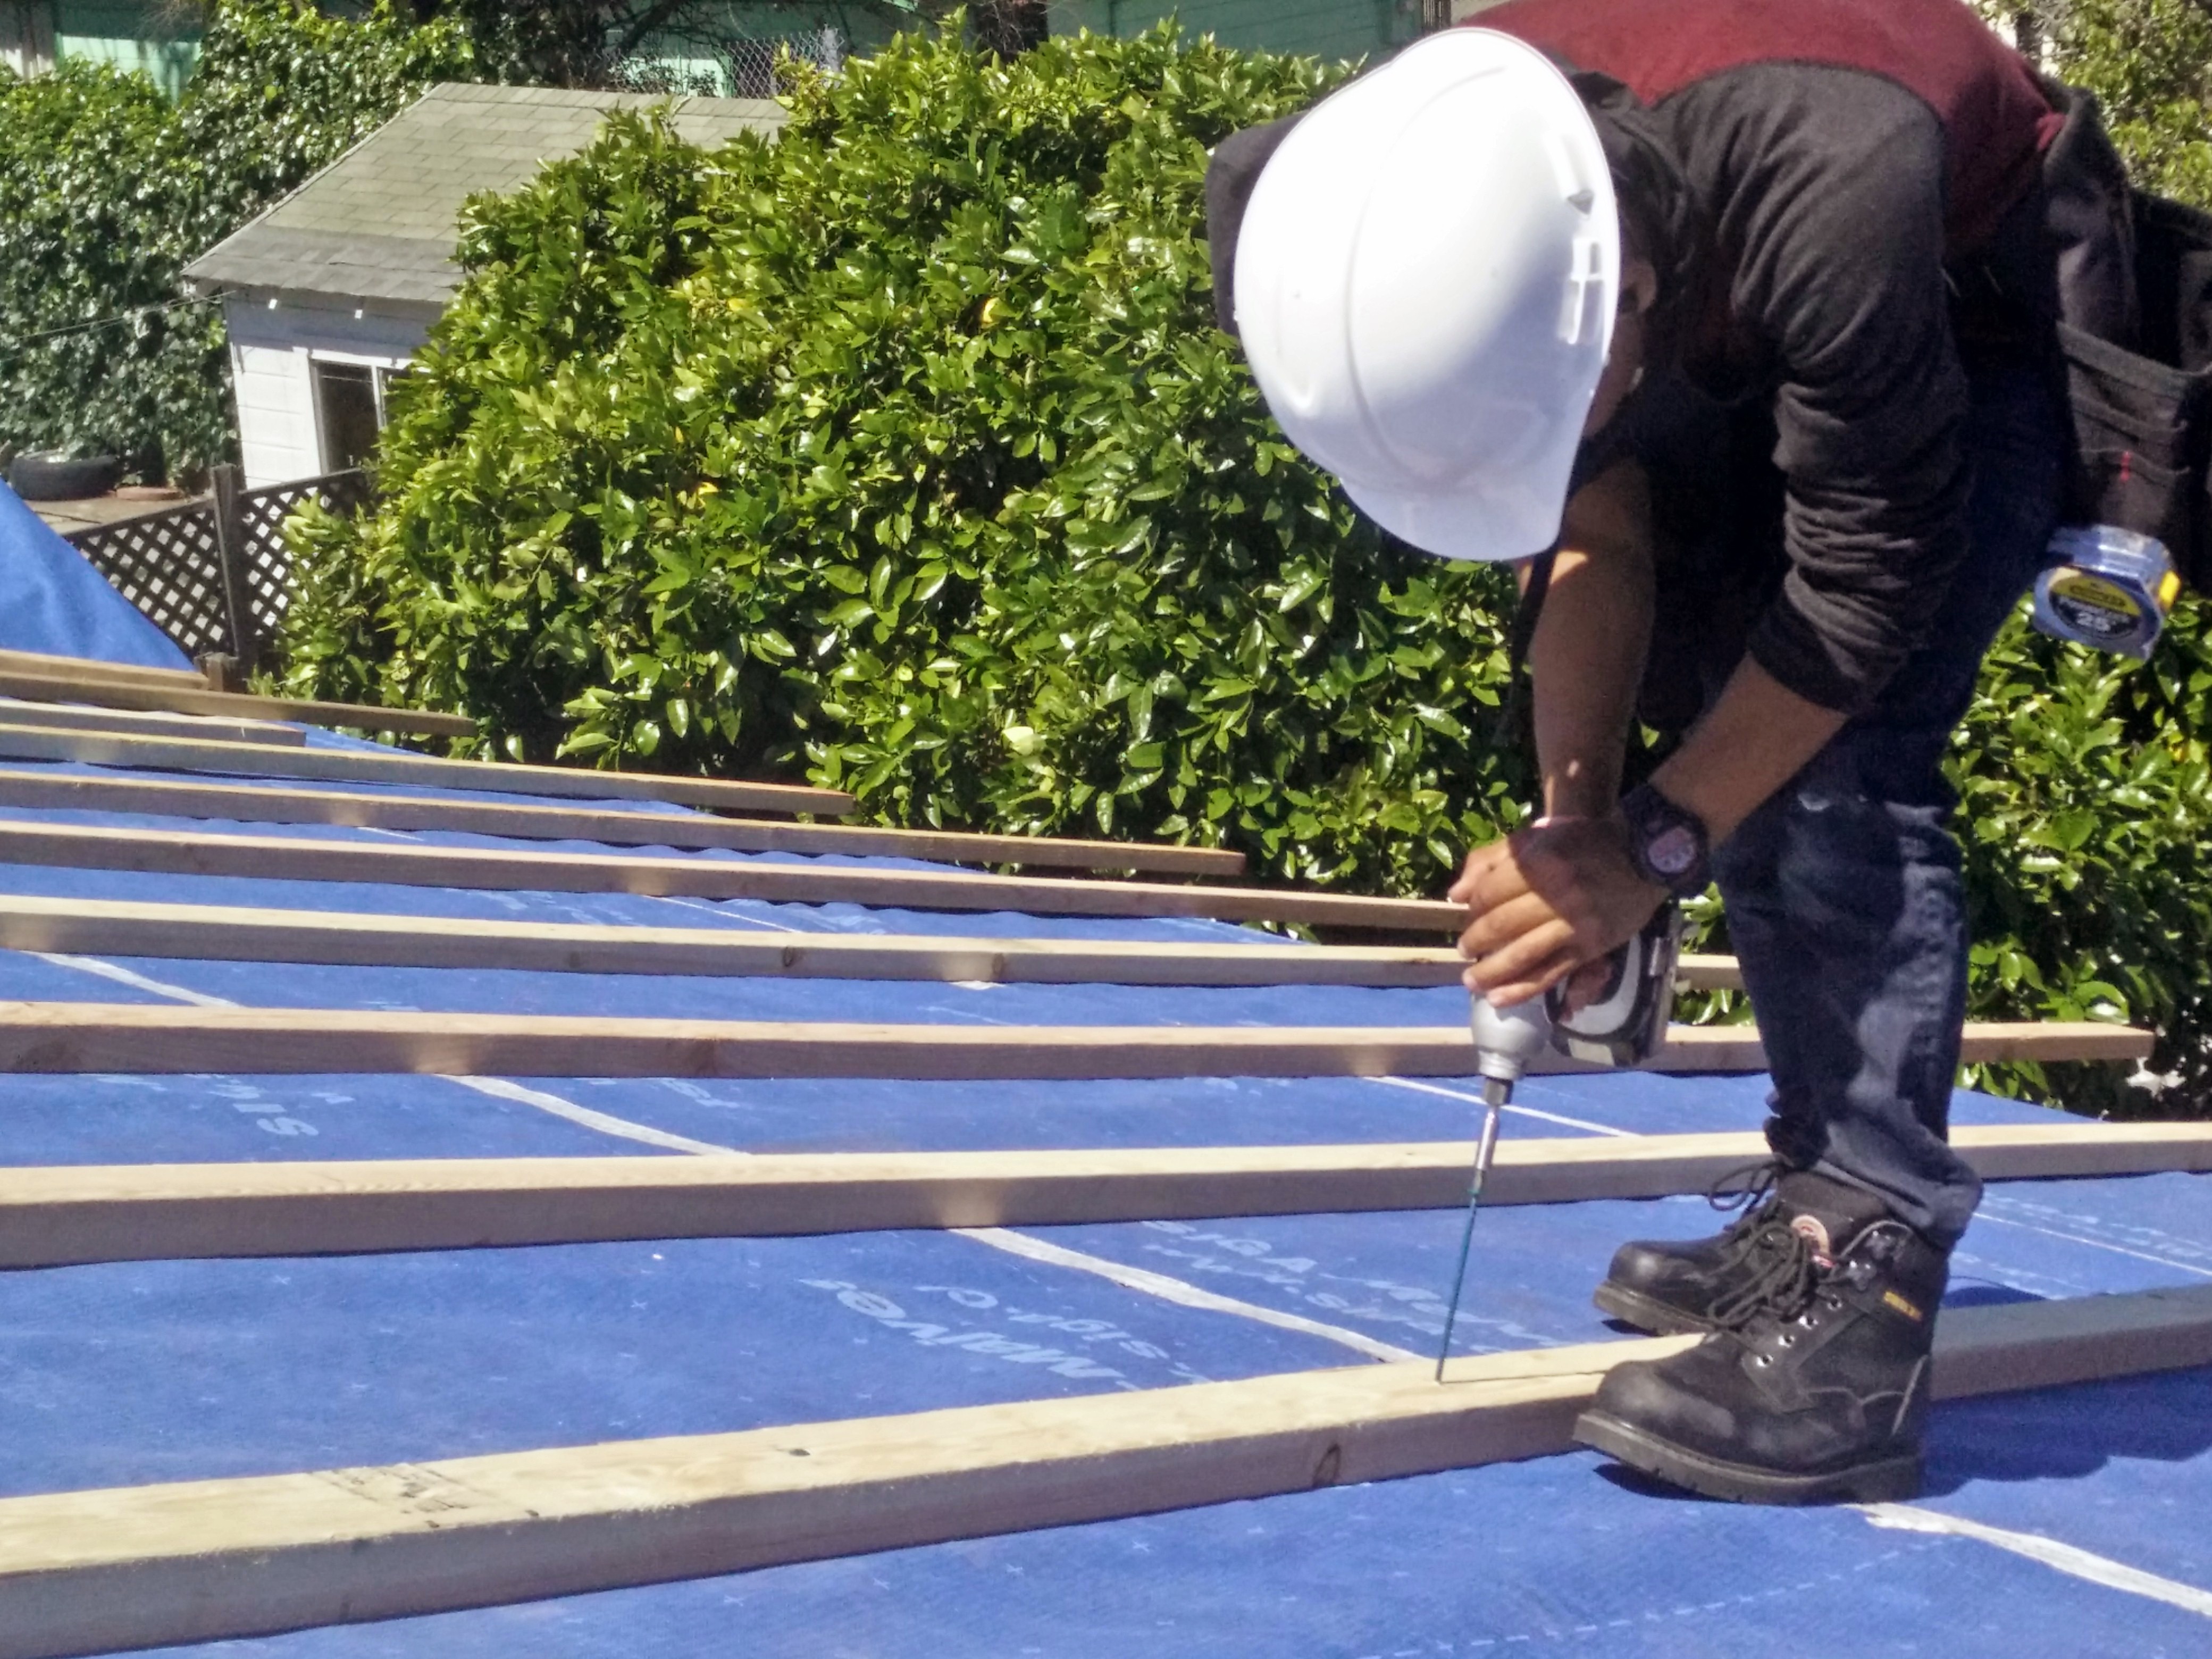
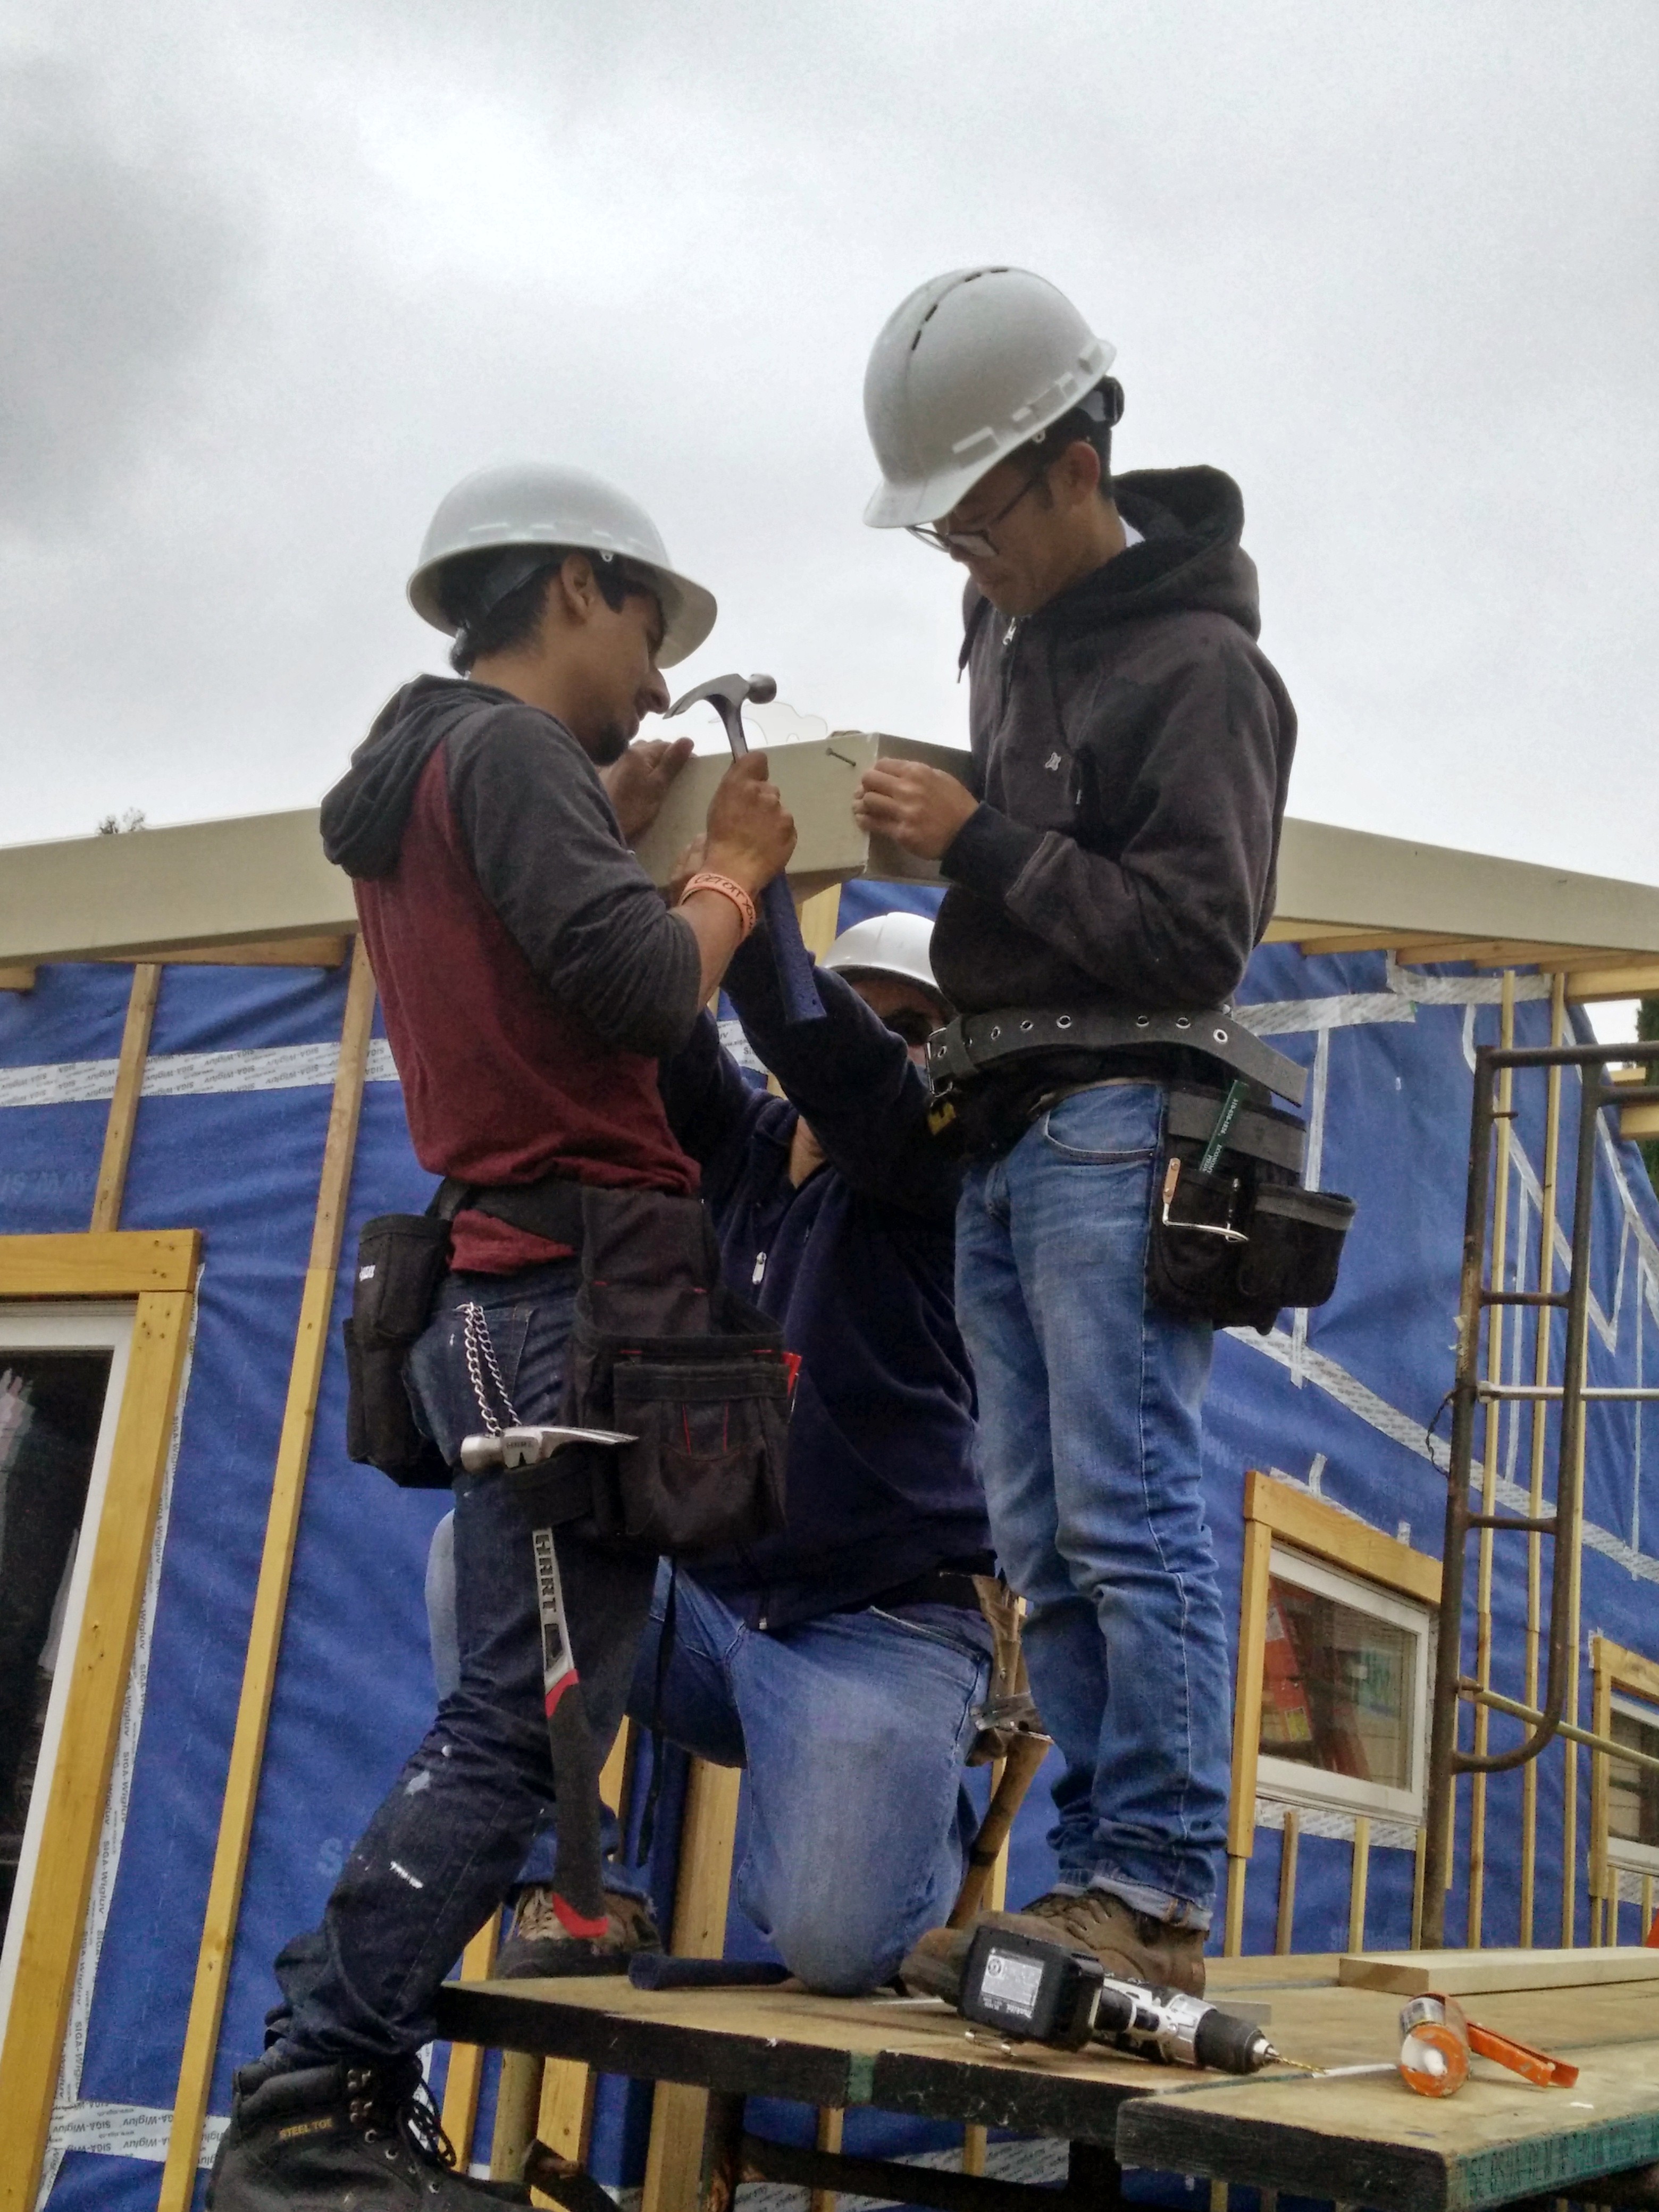
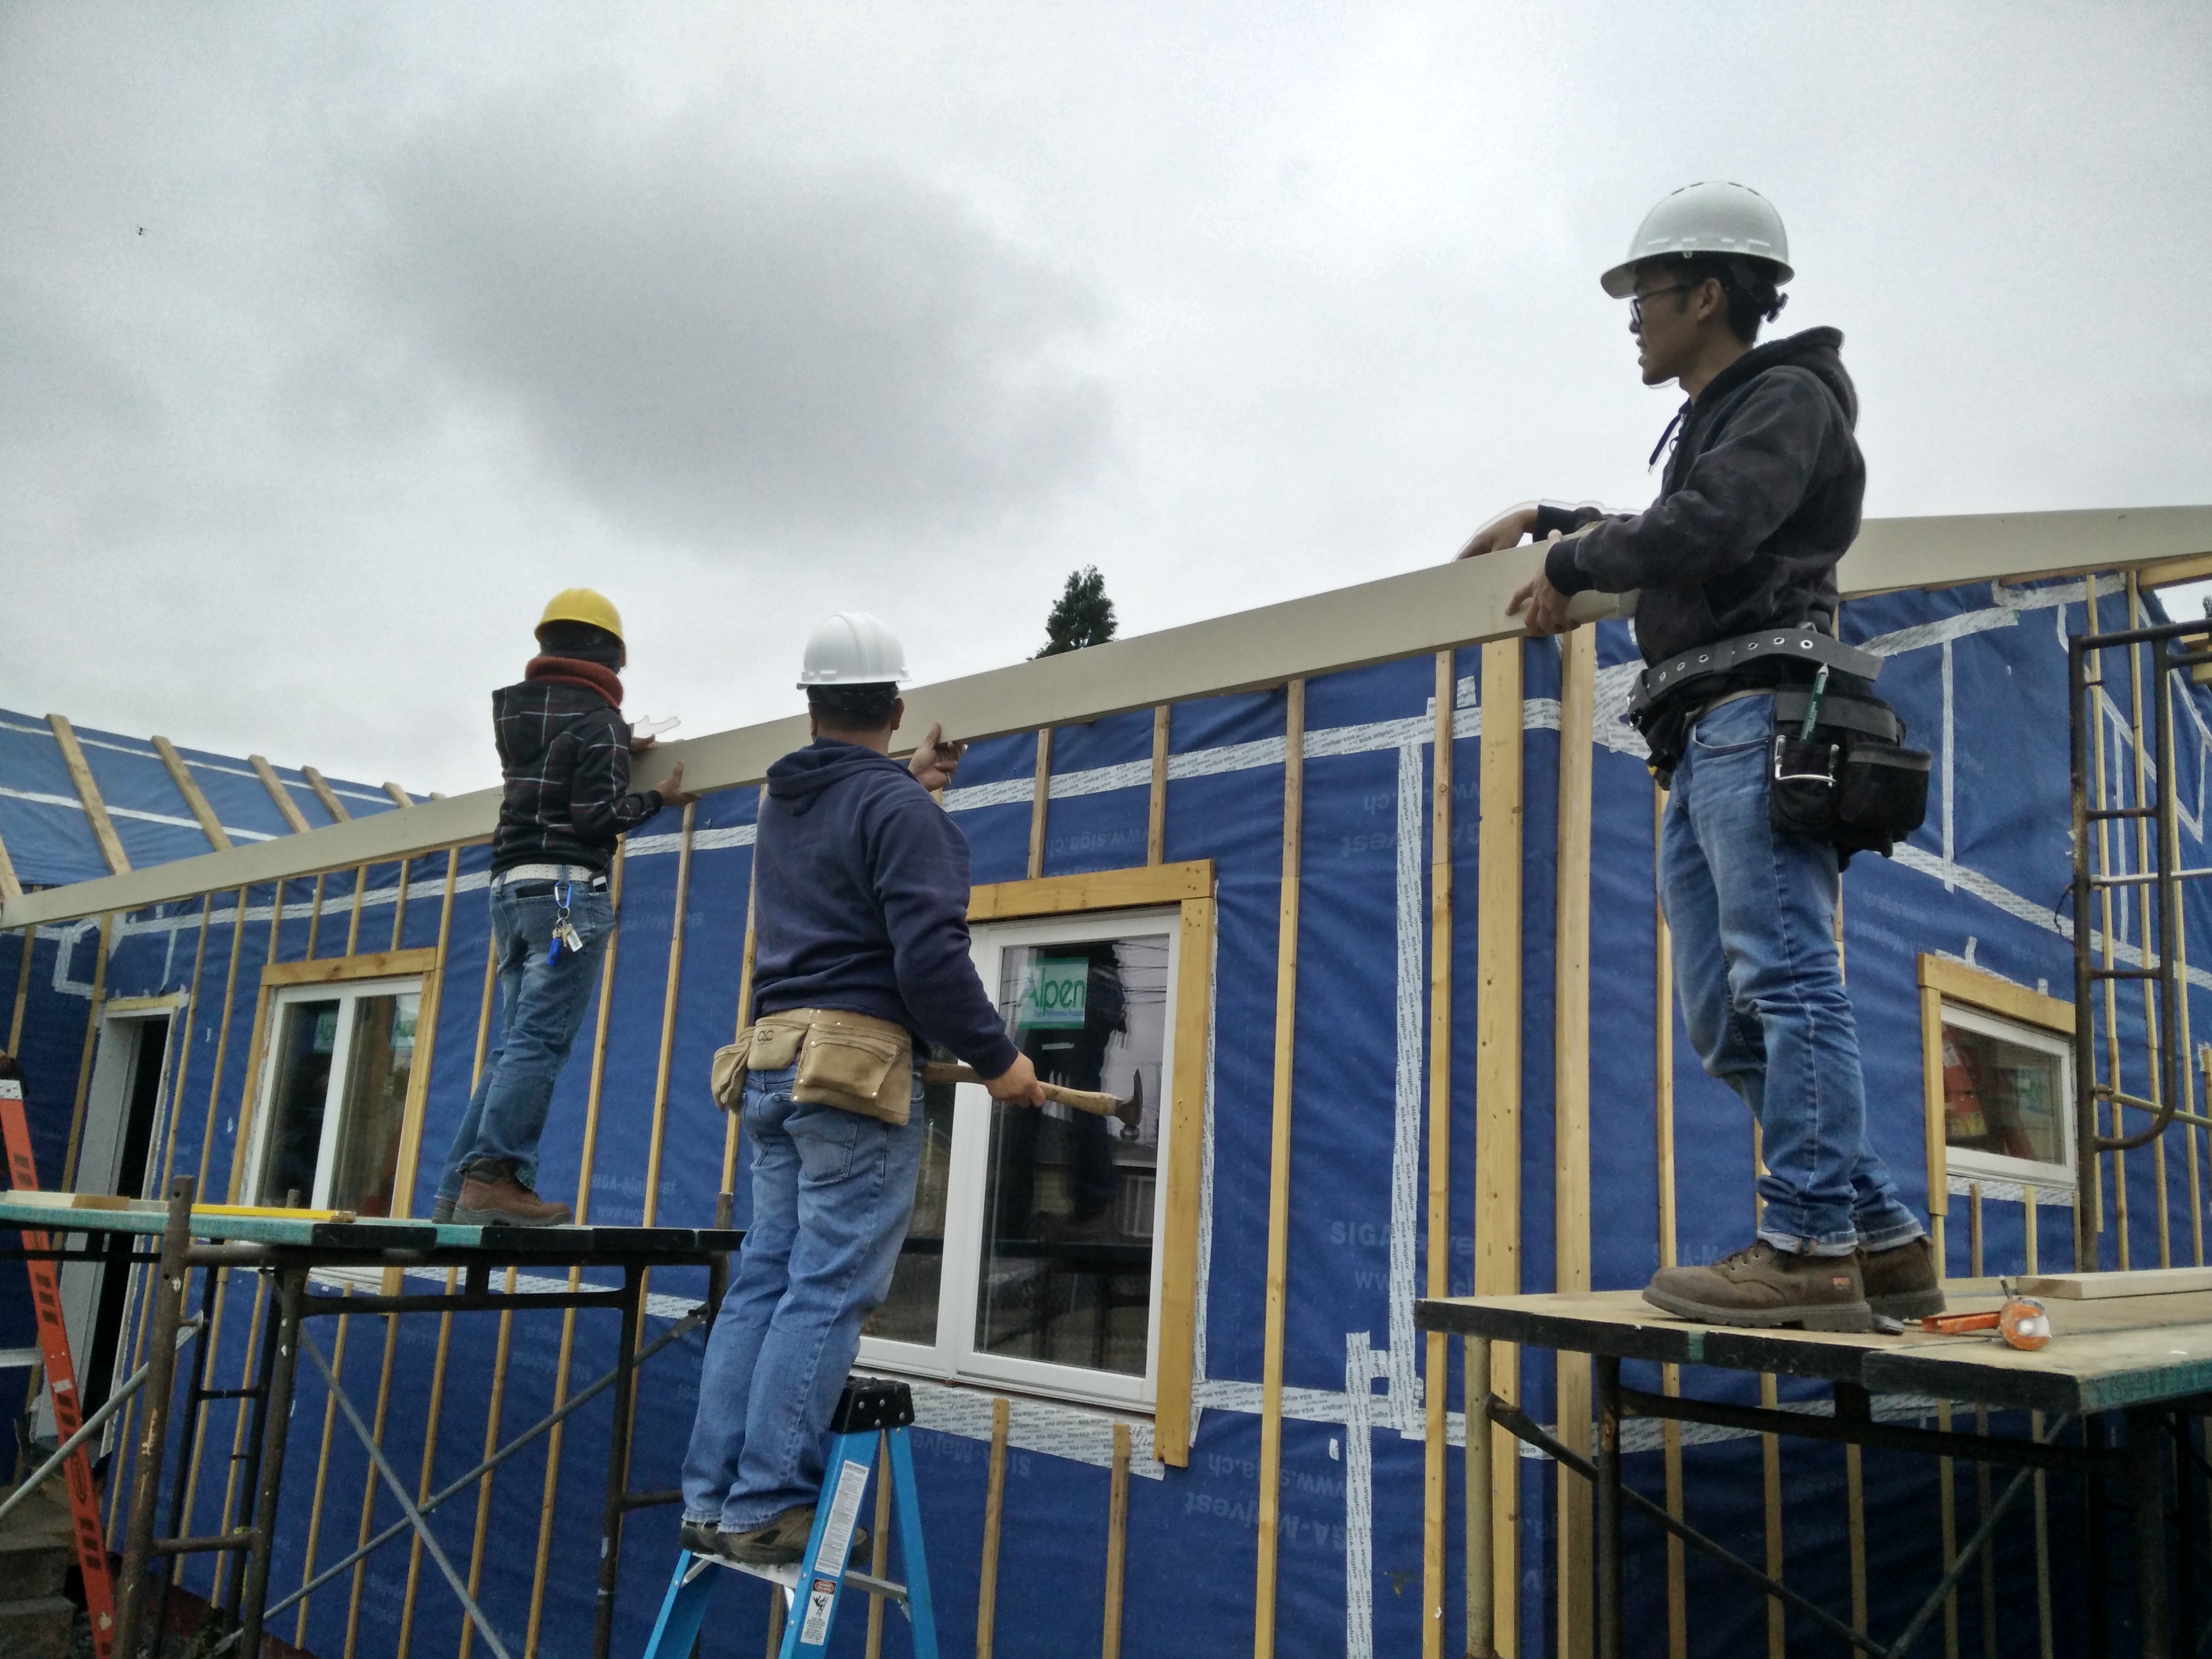
Installing the Upper Roof with flat (2×4) attached with special 6″ screws providing ventilation for the composite shingles…
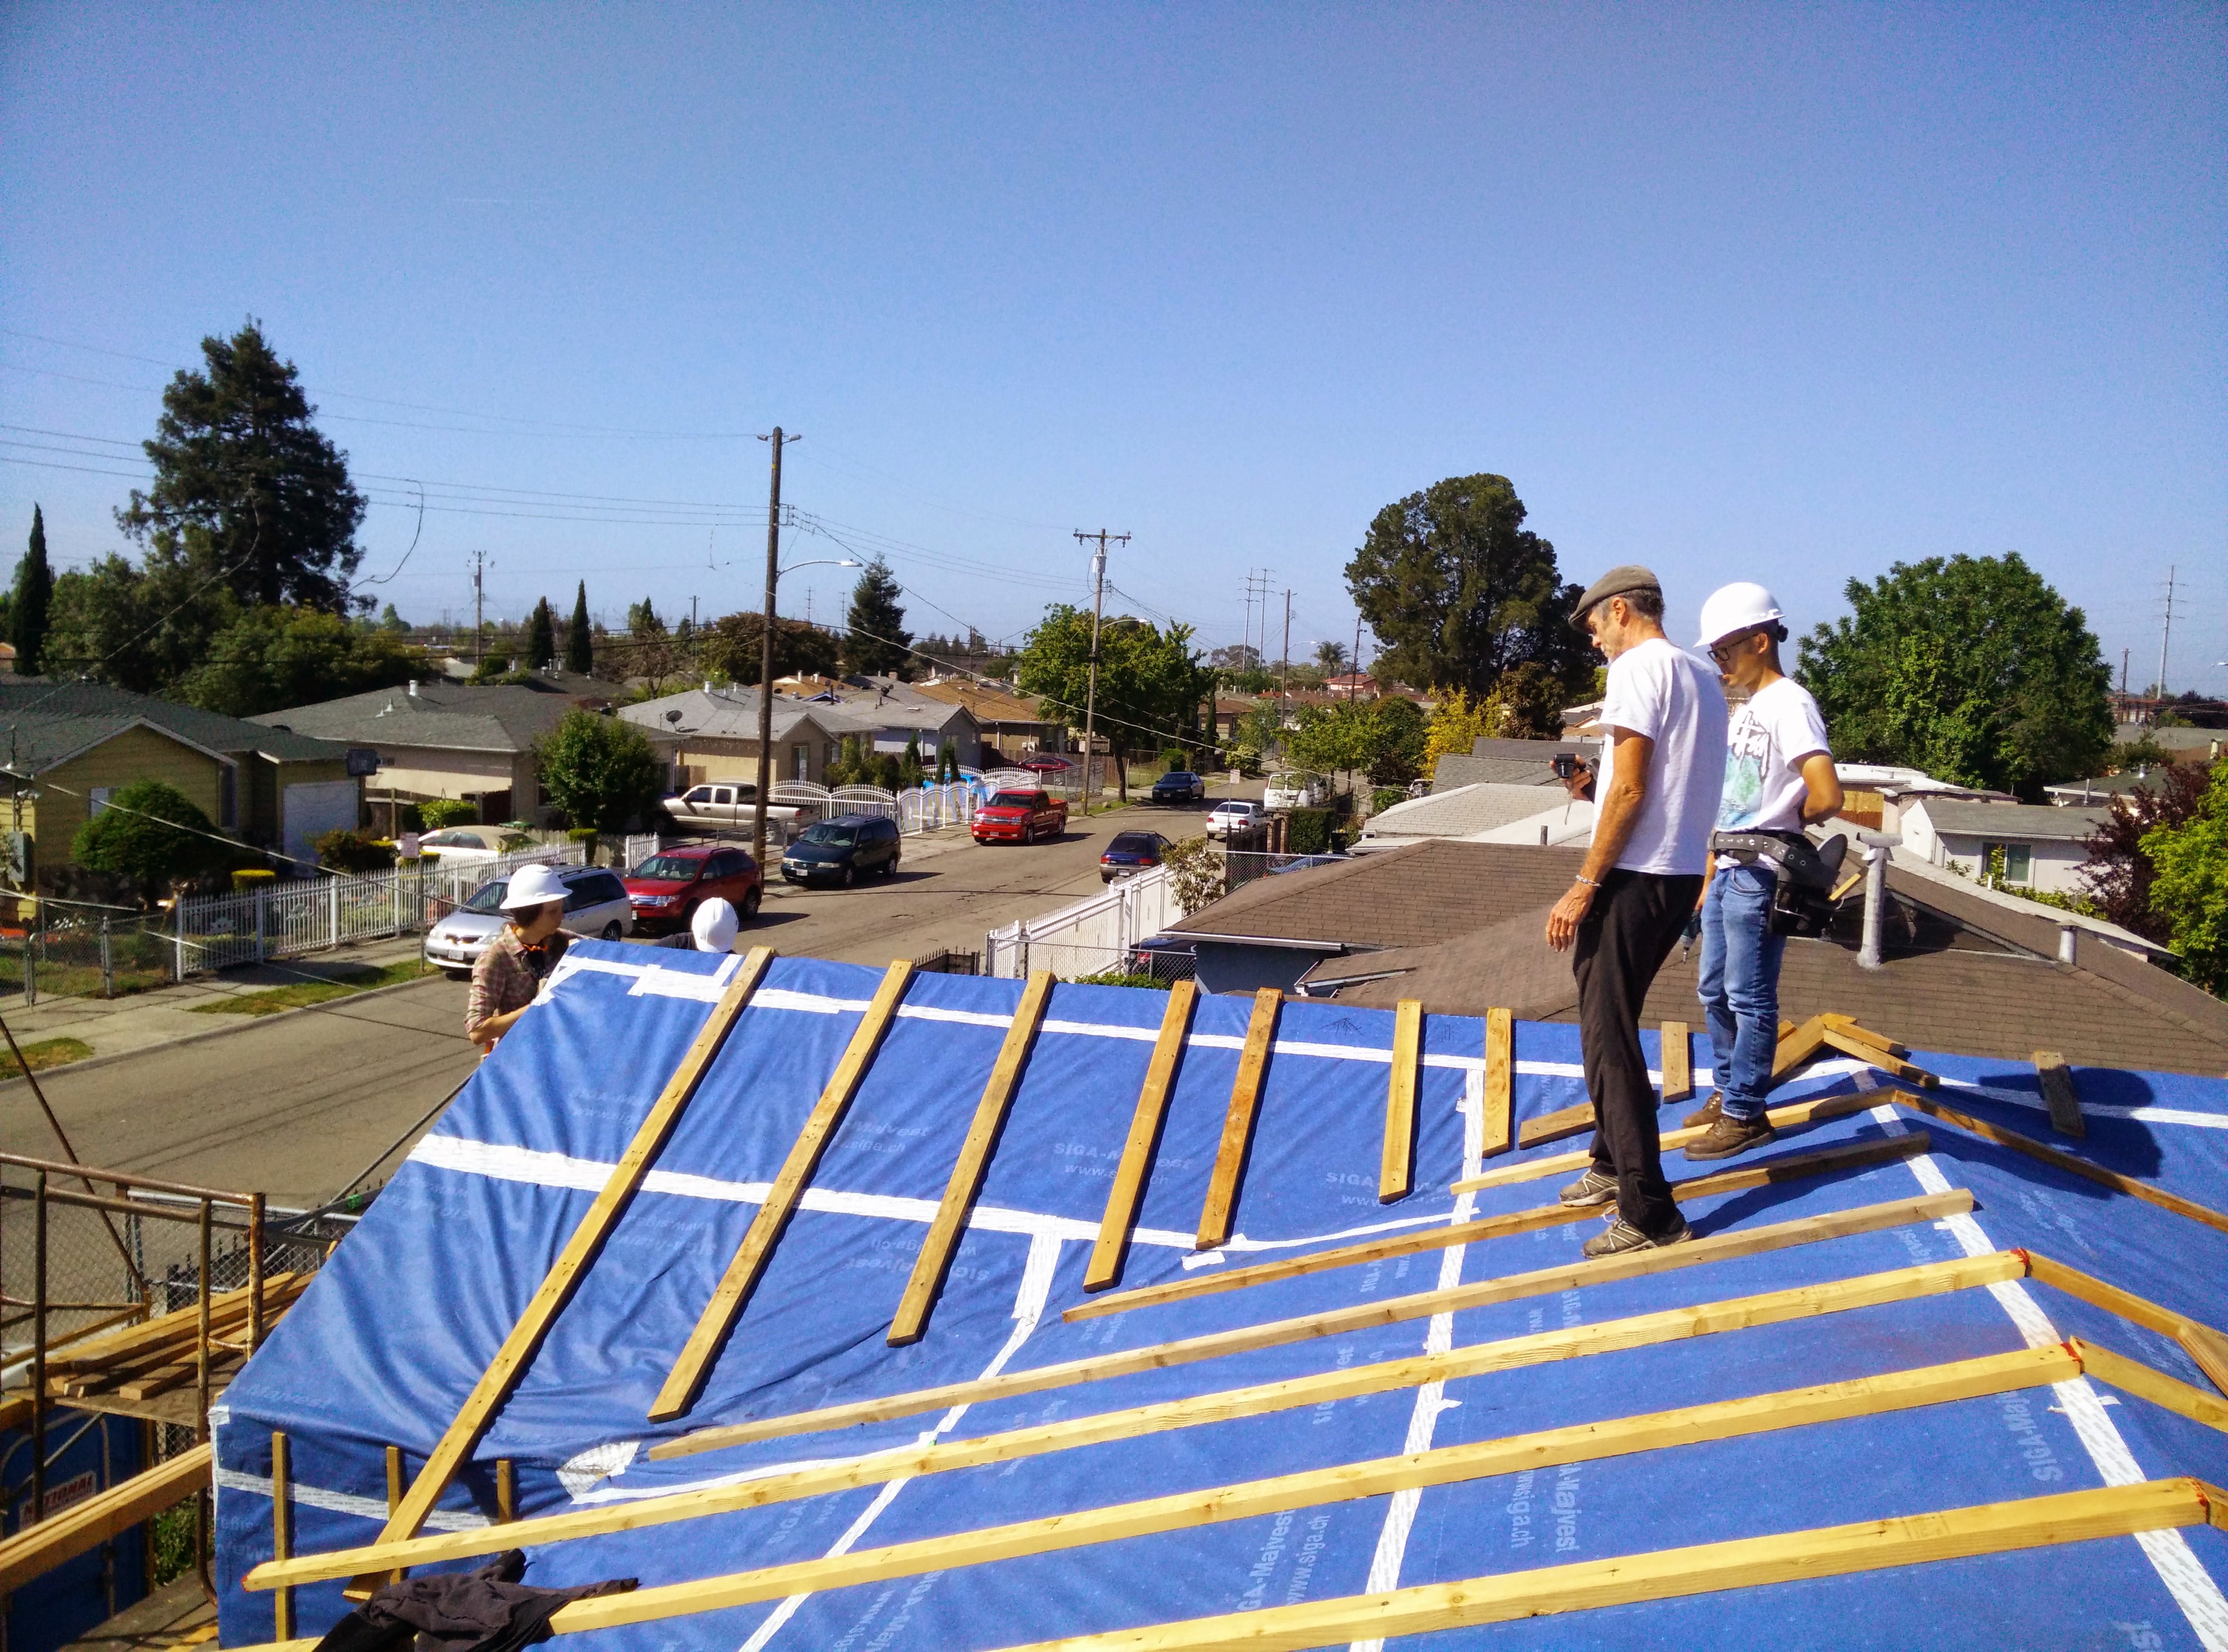
Contractor Chris Polk with Jonathon working out the valley framing for “upper roof”
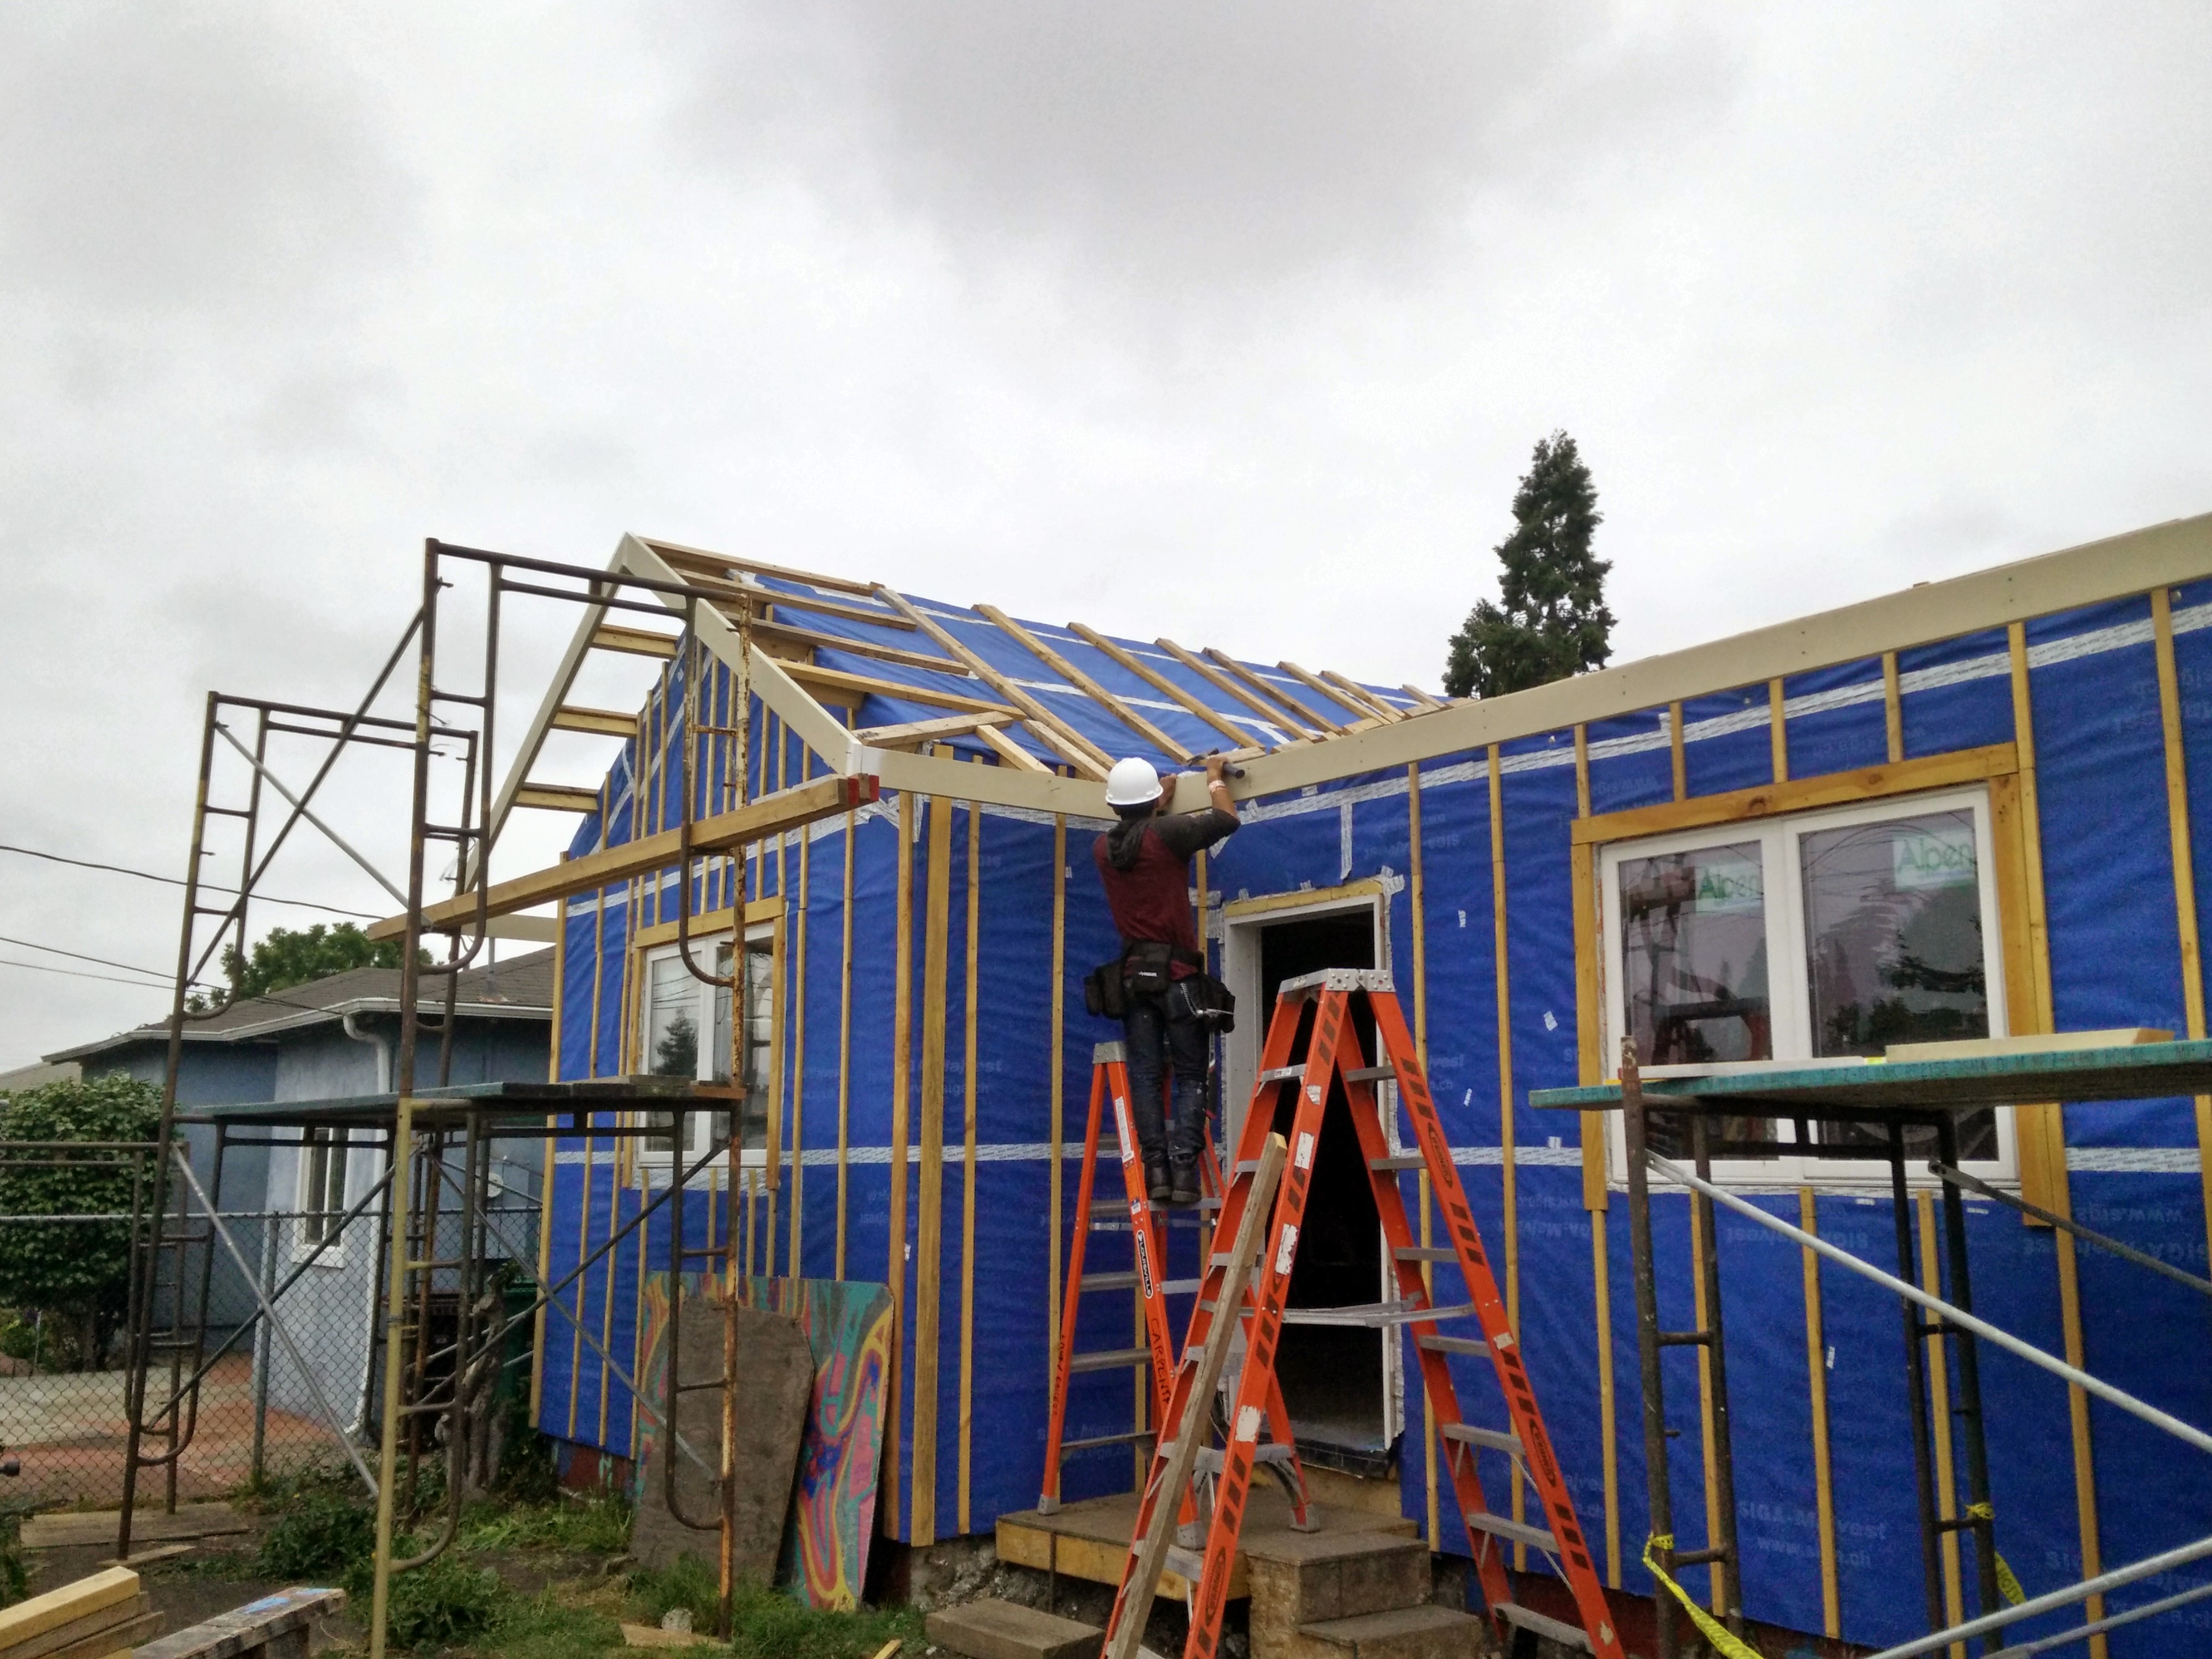
Overhangs were a challenge: 24″ on the front and 18″ elsewhere…we used DF (2×4) laying them flat to create an 1 1/2″ ventilation space for the roof.
we added a vertical (2×4)block to strengthen soffit and attach cedar facica (2 x8) also notice the first pieces of our rain screen- 3/4″ furr strips for the corners and around the window…
Compound Miters at this corner…
While one class was doing the facia another was installing furr strips for our rain screen…and subsequently, trimming out the windows…preparing for the cement siding installation, which will butt into the window casings and corner boards…
meanwhile on the inside, the high performance building class was doing a blower door test….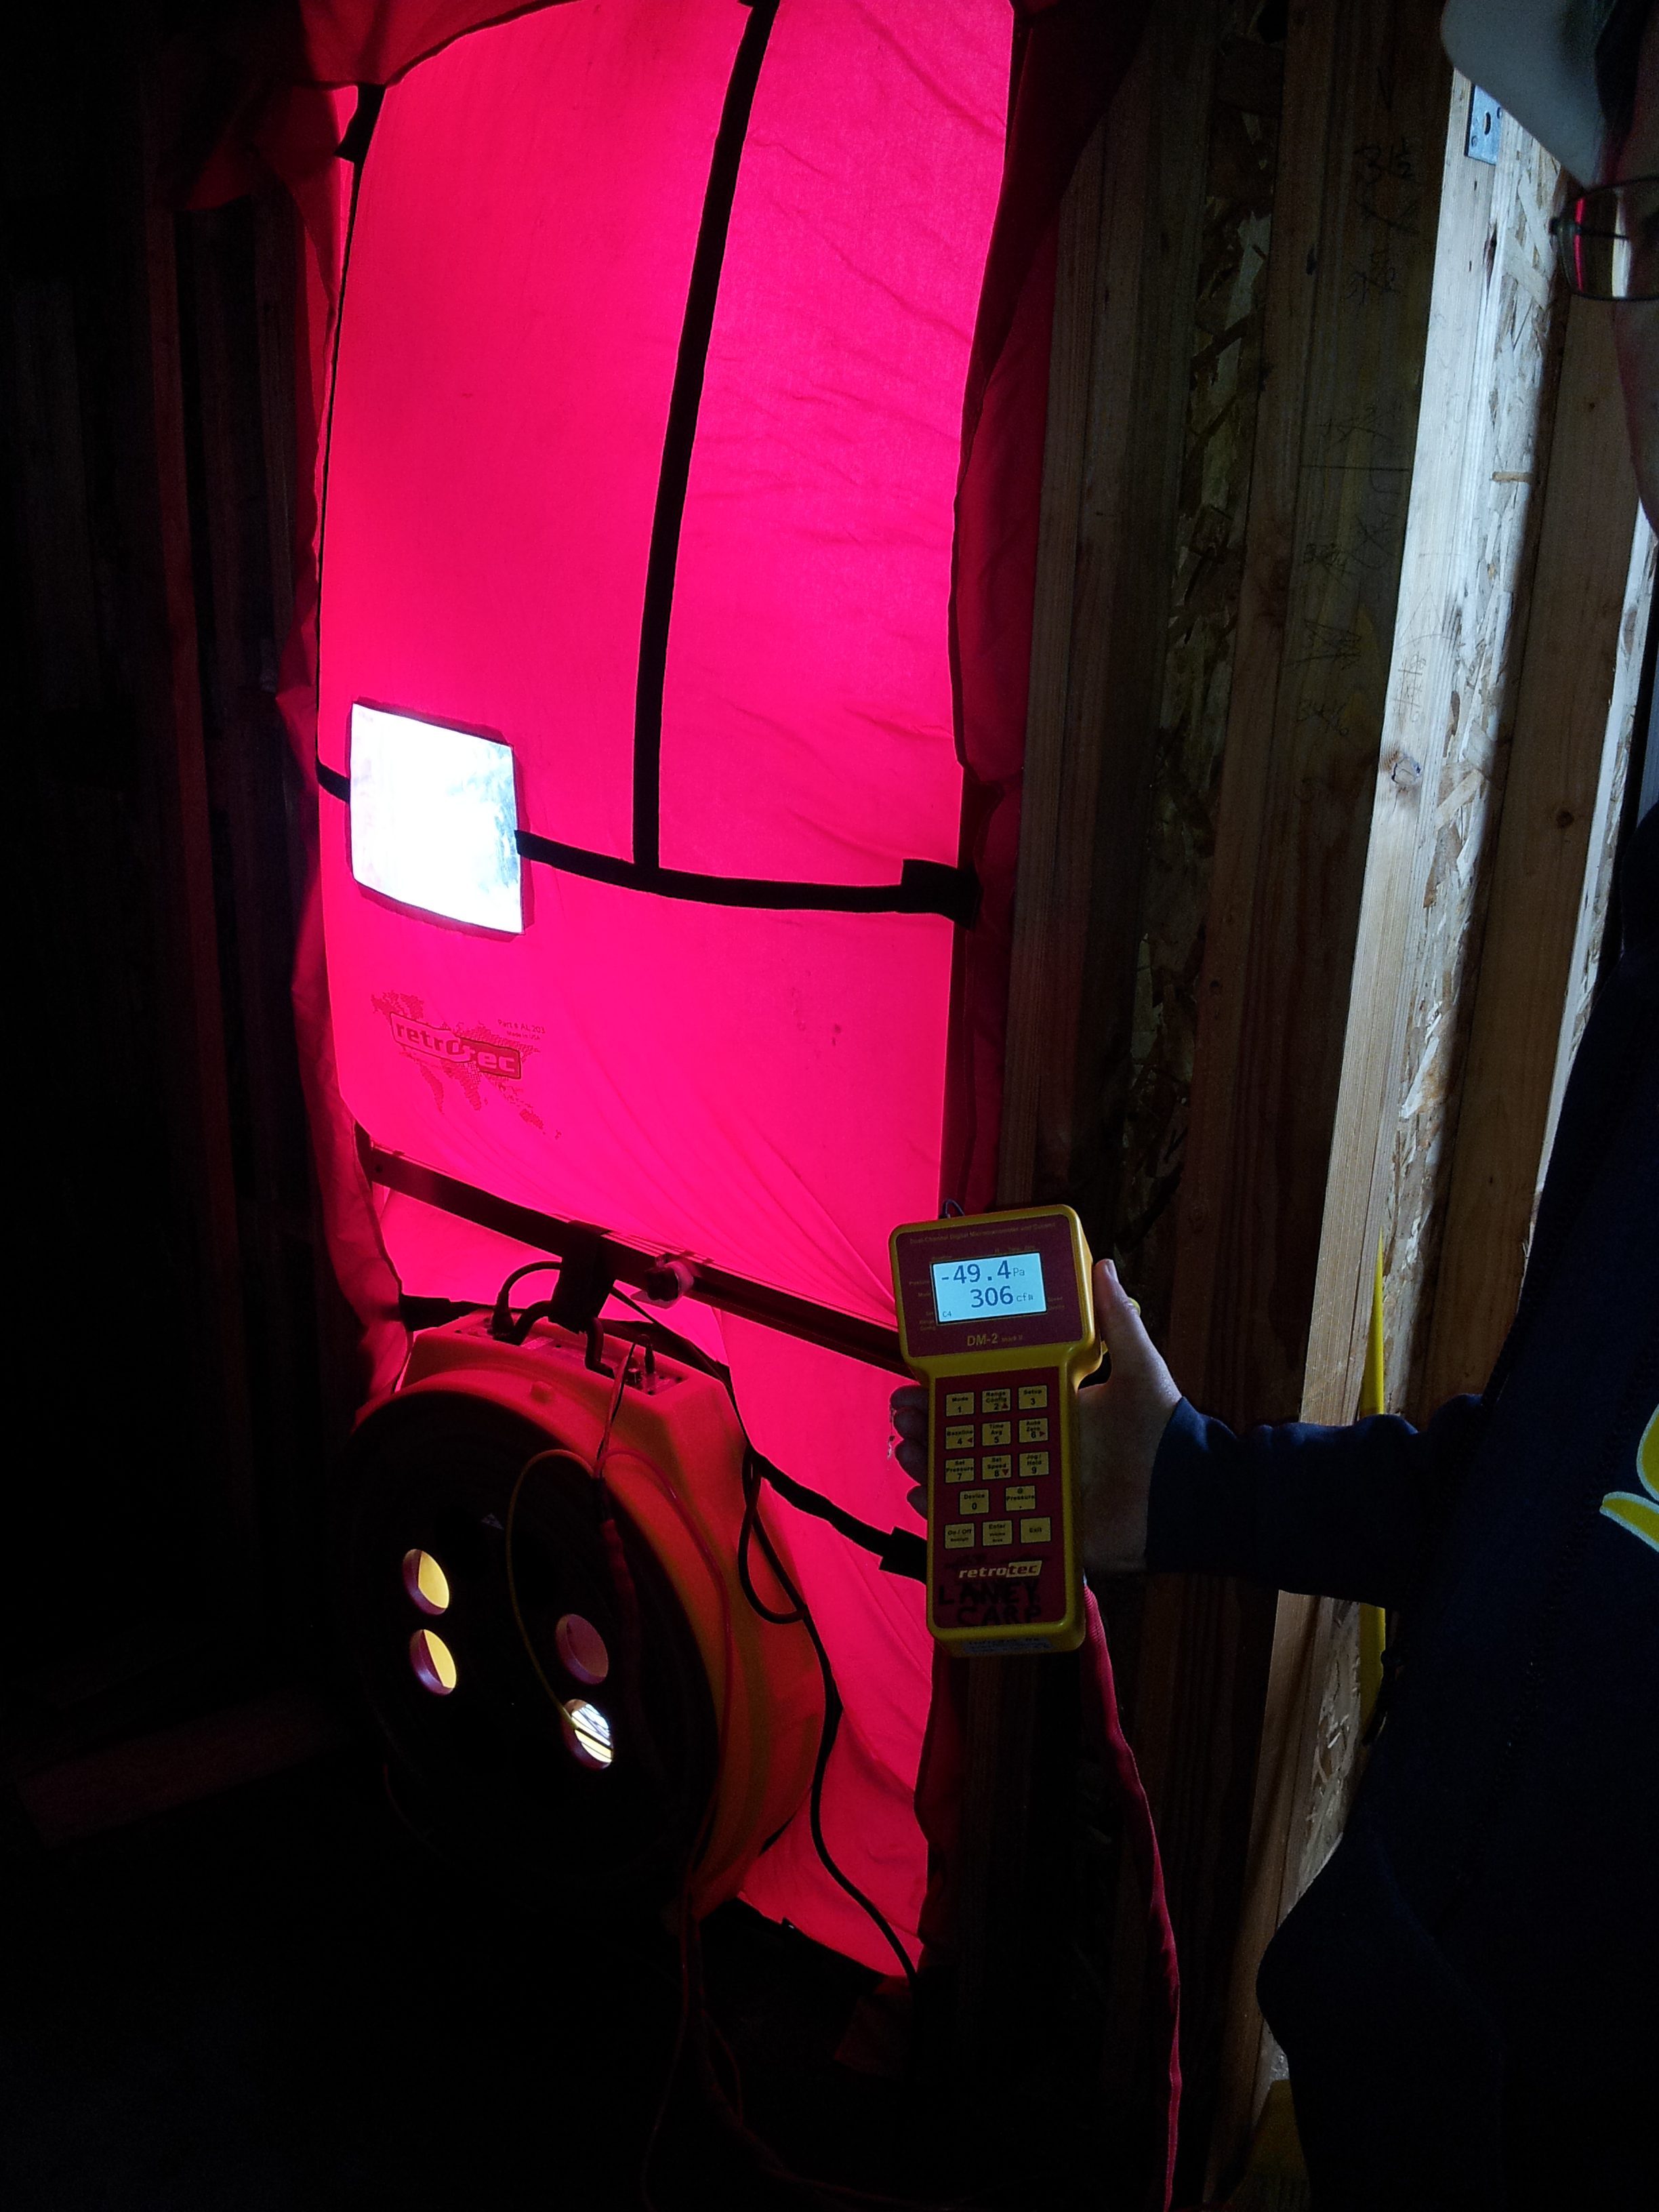
The first of many….blower tests eventually reaching 1ACH on a negative pressurization and a 1.4ACH on the positive pressurization
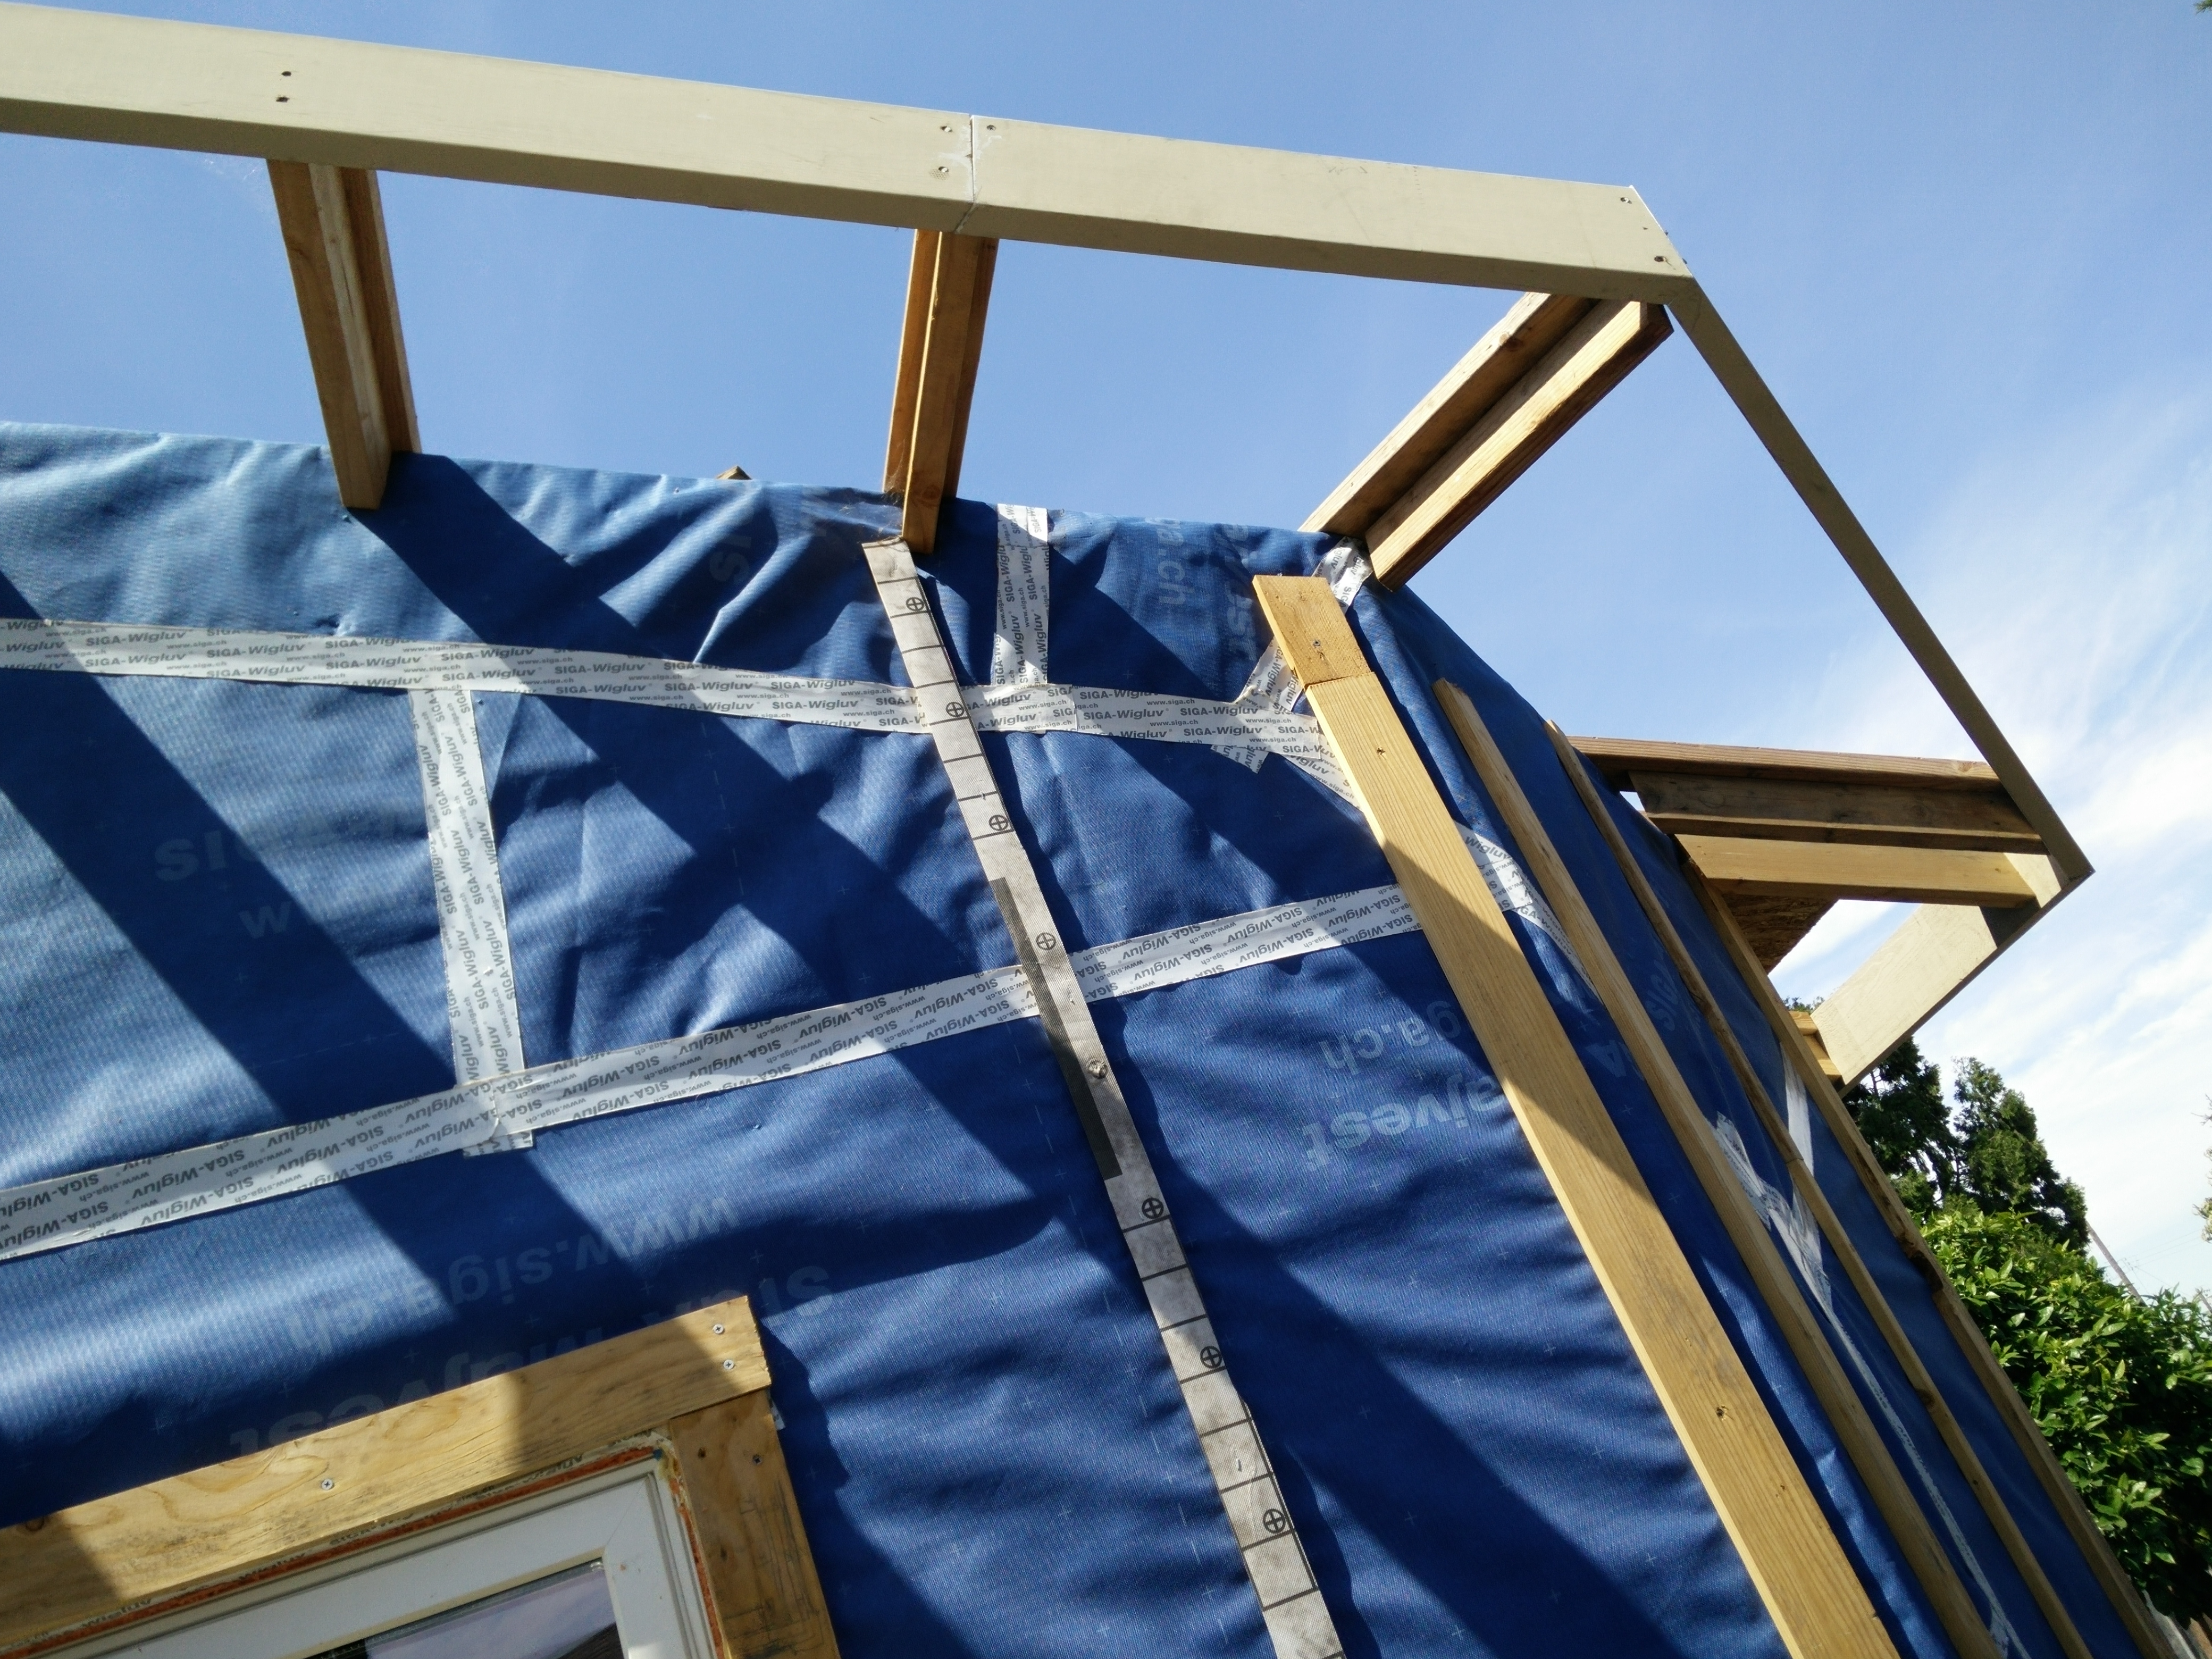
Here we are extending outriggers to hang fascia off the front gable, paying mind to leave gaps so all bays are ventilated

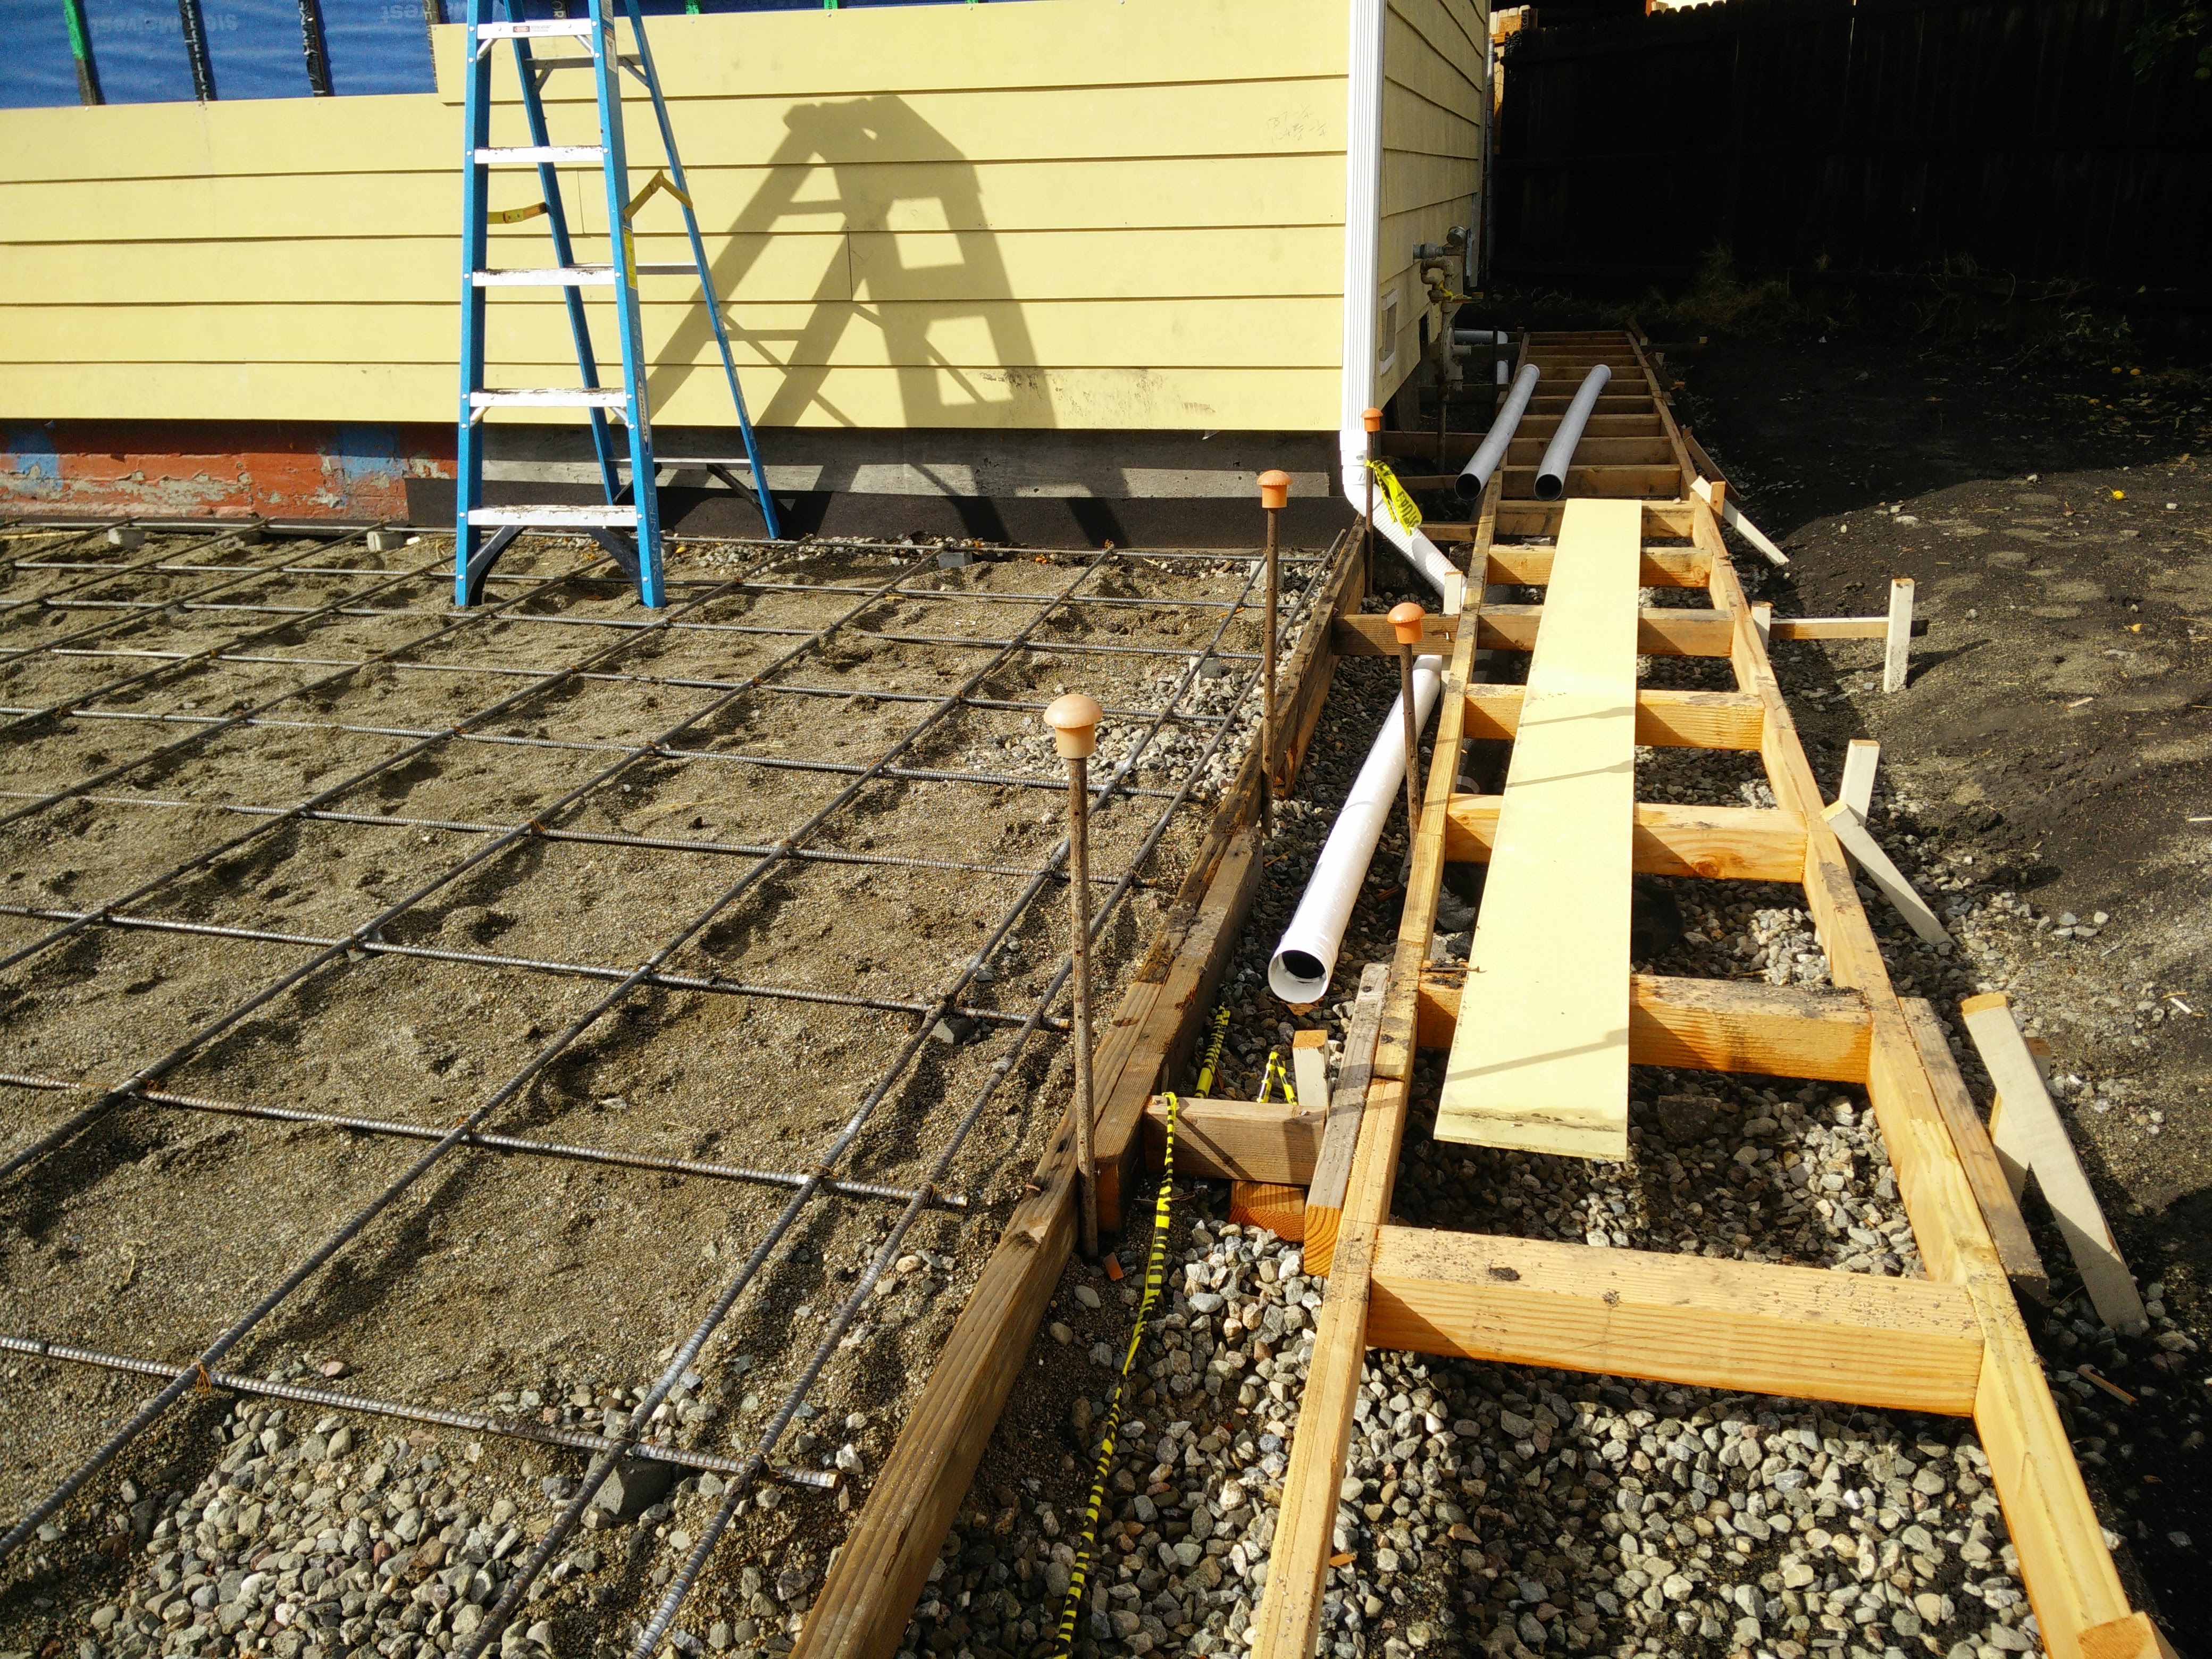
Carefully wet setting rear porch deck posts…Thanks to Instructor John Shurtz
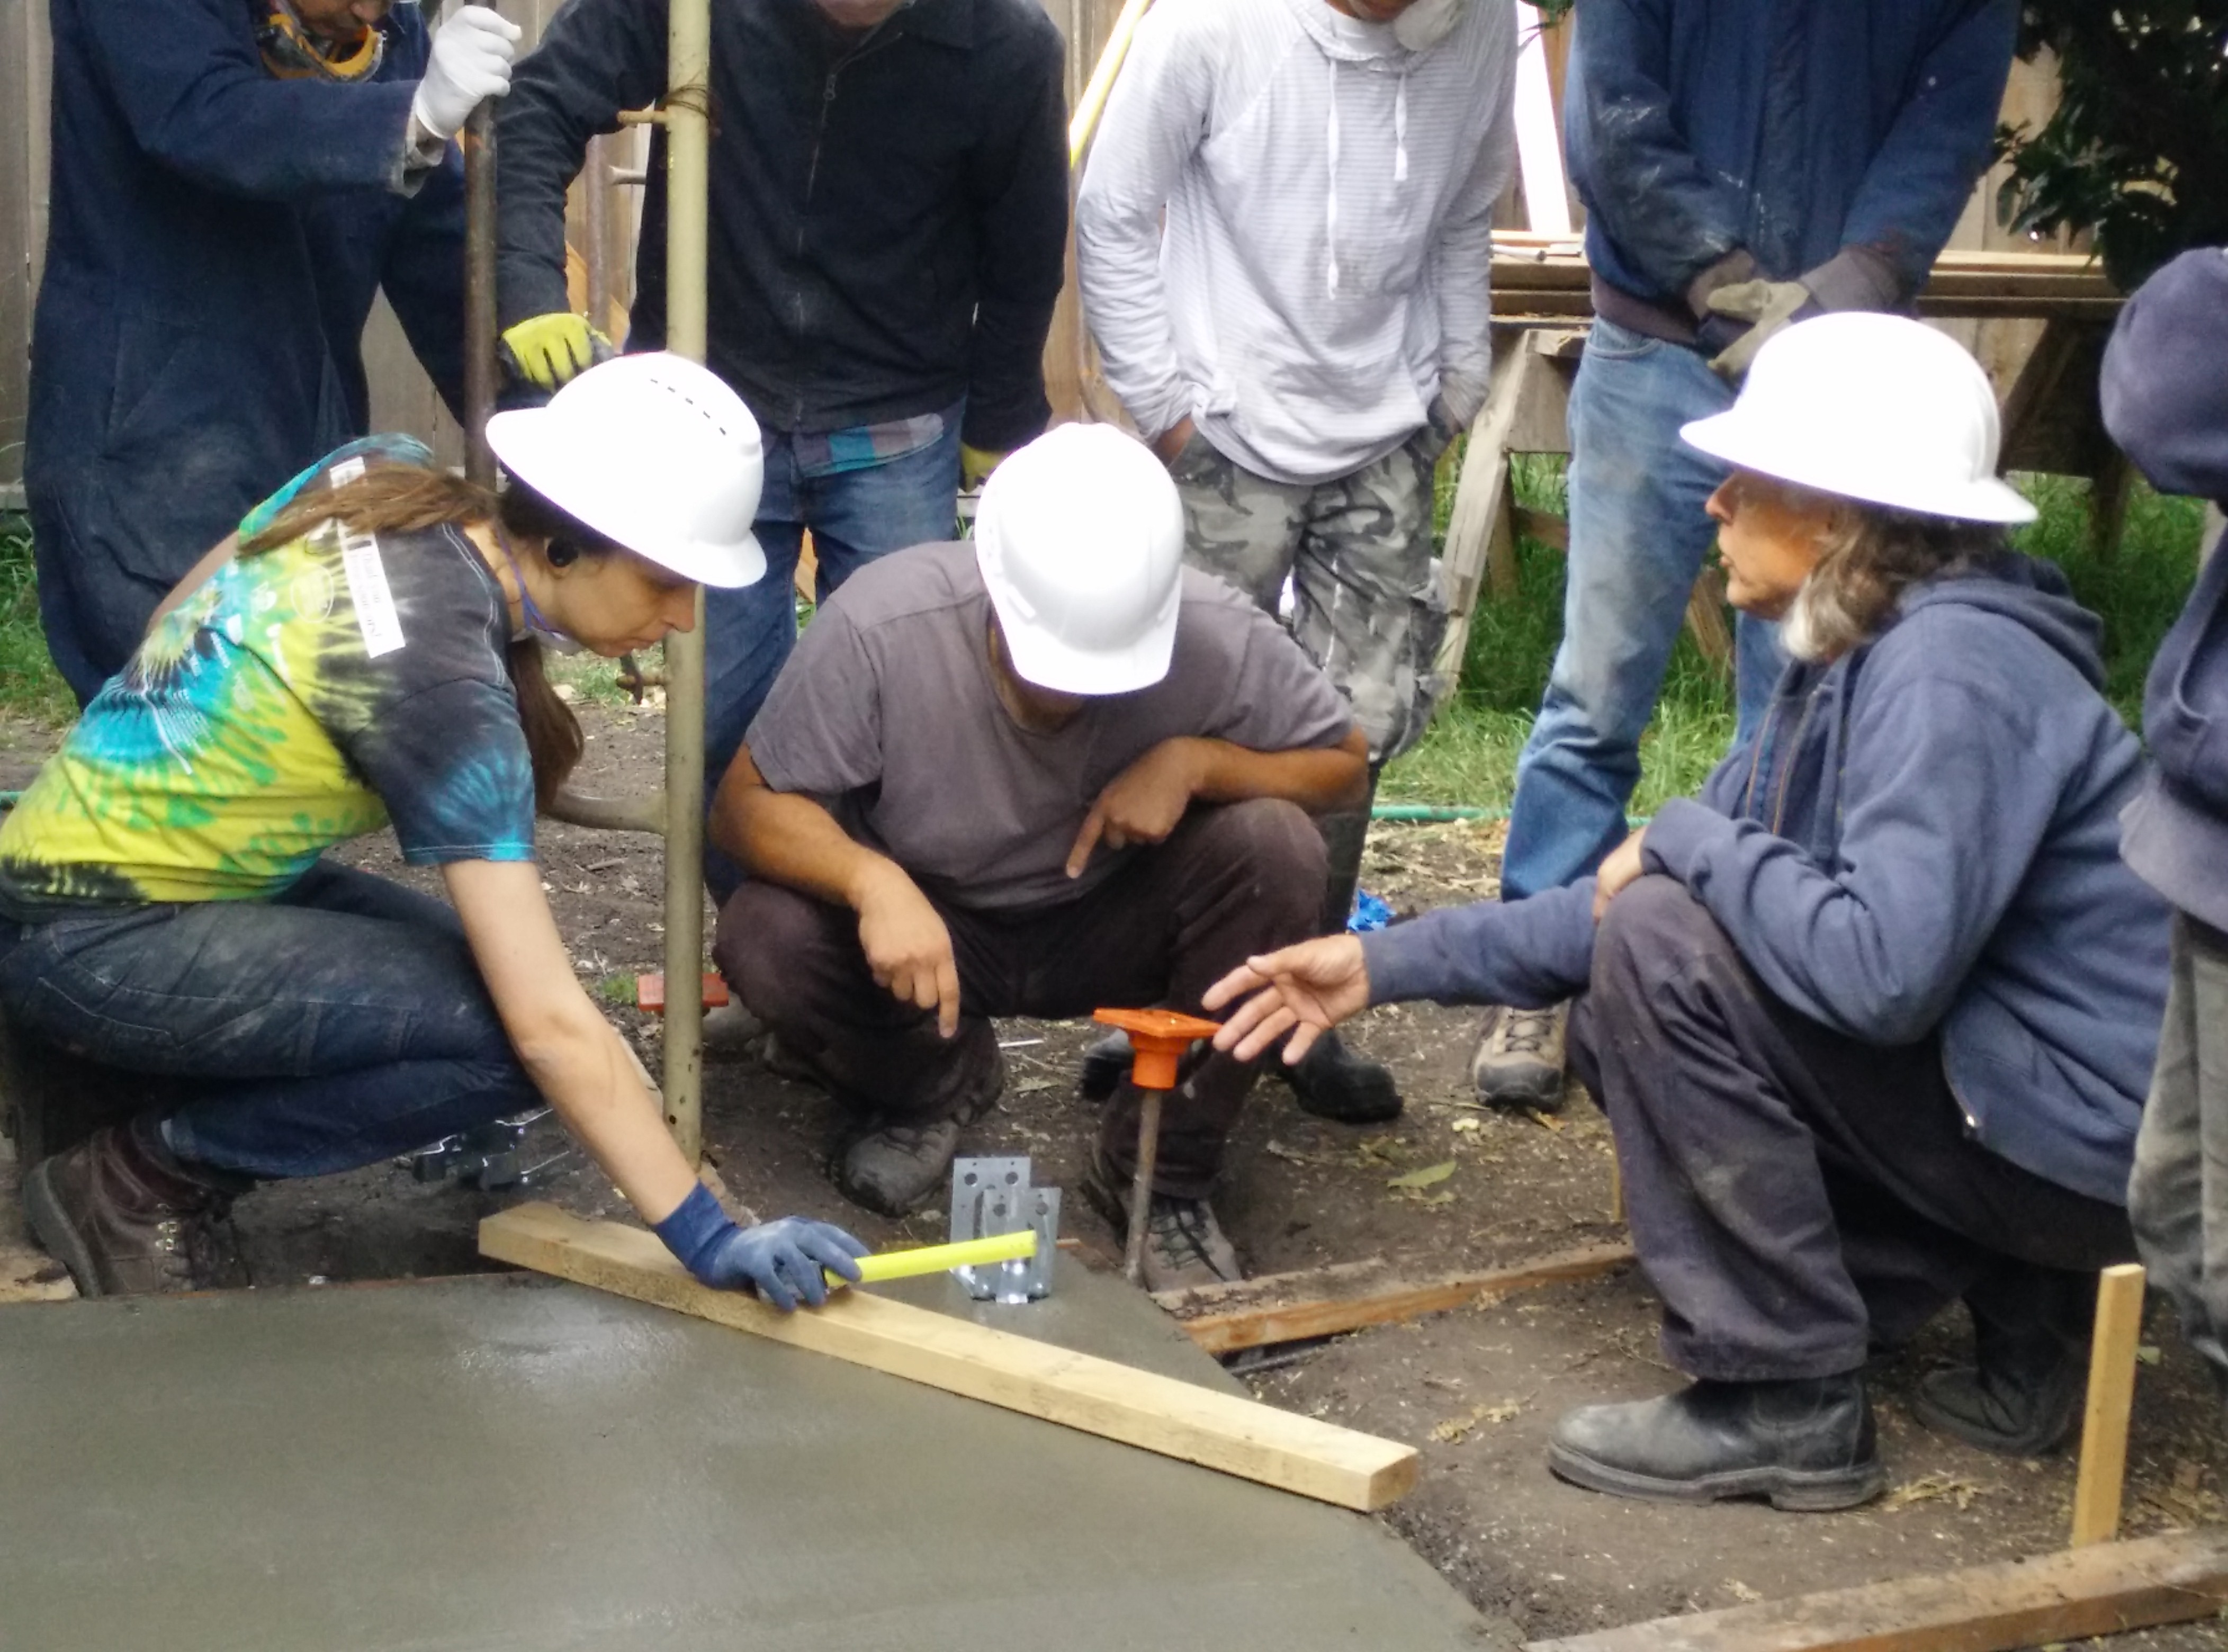
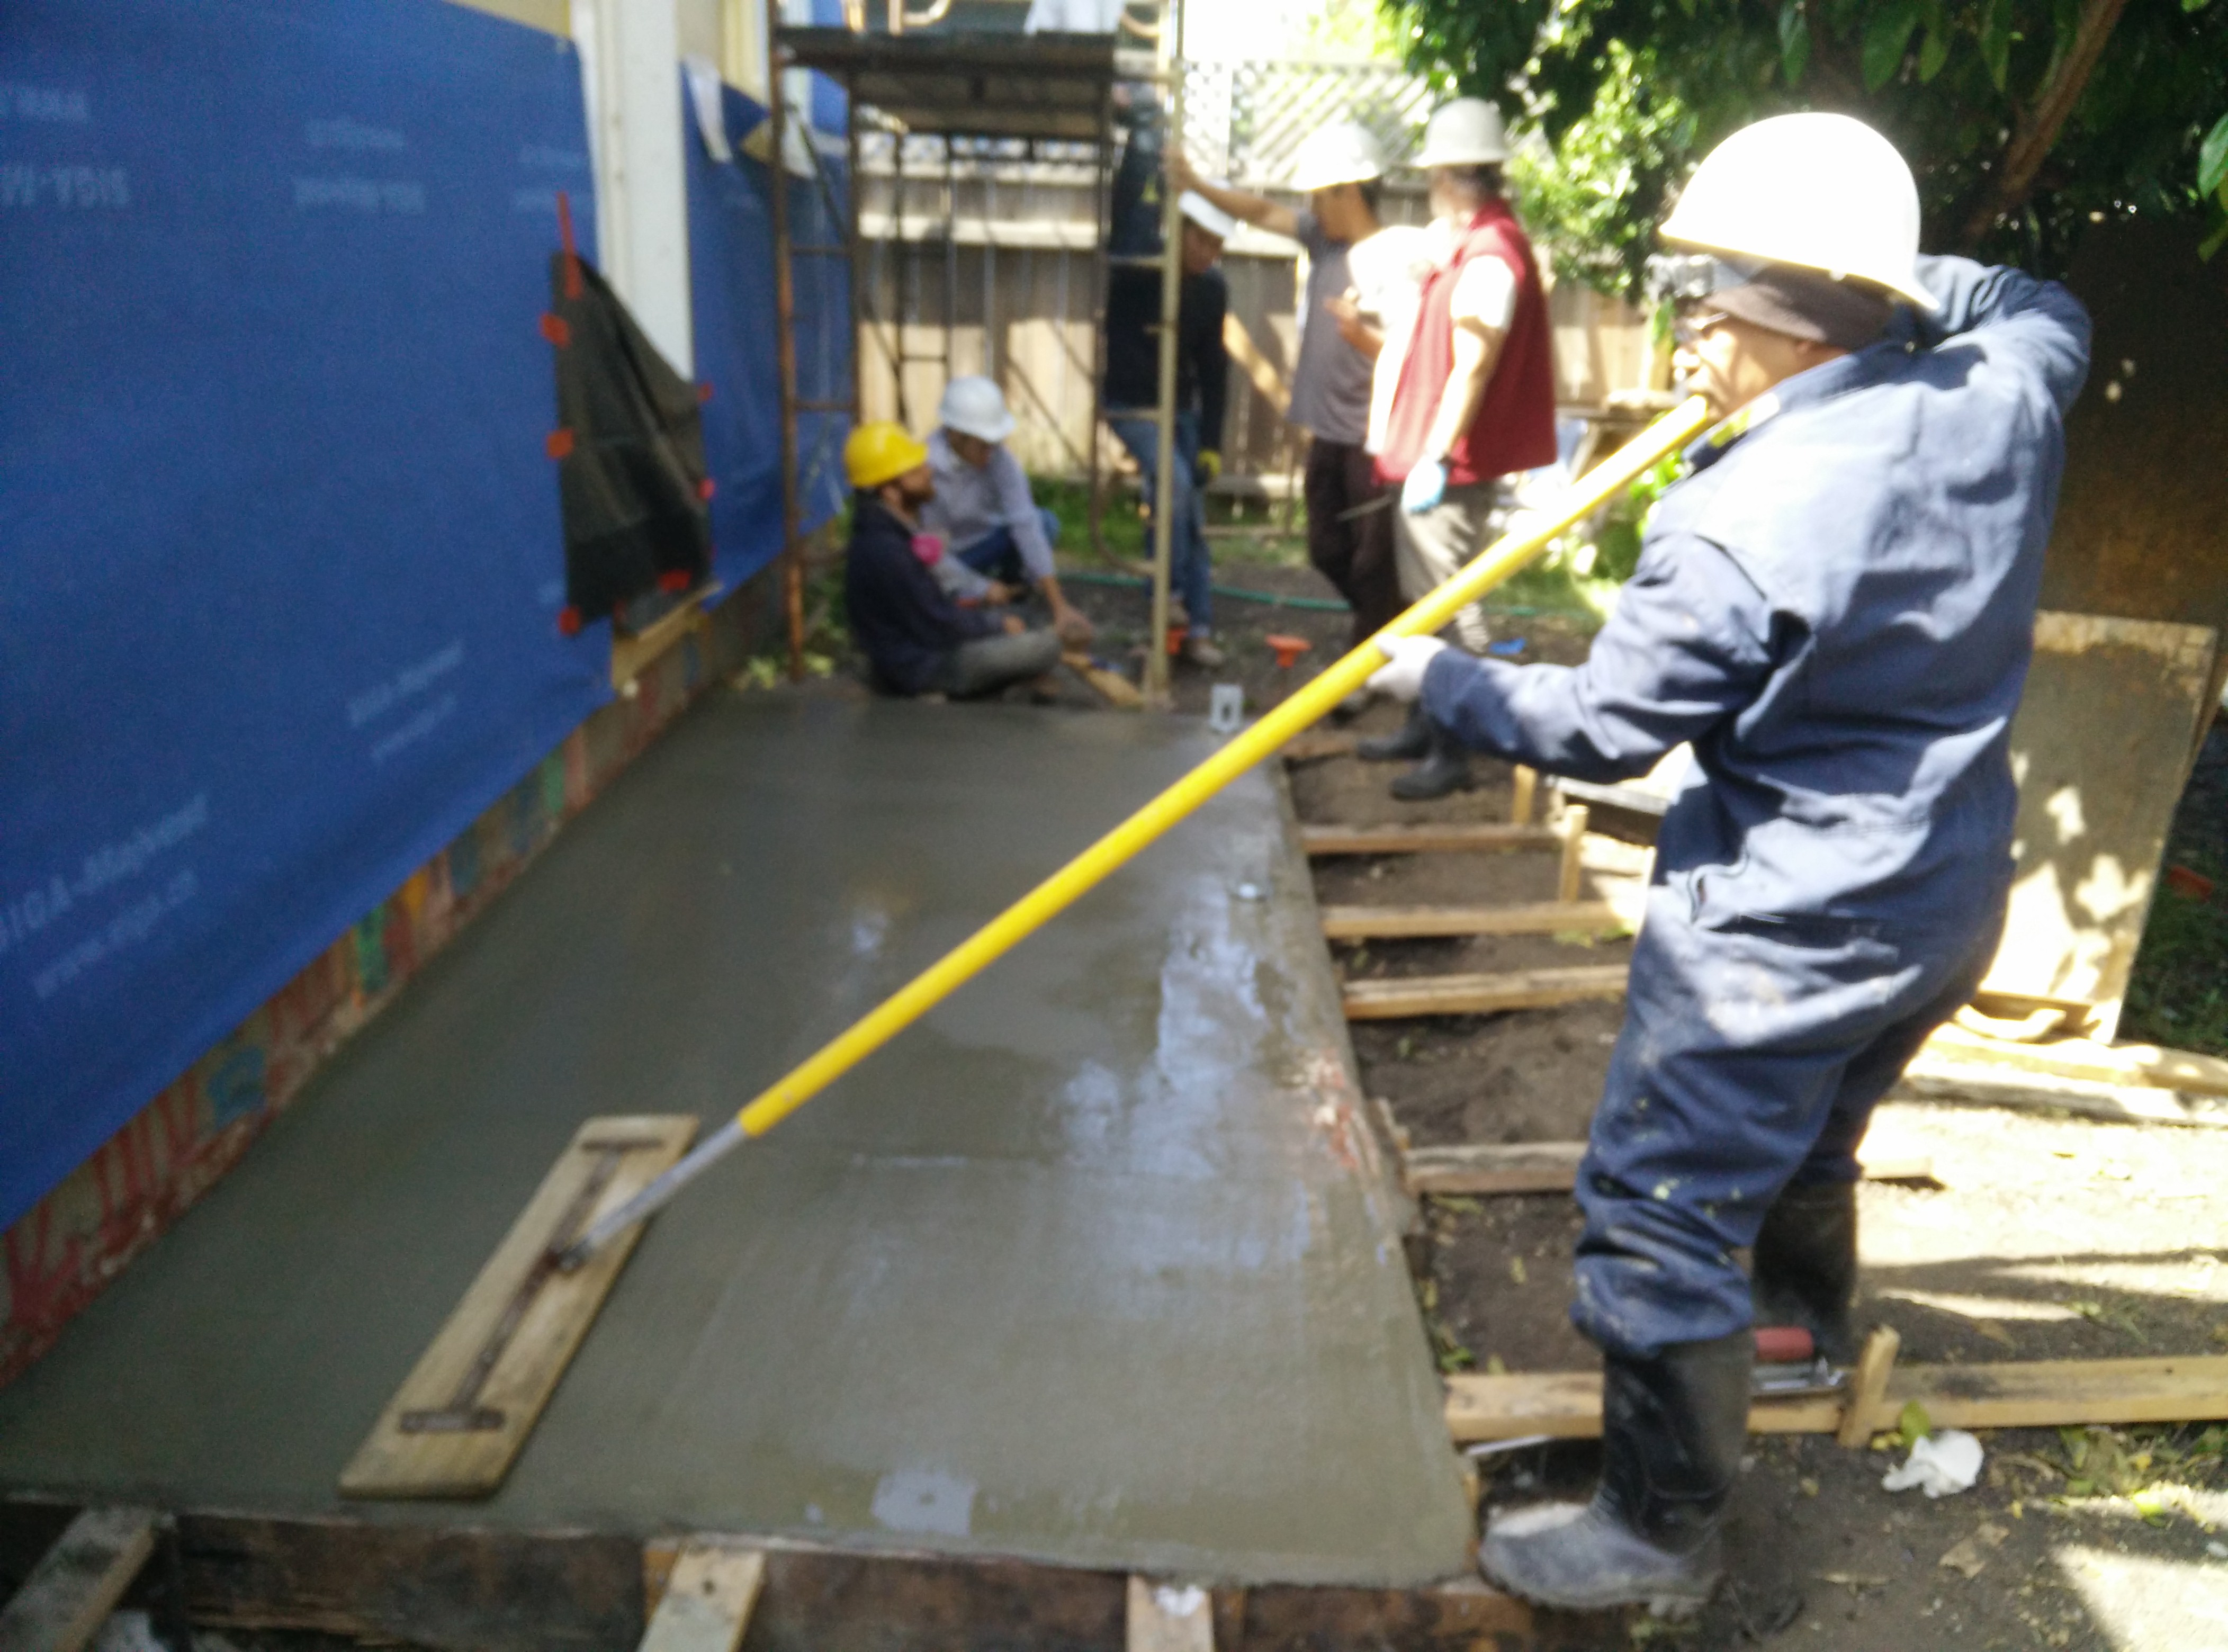
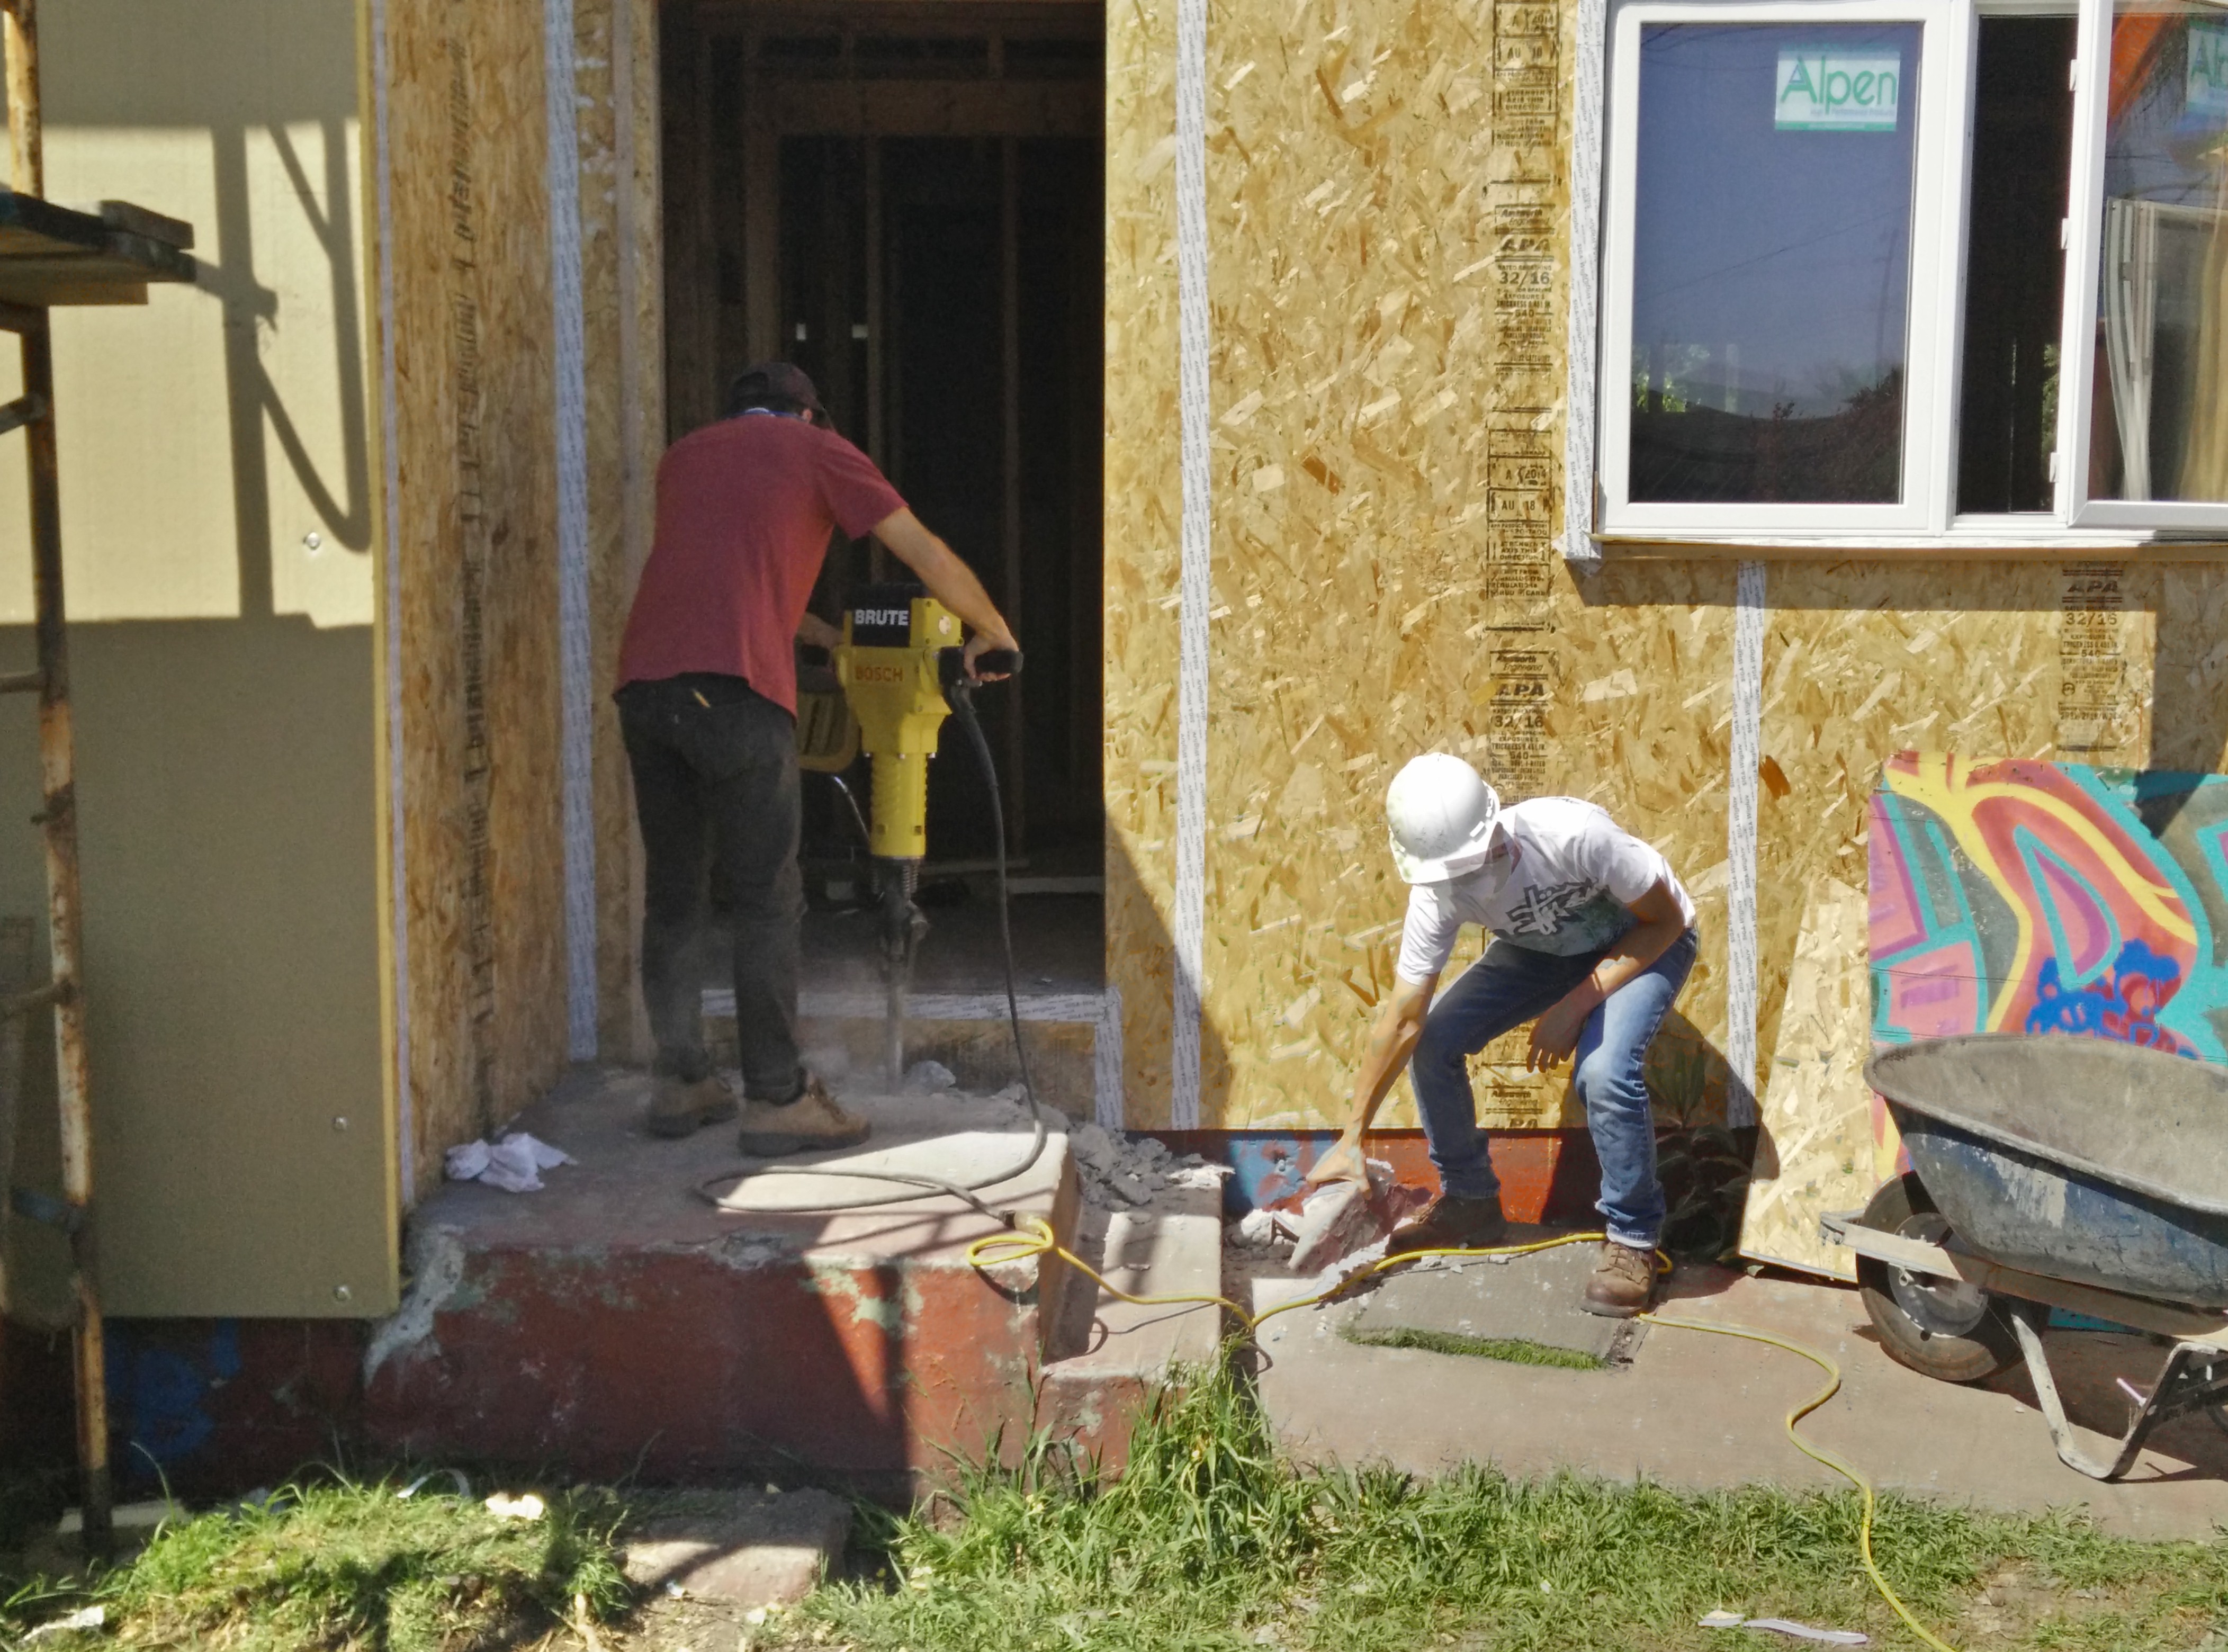
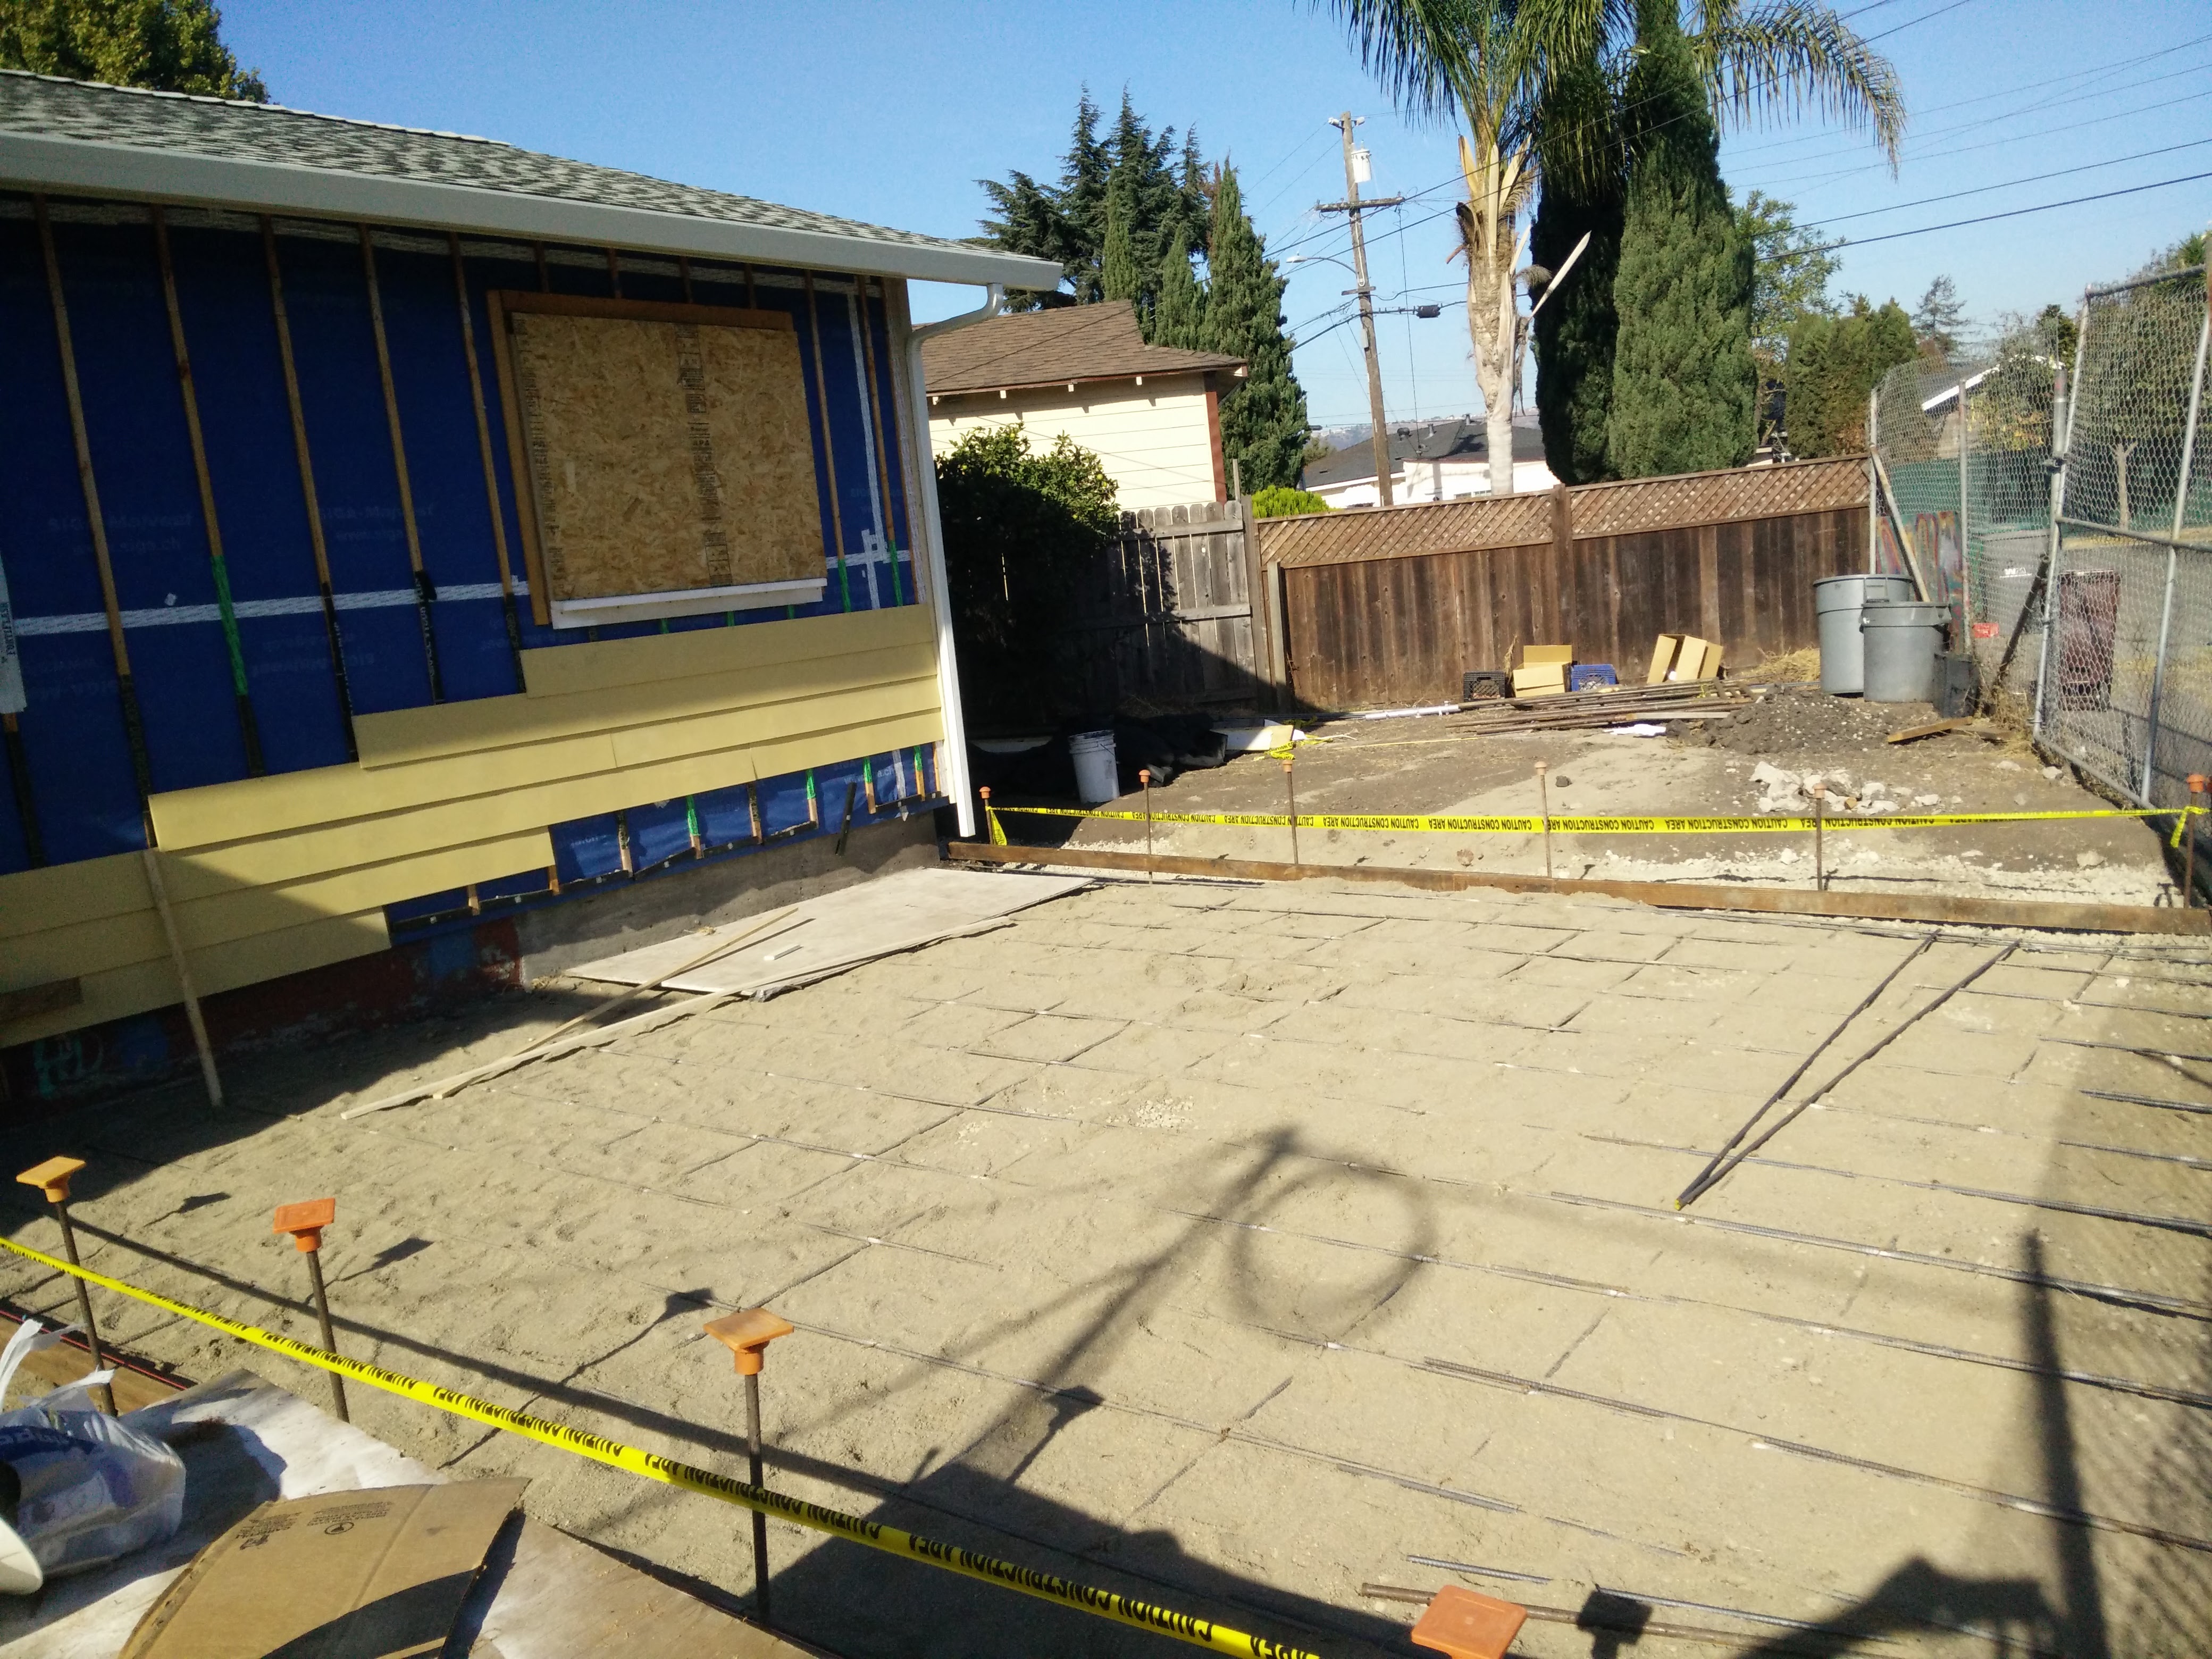
While learning how to finish rear walkway slab
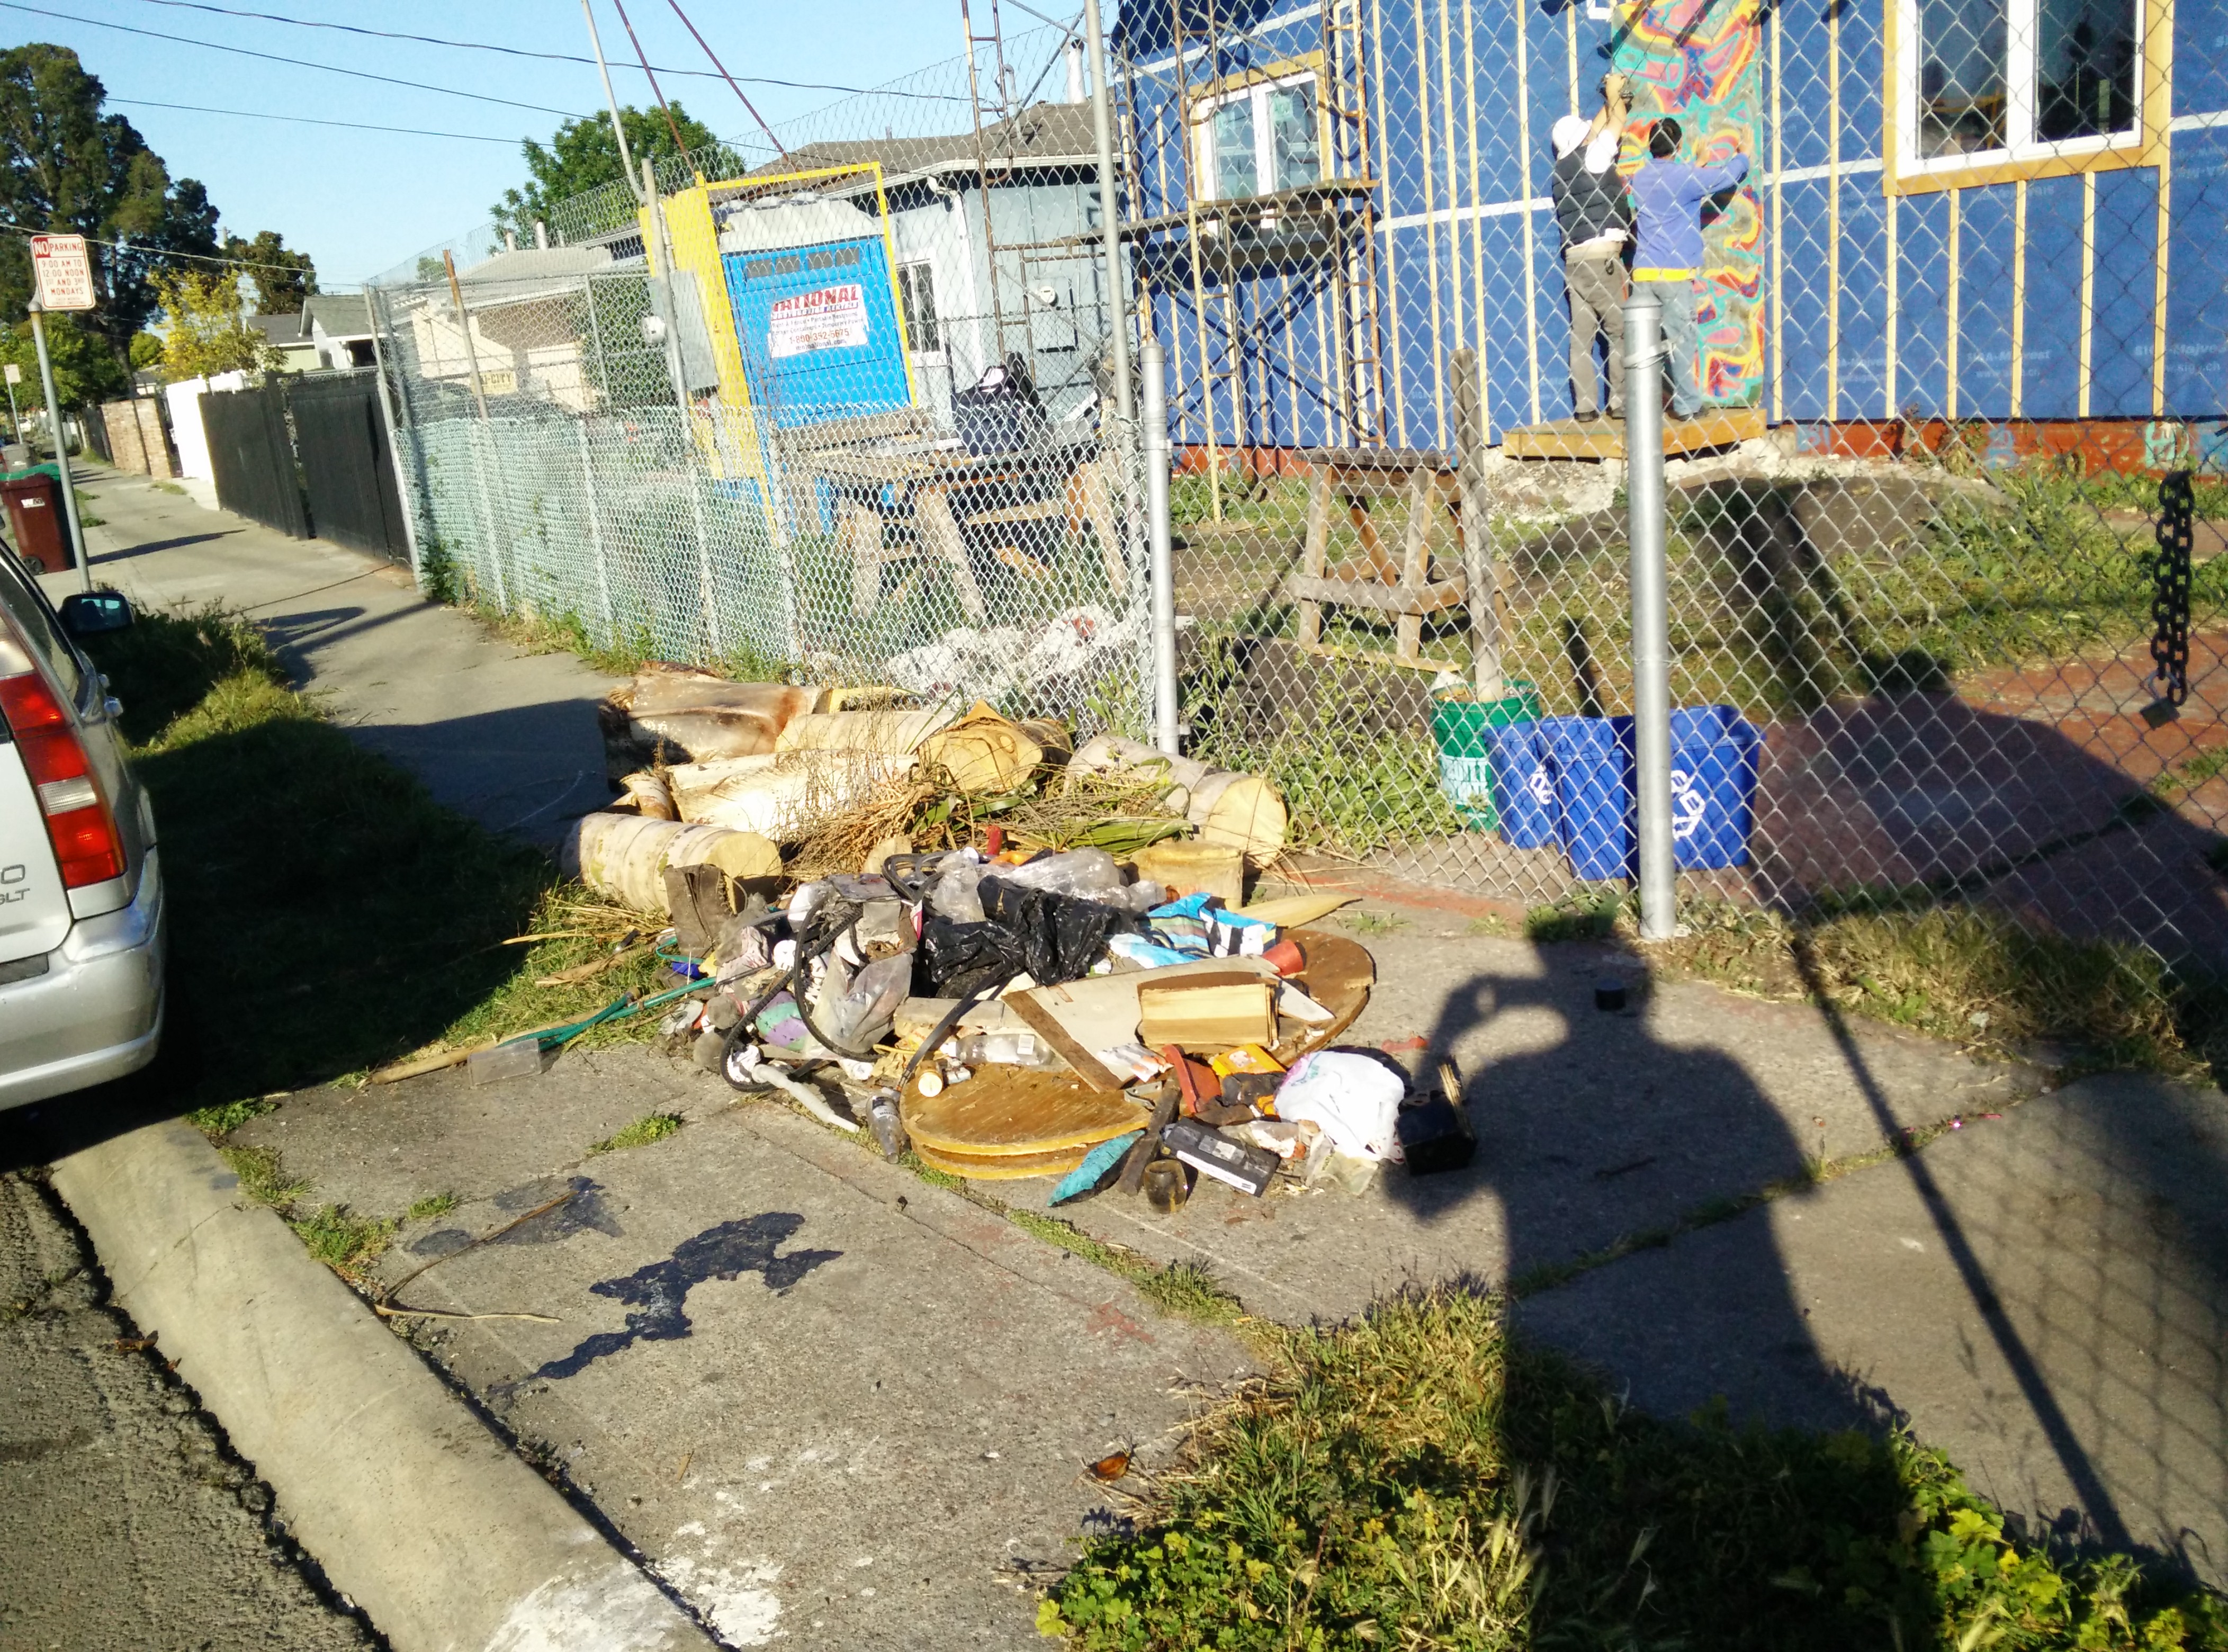
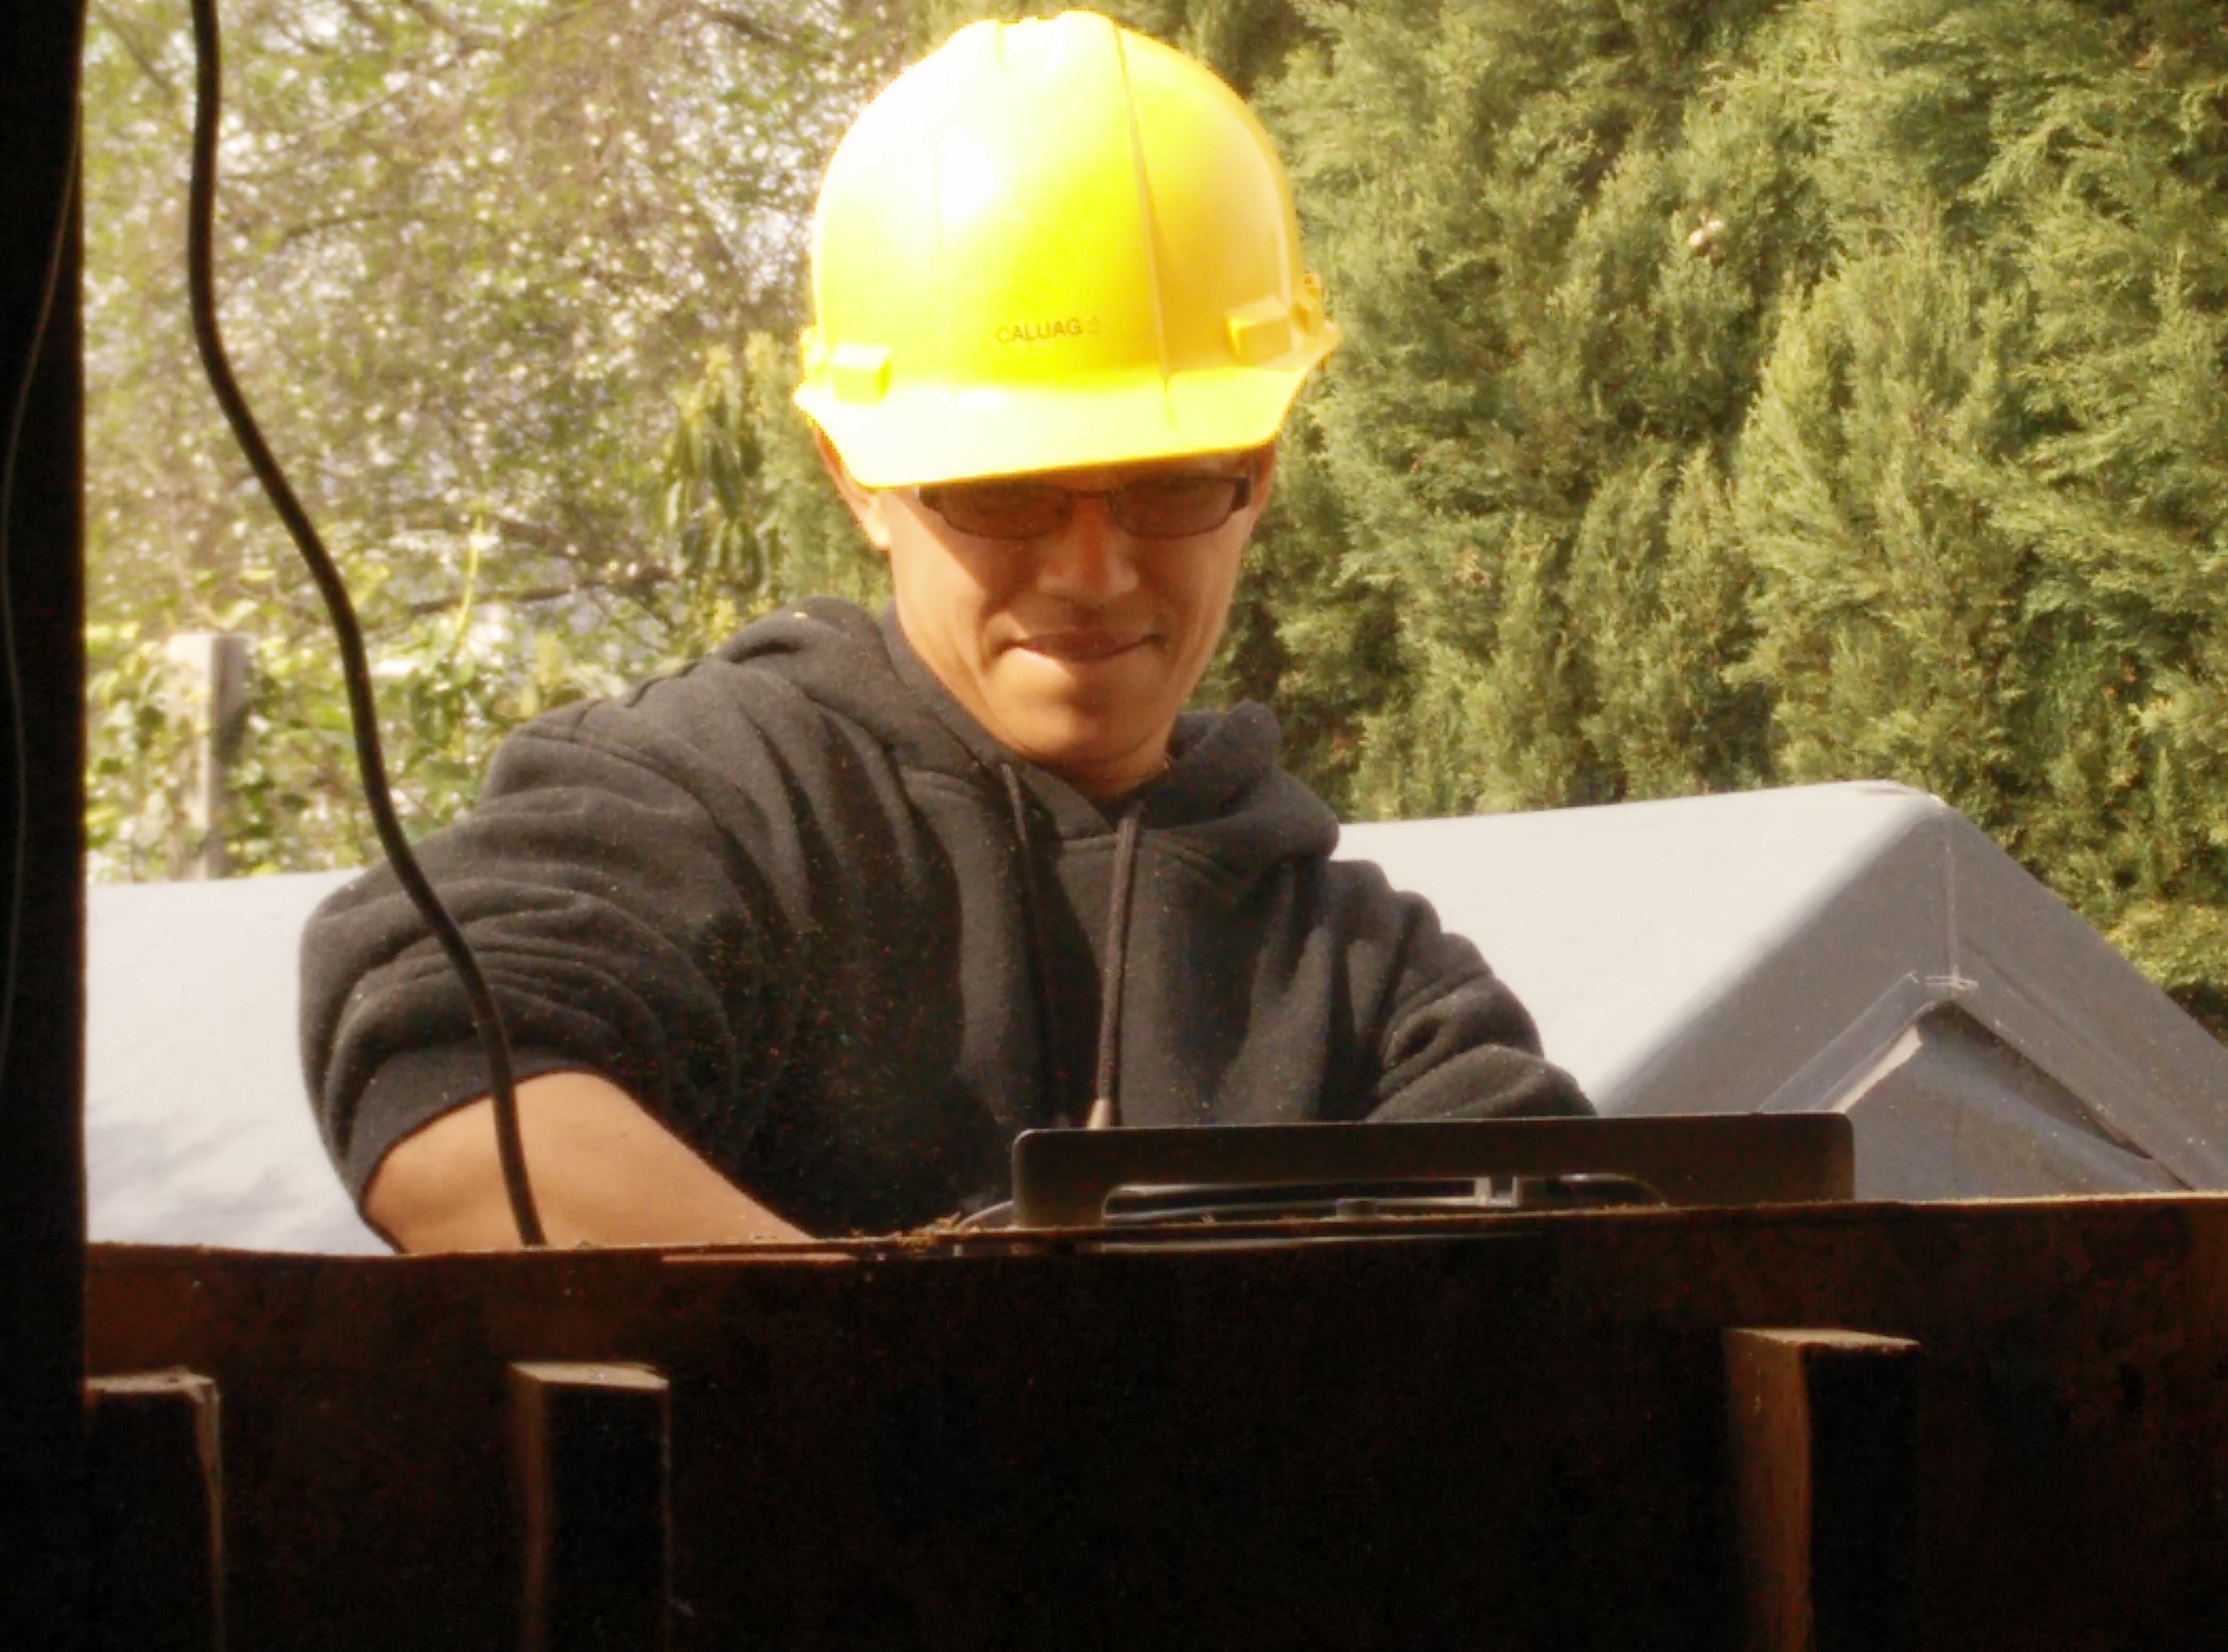
an oh too familiar greeting arriving at the sight
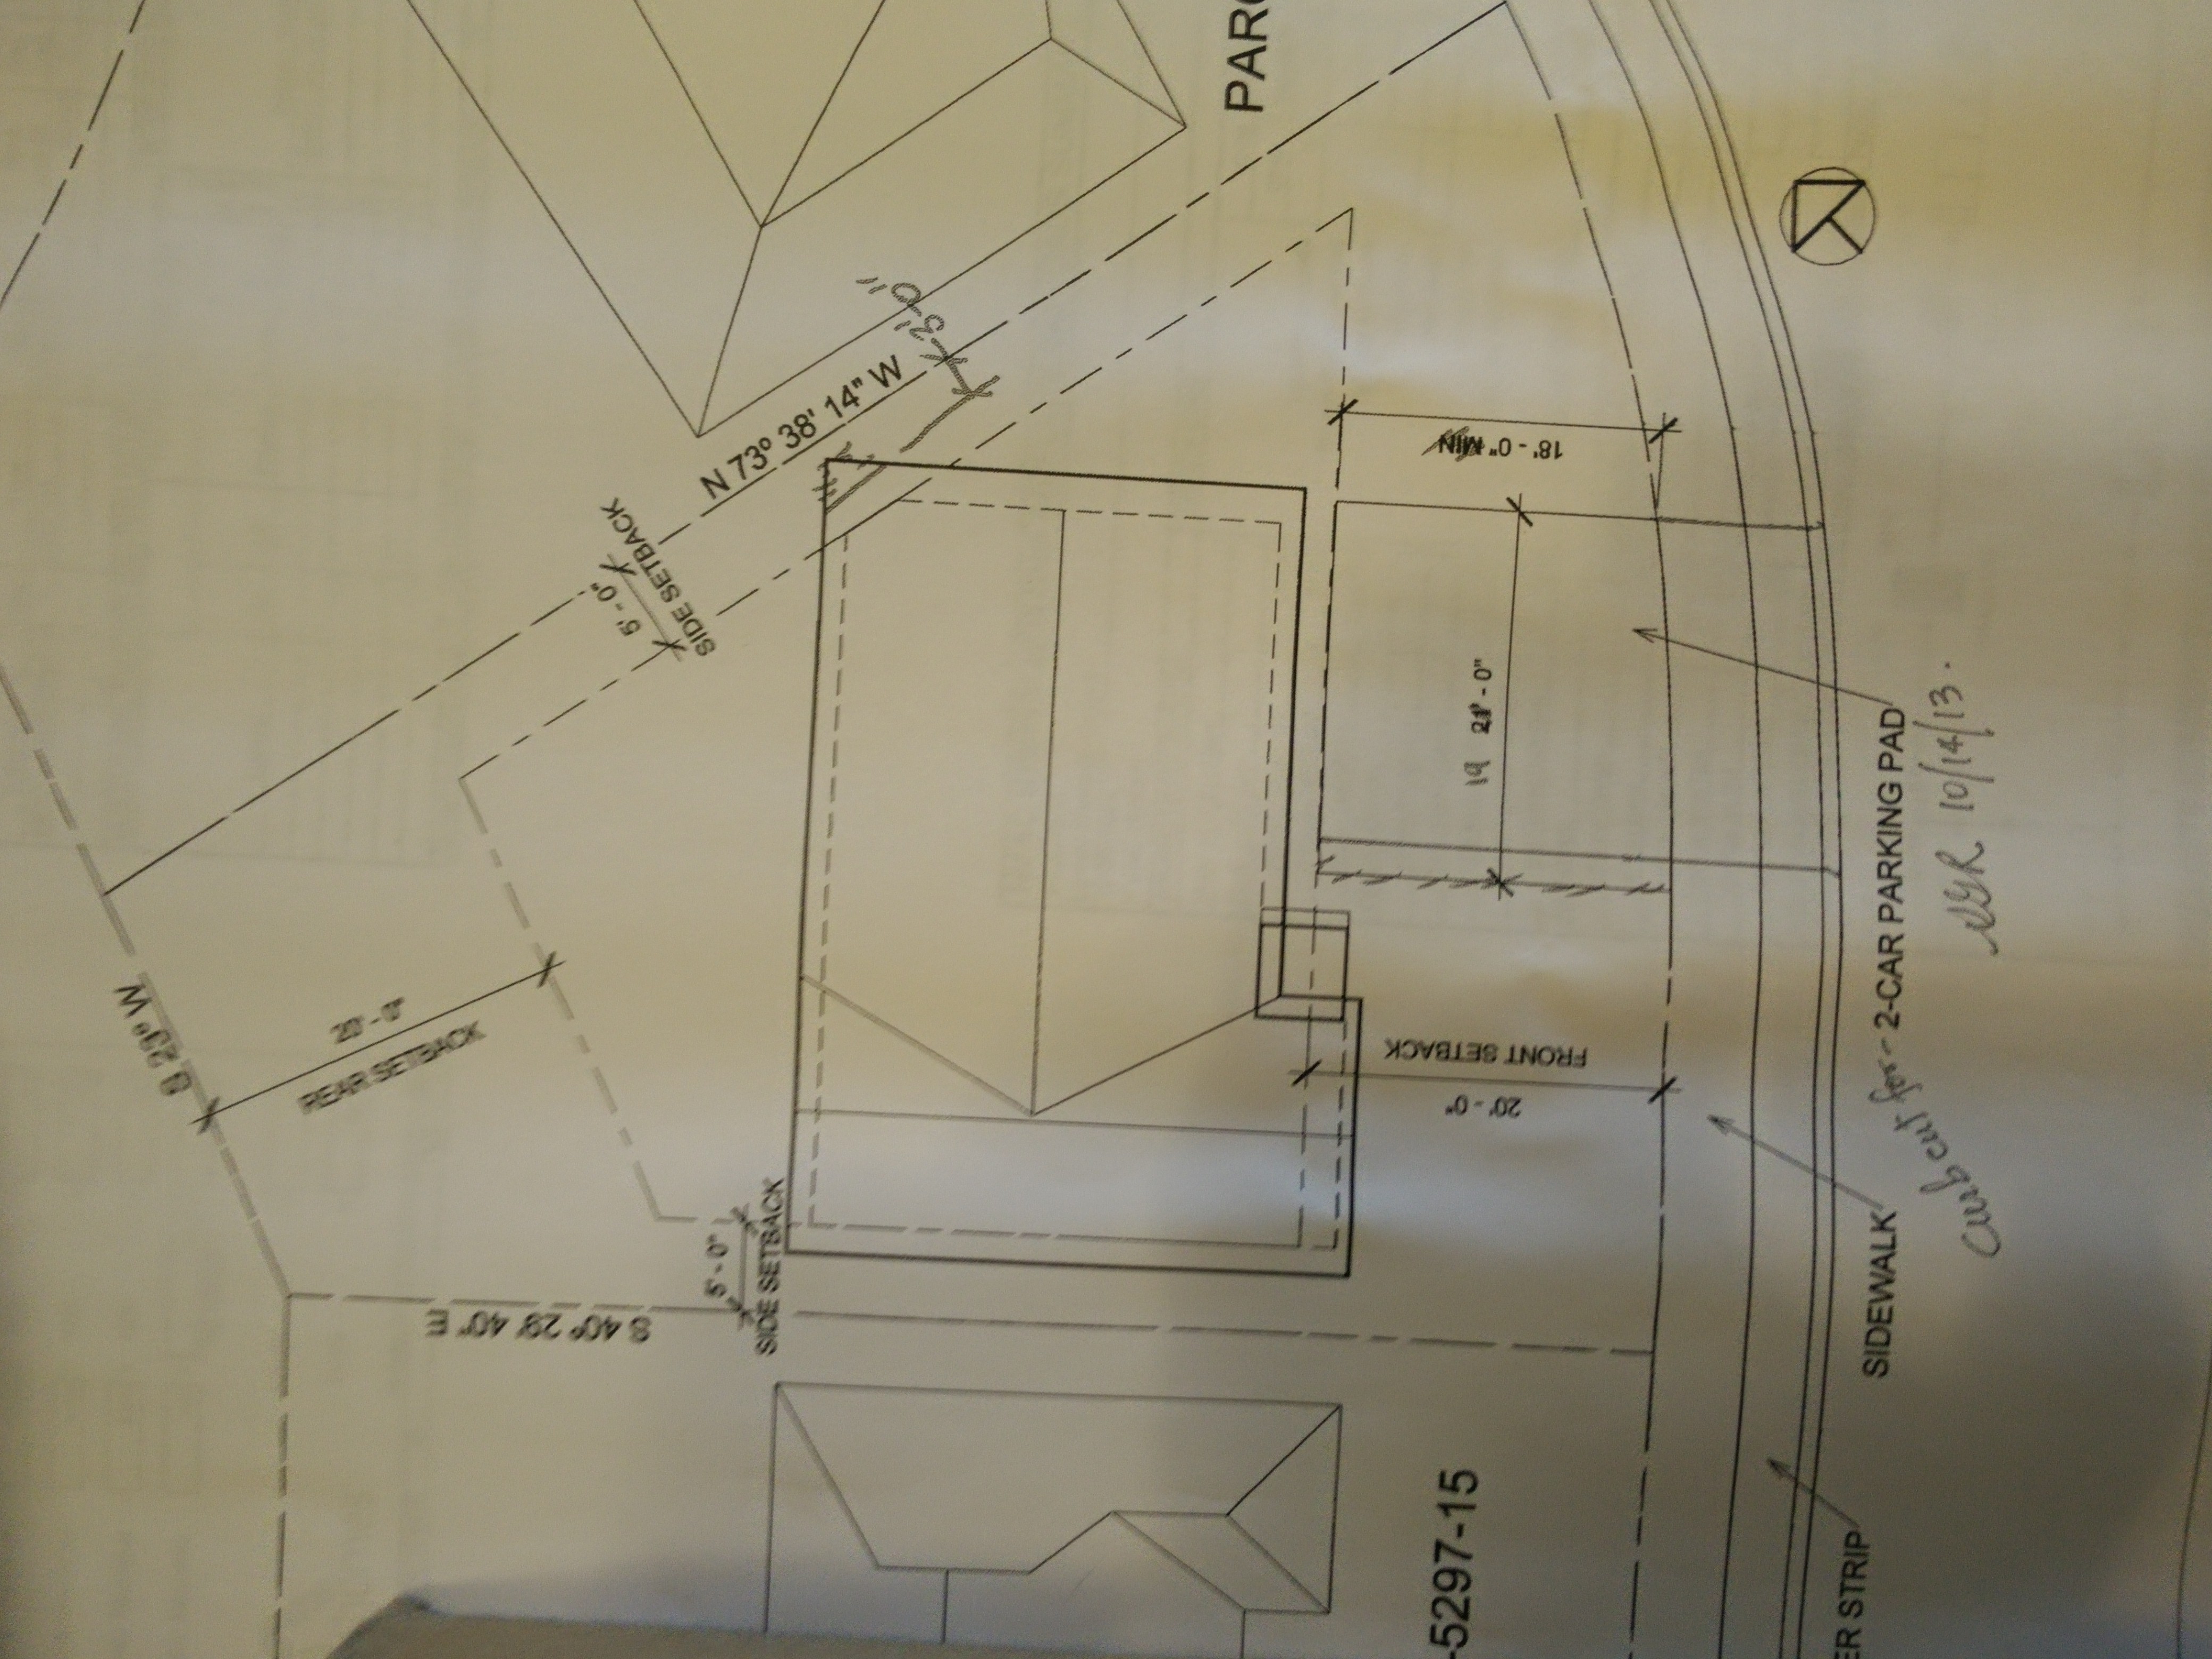
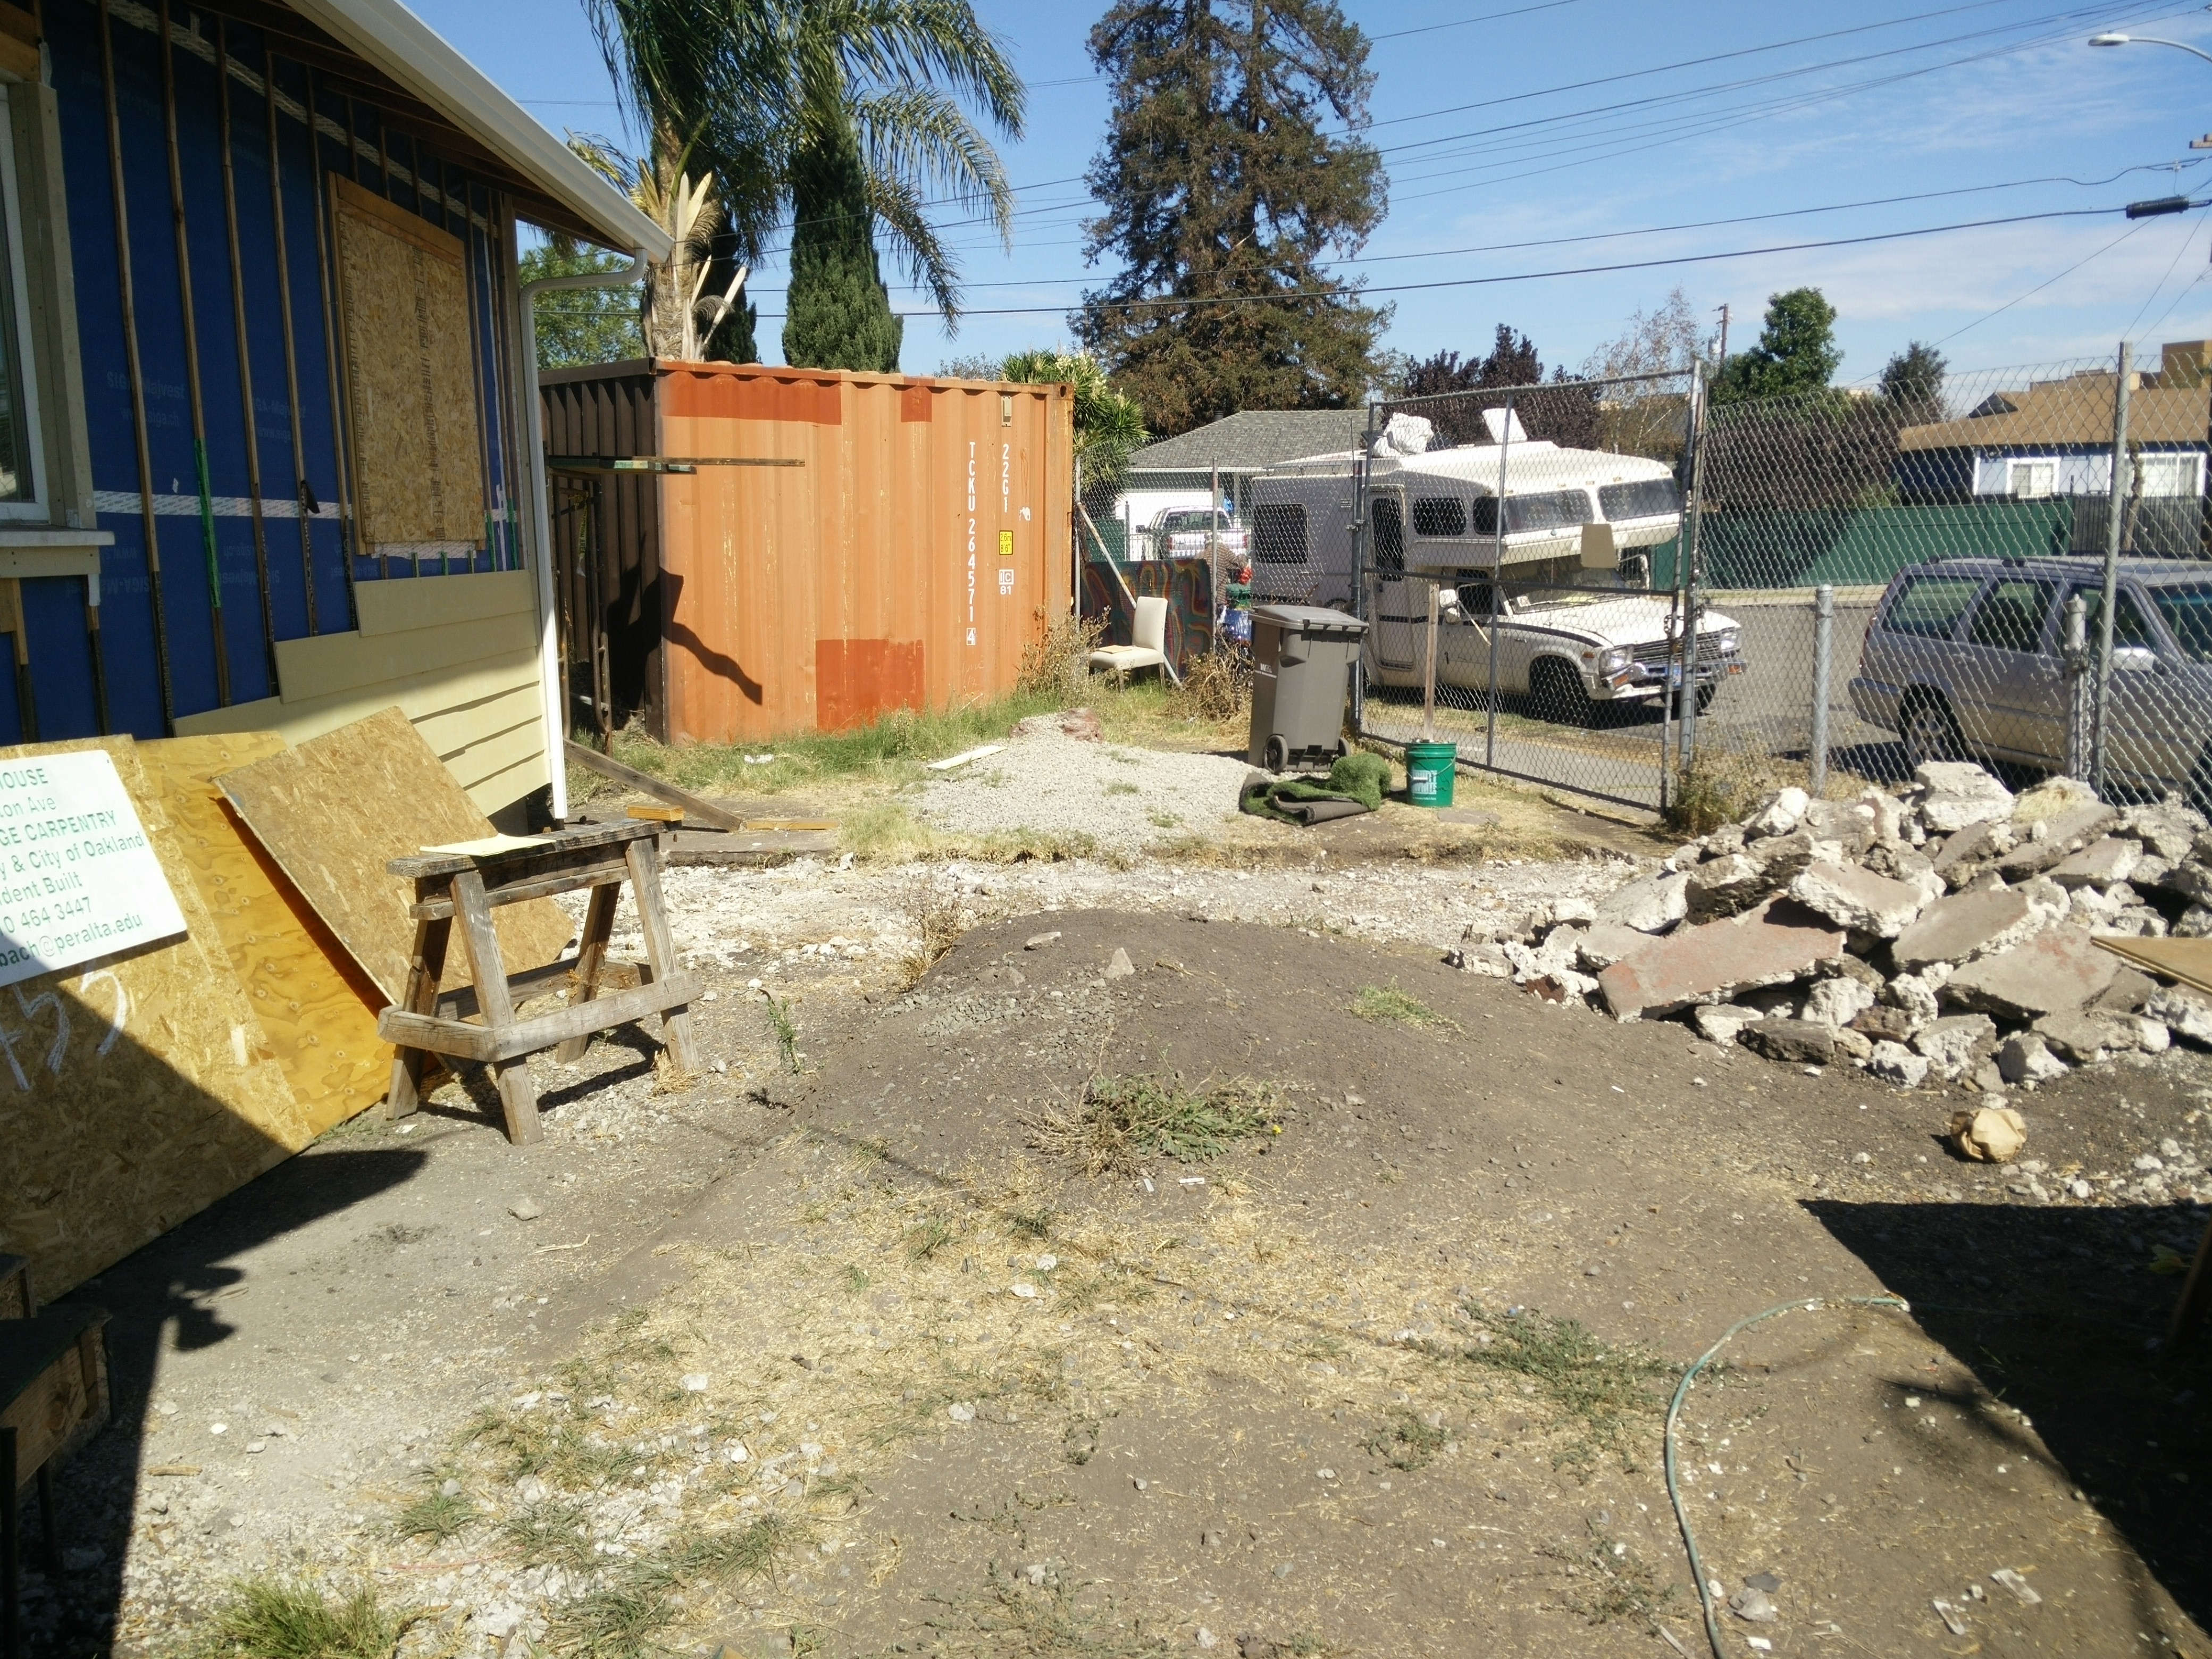
Preparing for the driveway pad…
 Following up on Subcontractors leaving a trail of insulation…
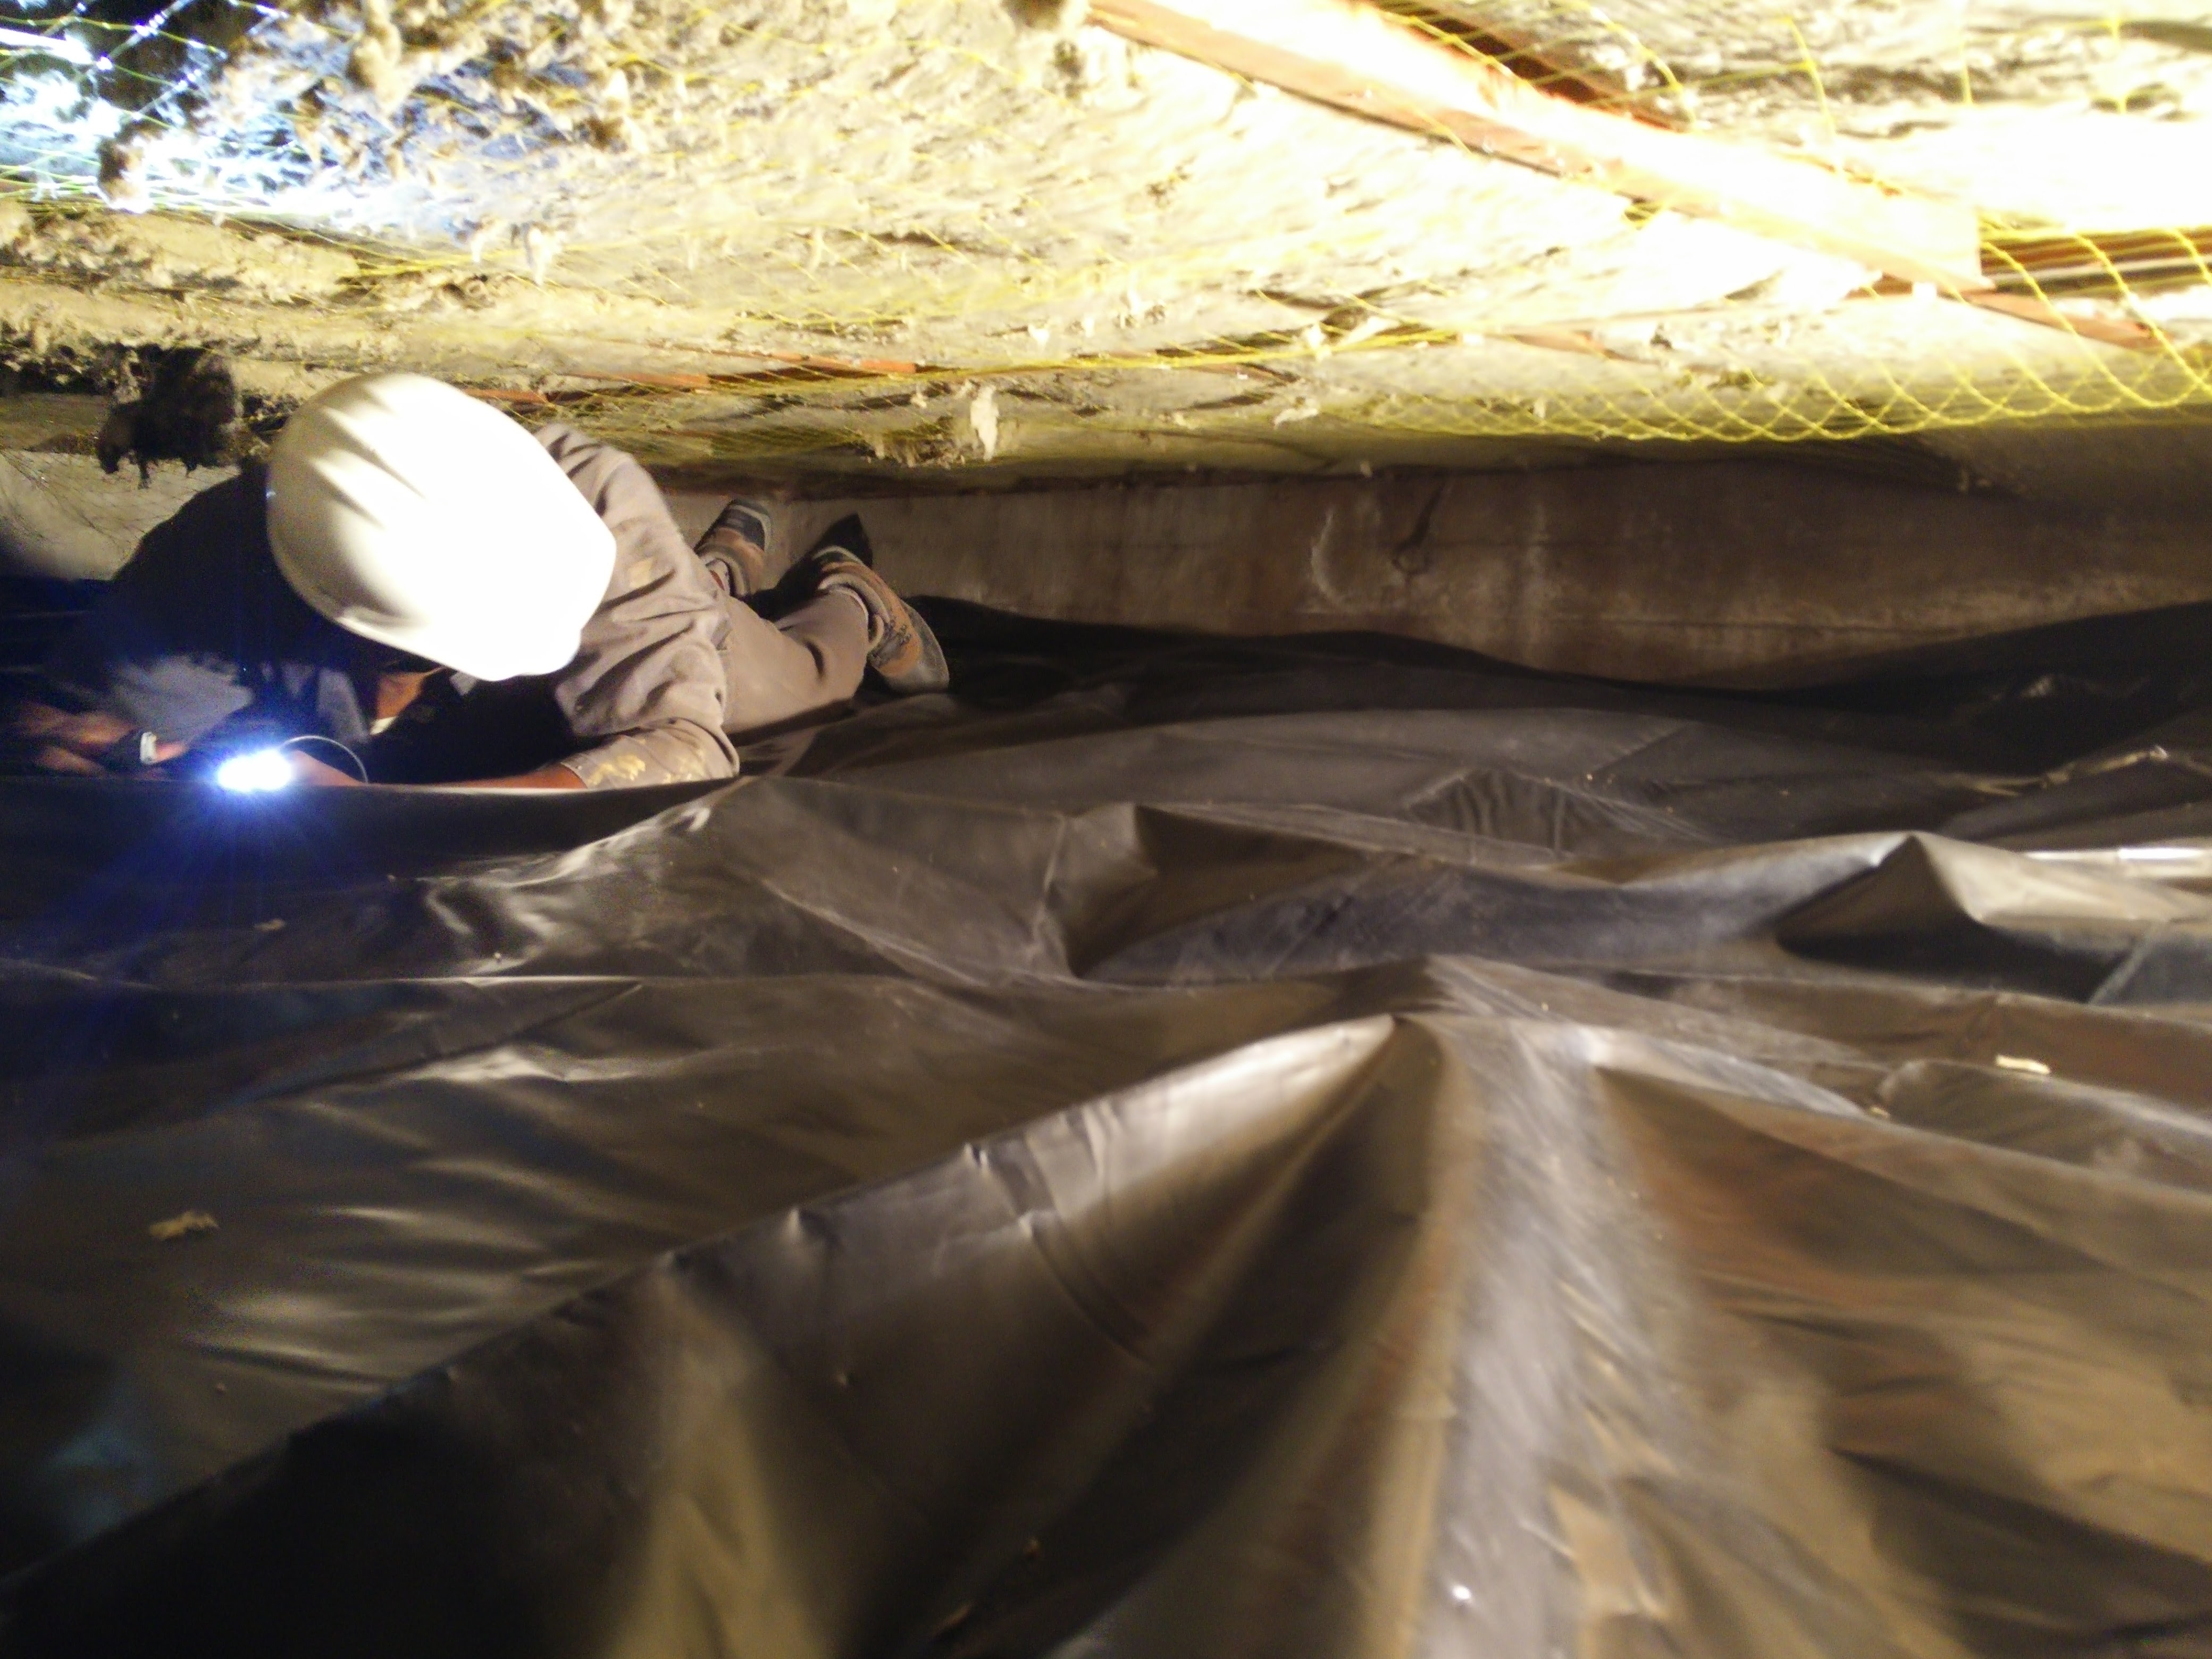
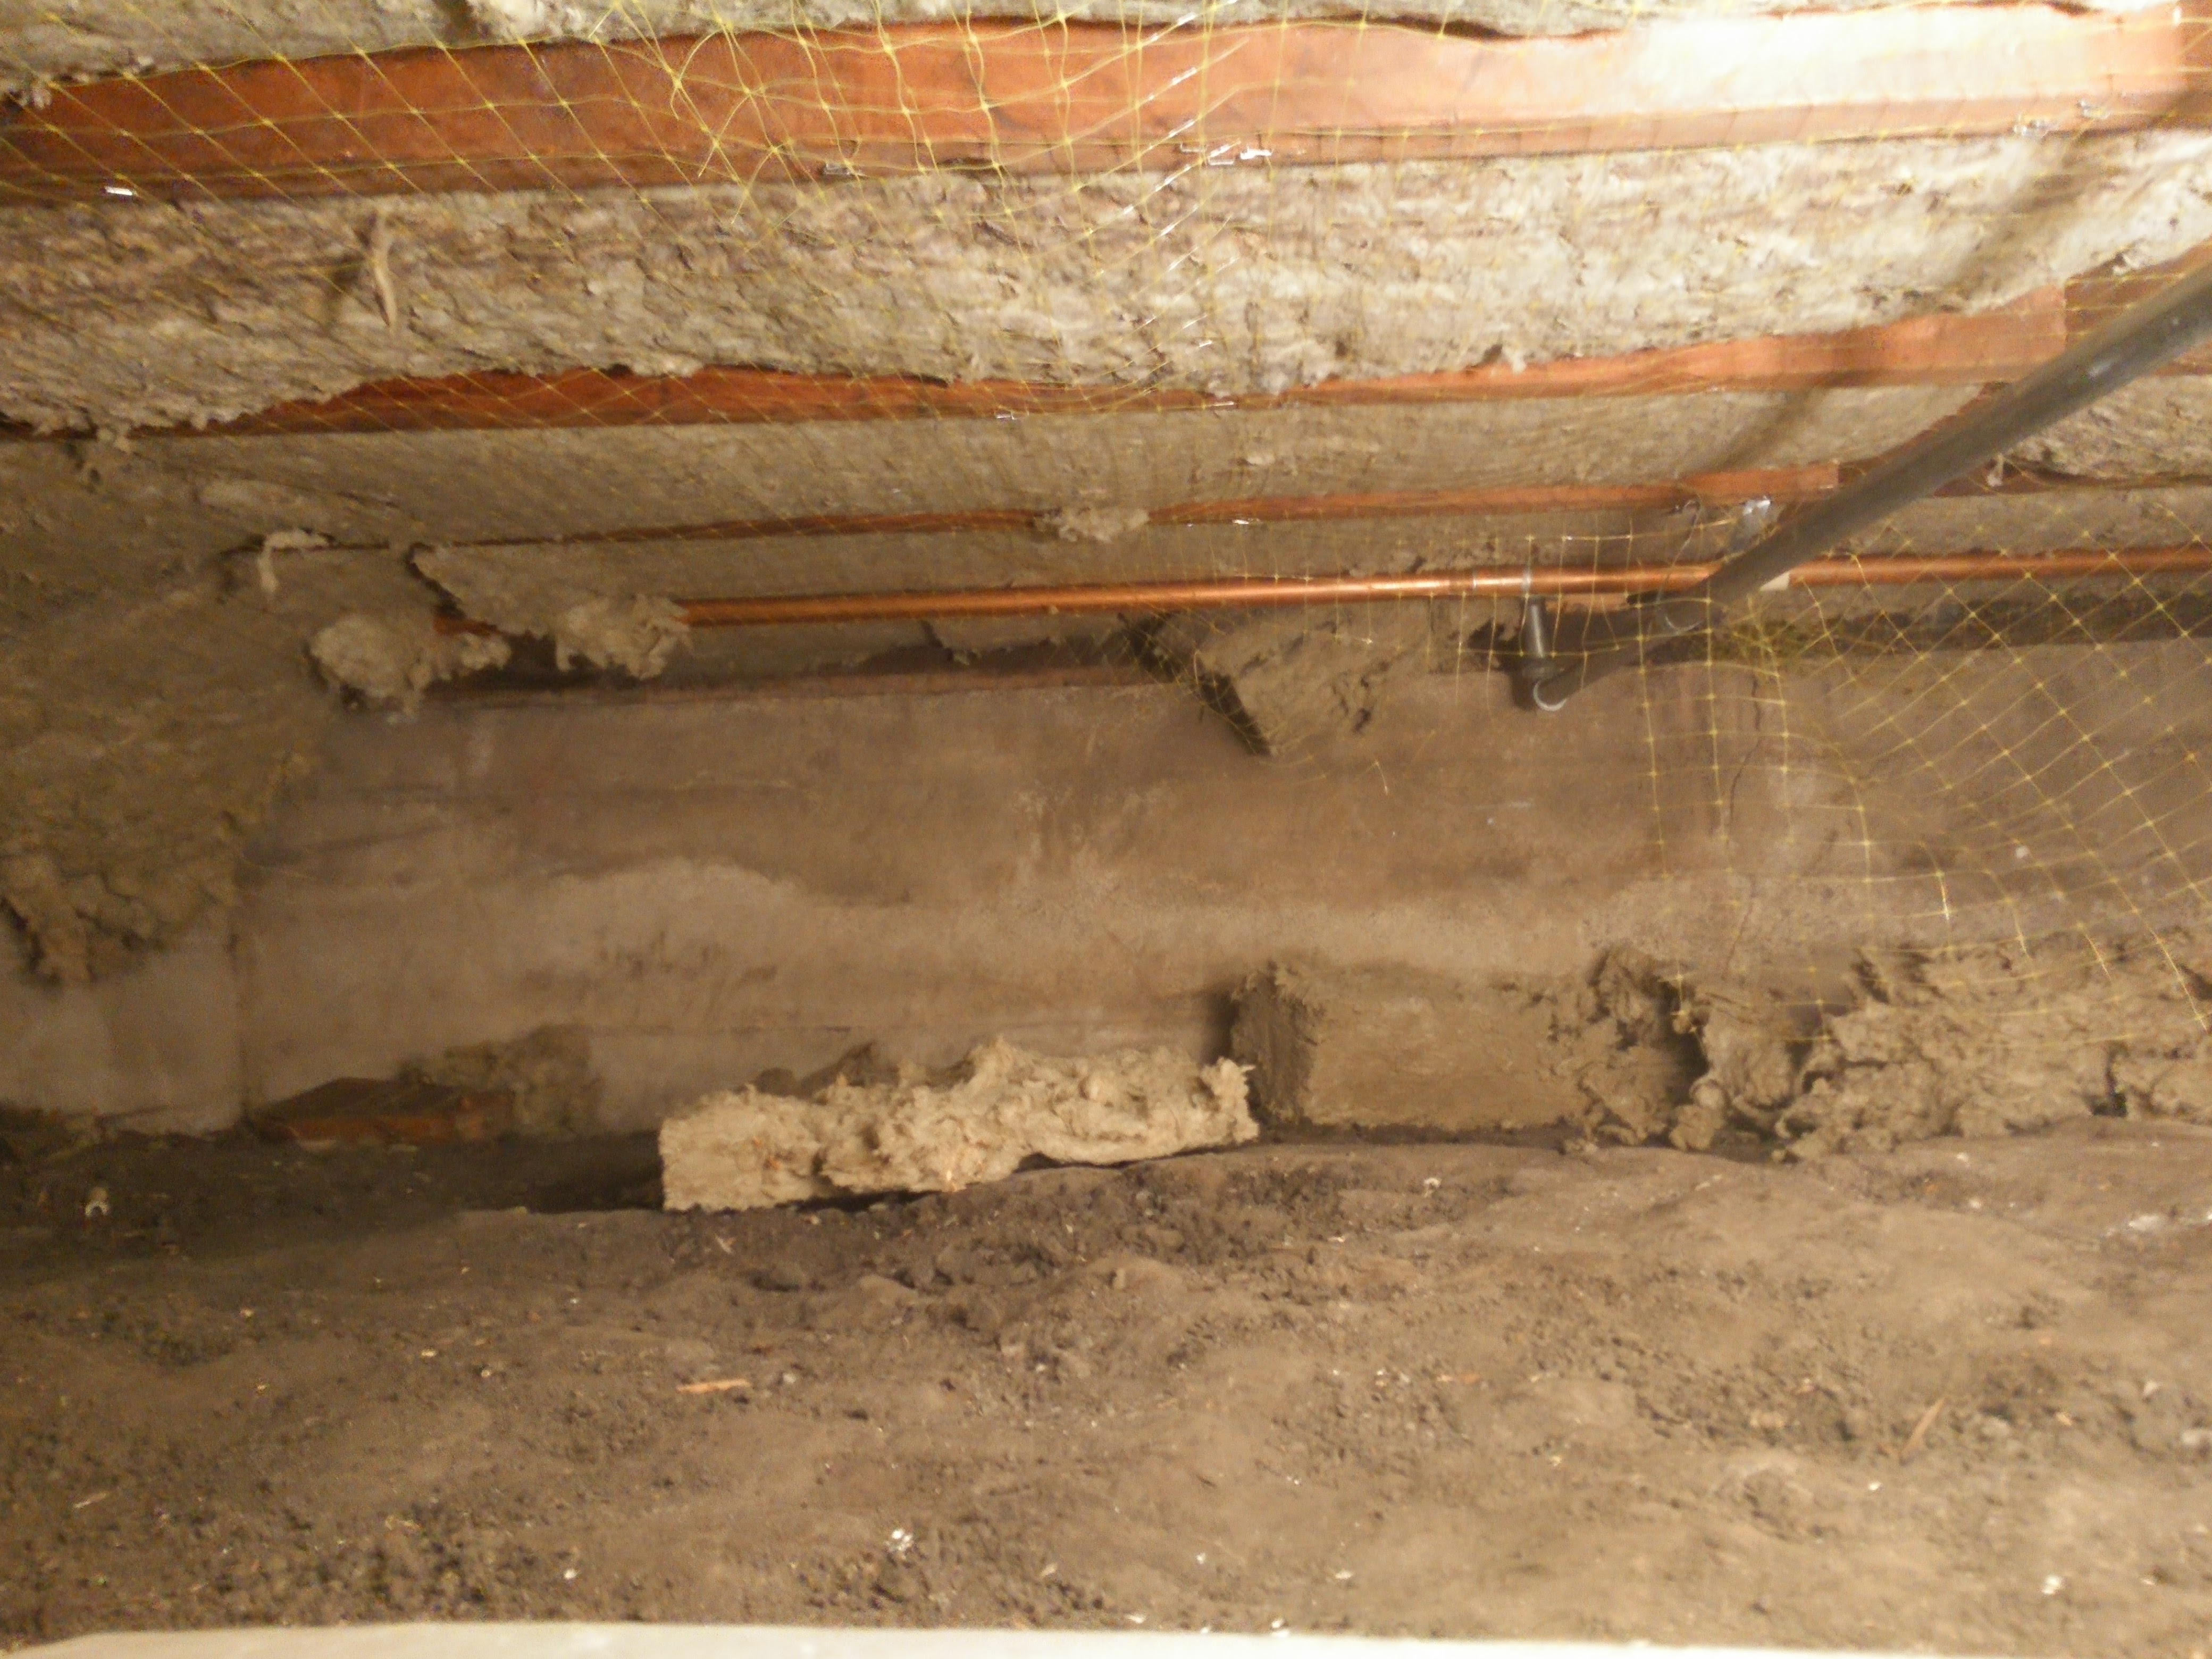
Underneath the house in the minimalist crawlspace, who made that code of 18″ minimum?
Many thanks to student Bobby Baty who was a major help working in cramped quarters…
Follow Us!